In an increasingly connected world, some of us find it extremely useful to have a device at our fingertips while driving. I’ll leave the opinions about whether you should or shouldn’t have access to your mobile device while behind the wheel for someone else to debate. Responsible device usage while on the trail can be a real benefit! Personally I find a good solid mount for your device to be an absolute requirement. No taking your eyes off the road or trail, no fumbling around to find the unlock button, or entering your pin. A mobile device should be at the ready, and easy to interact with. Of course you should limit the use to things like, navigation, or music. No Facebooking or Chatting!
To that end, I’ve long been a customer of ProClip USA. They offer affordable, and really sturdy, solutions for mounting just about any device in just about any car! I’ve personally used them in a 2013 Jeep JK, and my 2005 Jeep TJ Unlimited (LJ). They offer solutions for all of your Jeep needs though! The JK and JKU, the TJ, and even the XJ! A friend of mine has one in is Ford Focus! Every one of their mounts that I’ve seen in person has been sturdy, and every device holder has been well built.
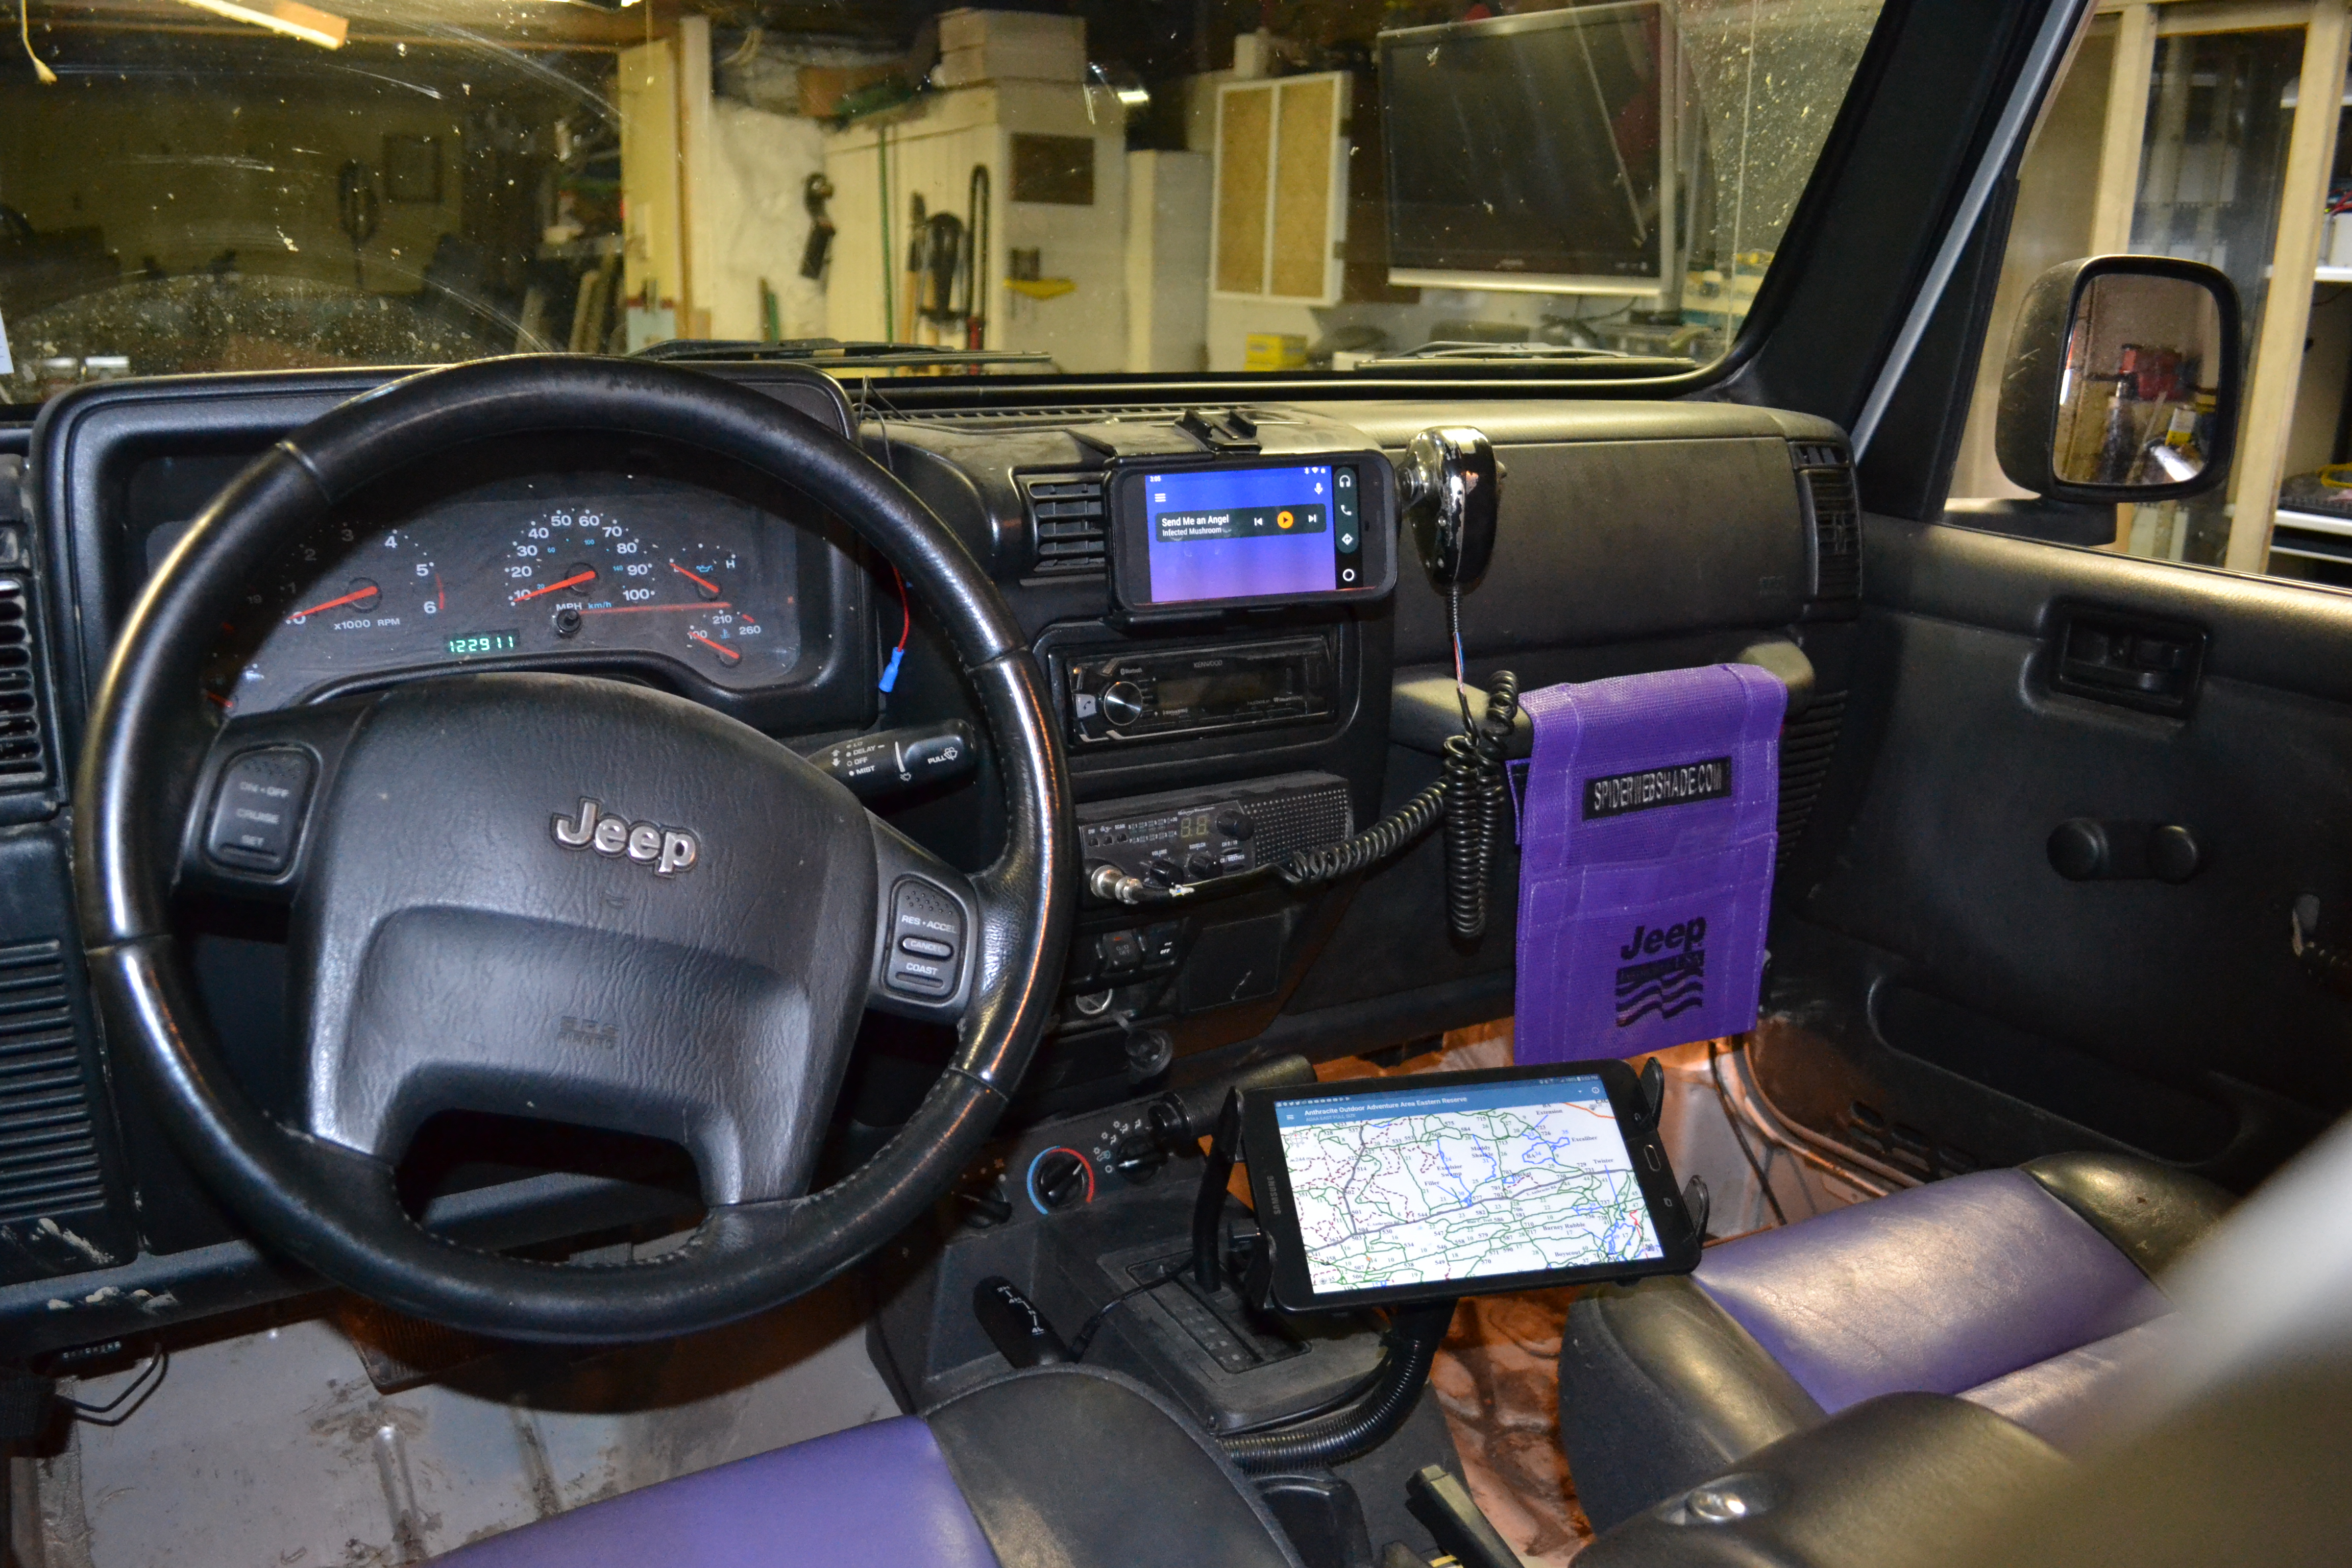 For some time, I’ve had my Google Pixel mounted on my dash with a ProClip USA mount, and my Samsung Galaxy Tab E 8.0 on a rigid arm mount down by my automatic transmission shifter. I use the Tab as my trail navigation, and the phone mainly for music. When I’m out on the trail, my phone is usually just sitting there doing nothing but staying out of harm’s way and charging. Using the Tab for navigation using Maprika, I find myself frequently looking down away from what’s out in front of me so I can check my map. This hasn’t lead to any incidents on the trail, and I don’t use it while driving on the road, but It’s inconvenient. So I decided I was going to try to get the tablet moved up to eye level. By chance I’d interacted with @ProClipUSA on Instagram, and we worked out a deal for a new TJ dash clip, and a holder for my Tablet. My intention was to mount the phone AND the tablet up on the dash, but I just wasn’t sure how they’d fit together.
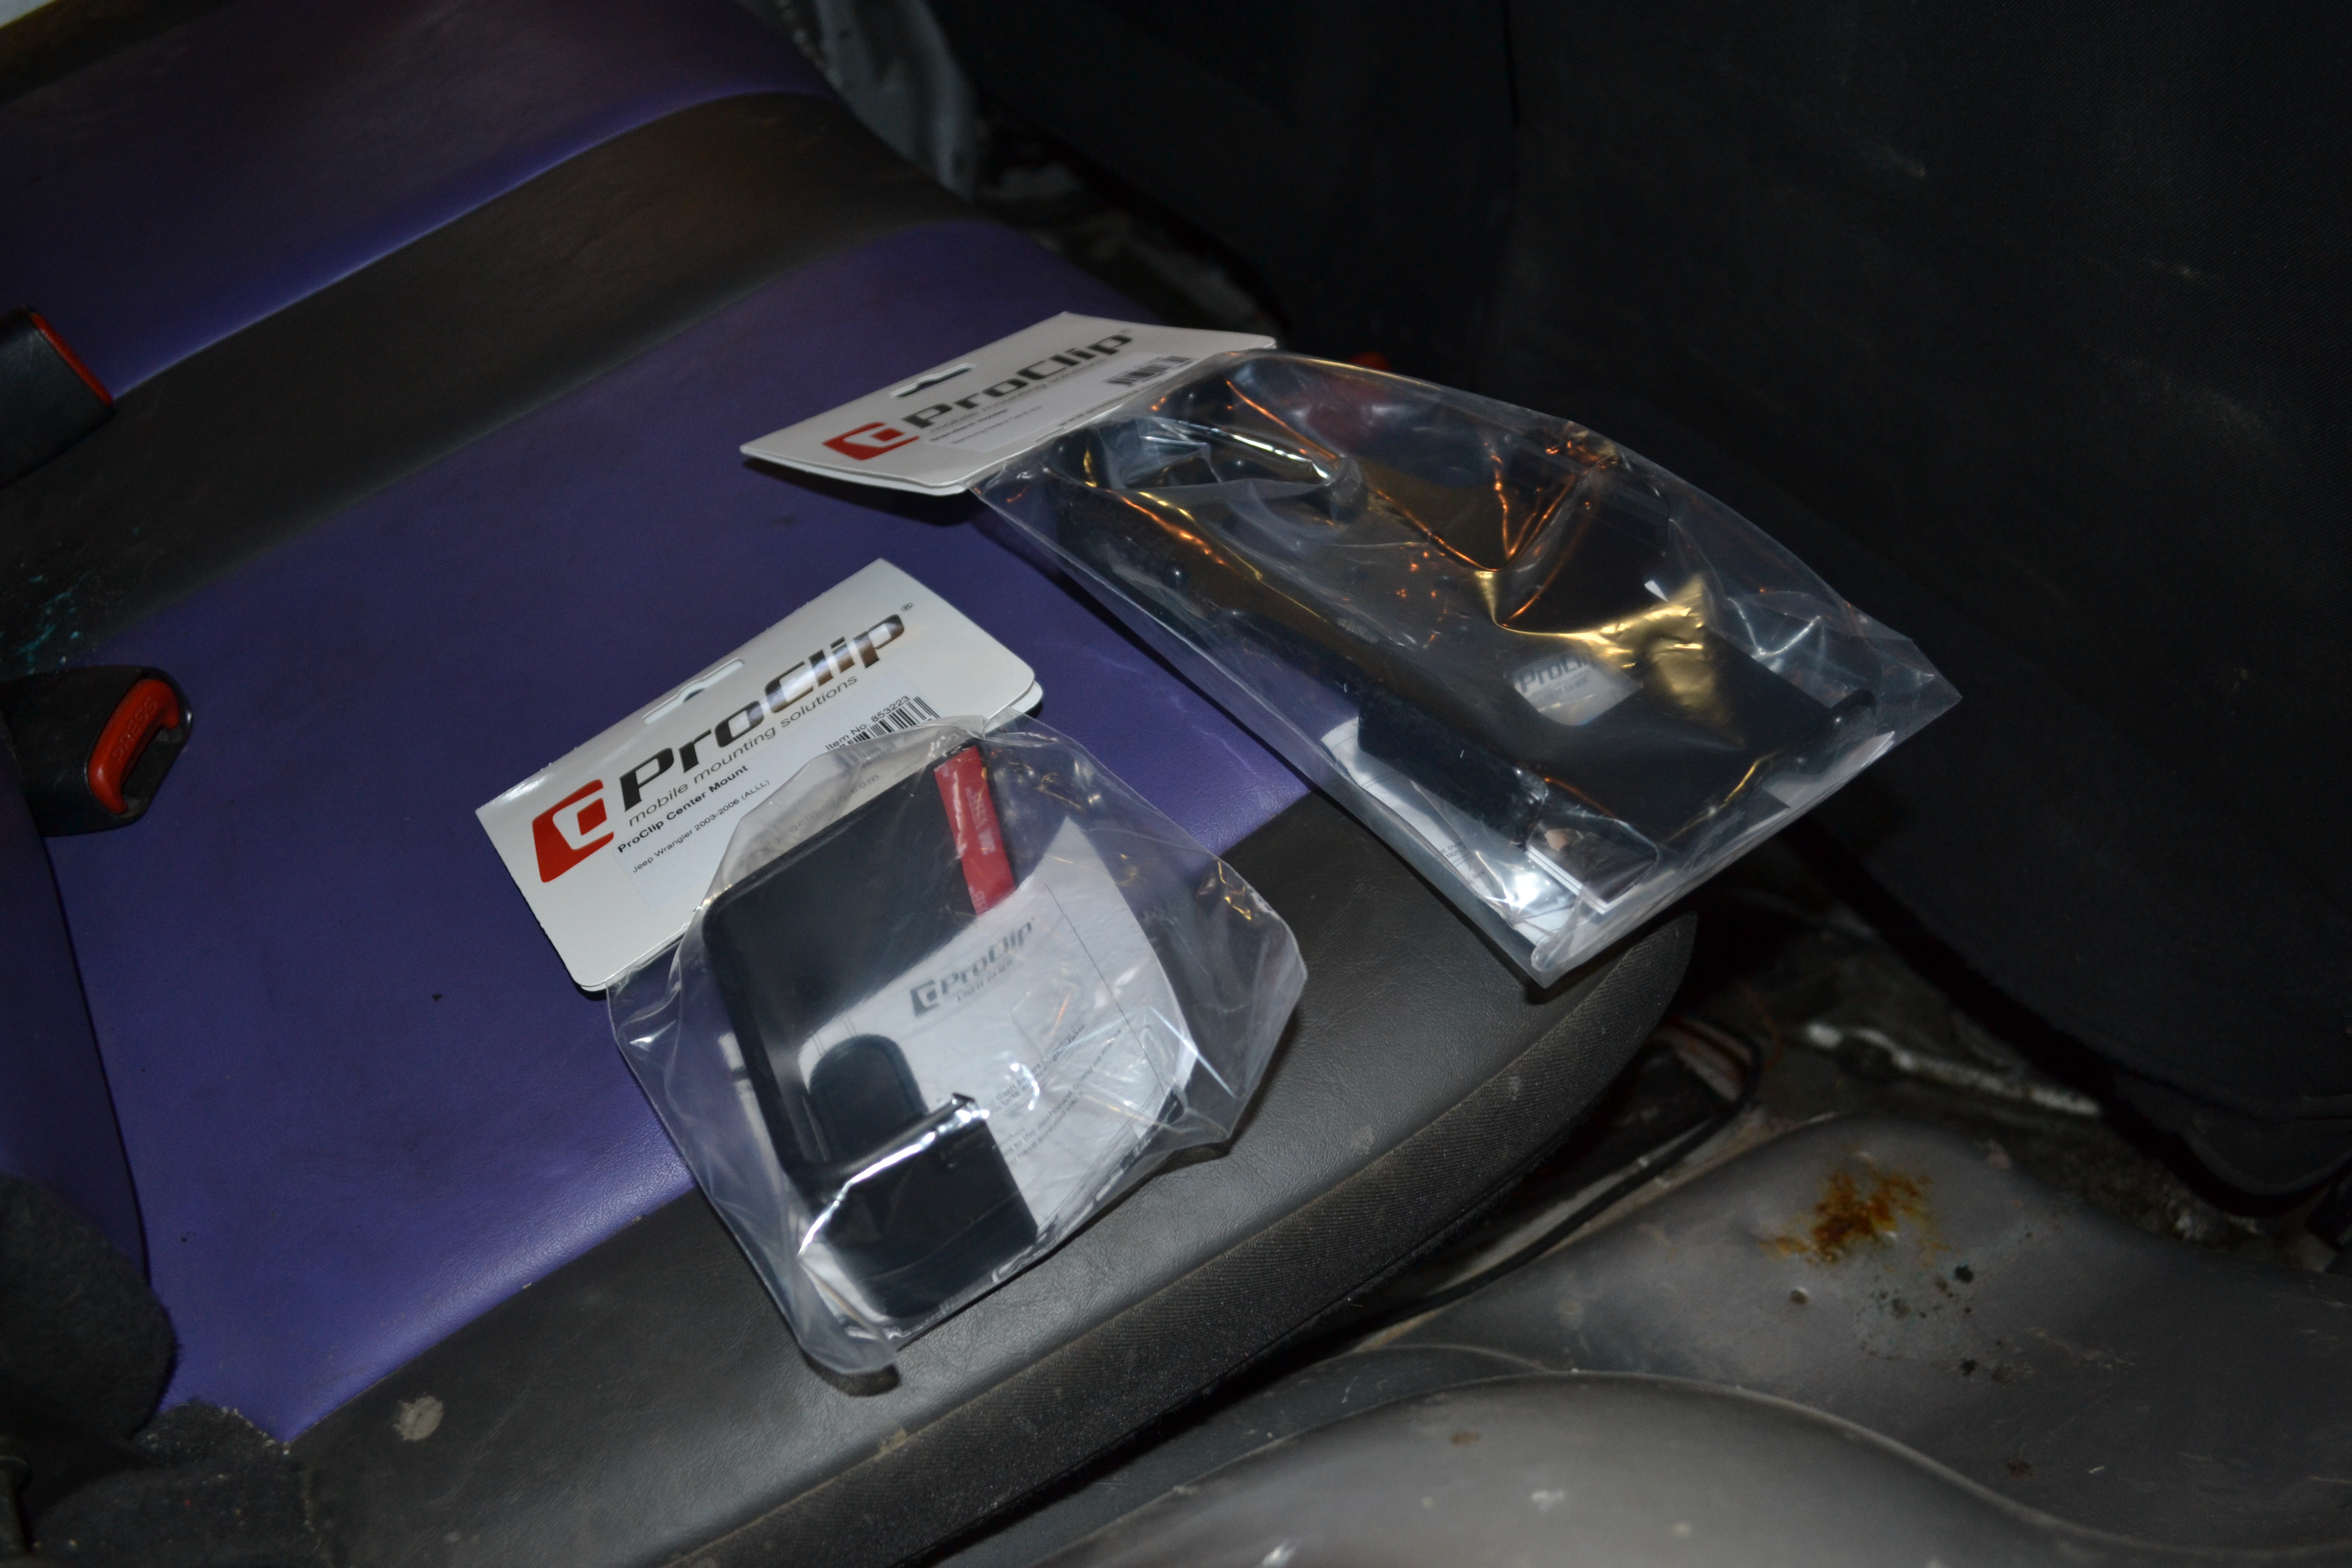
In a few days a package arrived containing a snazzy @ProClipUSA t-shirt, some swaggy stickers, my new mount base, and a holder compatible with my Tablet. I unboxed everything, set up the workshop, and got to work.
 The base and holder are a pretty straight forward install. The base just gives you a nice flat surface to attach the holder to, and the holder bolts or screws on to the base. The base is designed to be easily clipped into a seam in your dash. In this case it does block your center vents, which is not great but It’s a great mounting location for the tablet, so I consider it justified.
My first task was to remove my old tablet mount. It mounted to one of the seat bracket bolts, and snaked its way up around in between the seats. A fine mounting solution, but like I said, it was inconvenient. I also had a USB cable to power the tablet nicely routed along the arm, which I’ll relocate to the new mount.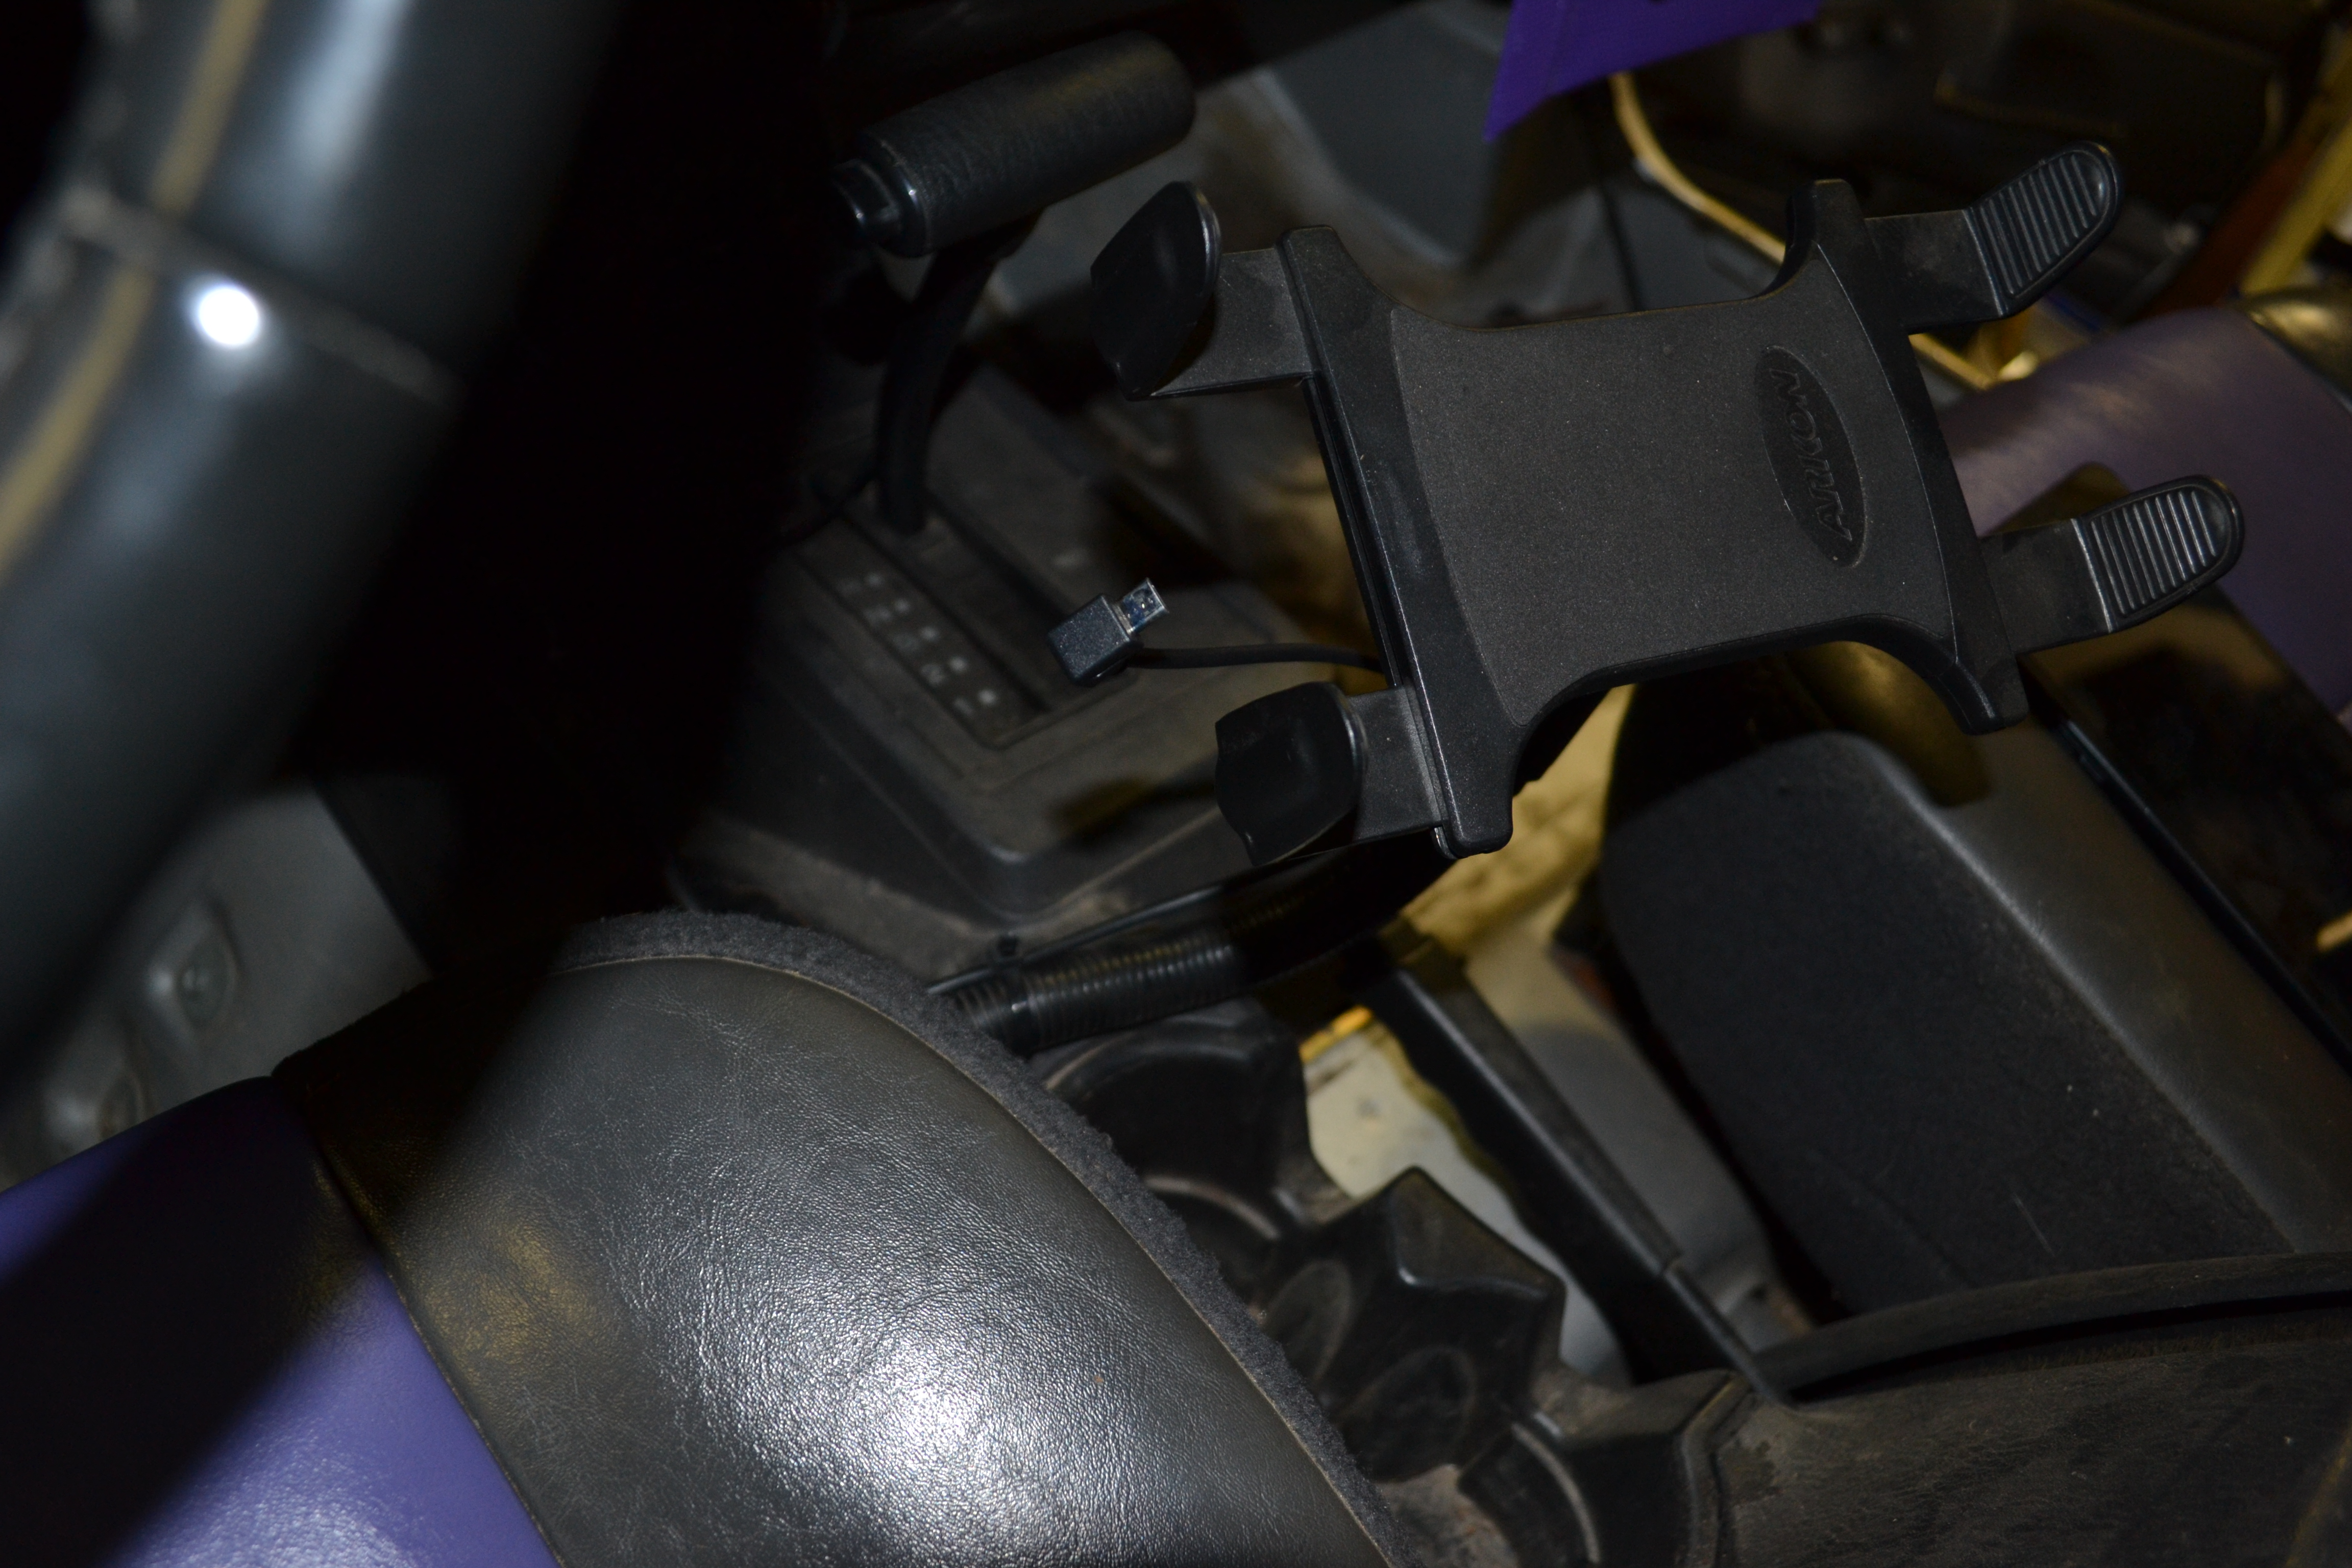
With my old mount removed, my next step was to evaluate whether I was going to be able to fit the Phone AND the tablet on the dash next to each other. No, it wasn’t happening. I might have been able to pull it off if my existing base was placed further to the drivers side of the vent, but since I’d already placed and stuck it, I couldn’t move it. I also have a gopro mount on my dash for my gopro gimbal, that made it difficult to place another mount base on the passenger side of the center dash. Had I thought ahead, I’d have ordered a different mount base for the phone that moved the phone down below, next to the heater controls (or in my case, the CB). I may still do that, or search for other mounting solutions for my phone. Right now it’s more important that I get the tablet mounted.
So, I decided to simply re-use my existing mount base, and just put the tablet holder on there. Regardless, I’ll give you a quick 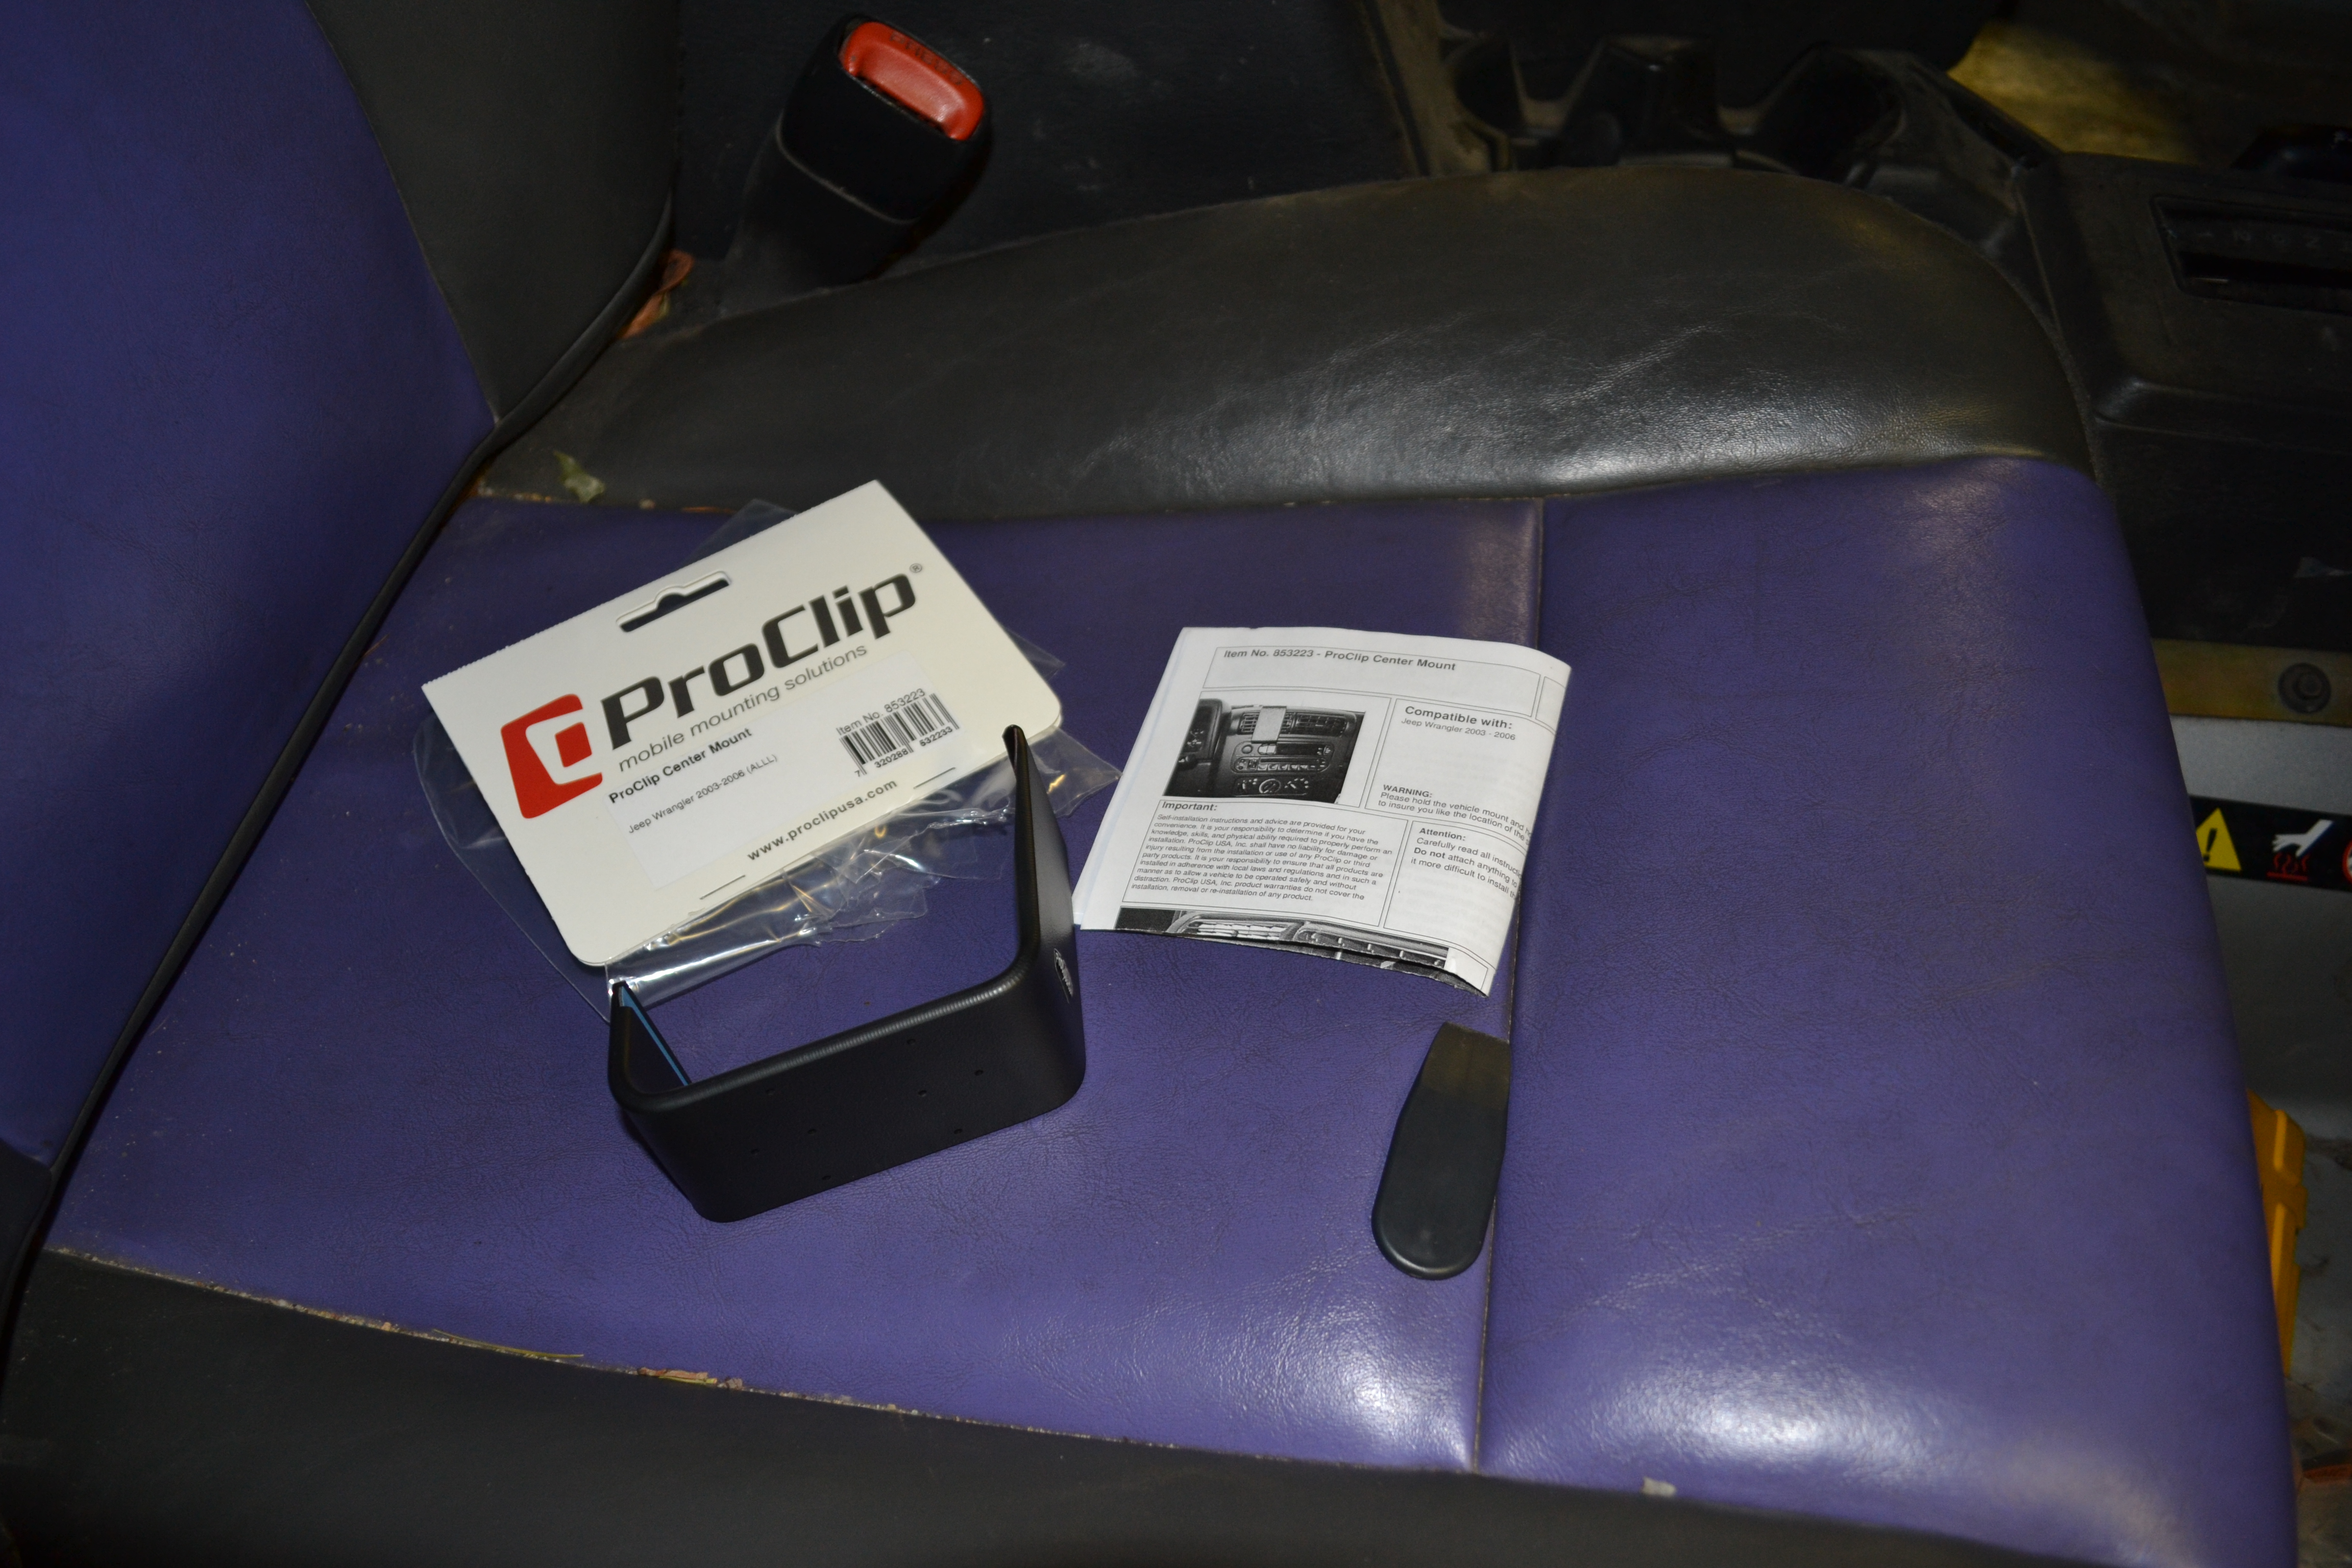 run-down of how the install works. Included in the package are your instructions, the mount base itself, and a spreader tool. A quick comment on the instructions. They’re great! They are specific to the mount you purchased, and not just generalized. They include pictures of the interior of the proper vehicle and everything! The tool is used to pry your dash seams apart just enough to get the base to clip into place. The mount base that I chose, as I mentioned, clips over one of your vents at the top of your dash center section. The top of the base clips into the seam at your sunglasses tray, and the bottom clips into the seam right above your stereo. In my case, I have an aftermarket stereo, and the seam isn’t quite as tight as it is from the factory, so the lower part of my base is a little loose, but not bad. It’s still very solid. The mount base has two ridges carved into it, with adhesive in them. These ridges are meant to contact the dash inside of the seams the base clips into, and form a nice bond so your clip doesn’t slide around. When you install the mount base, be sure to clean the dash well in
 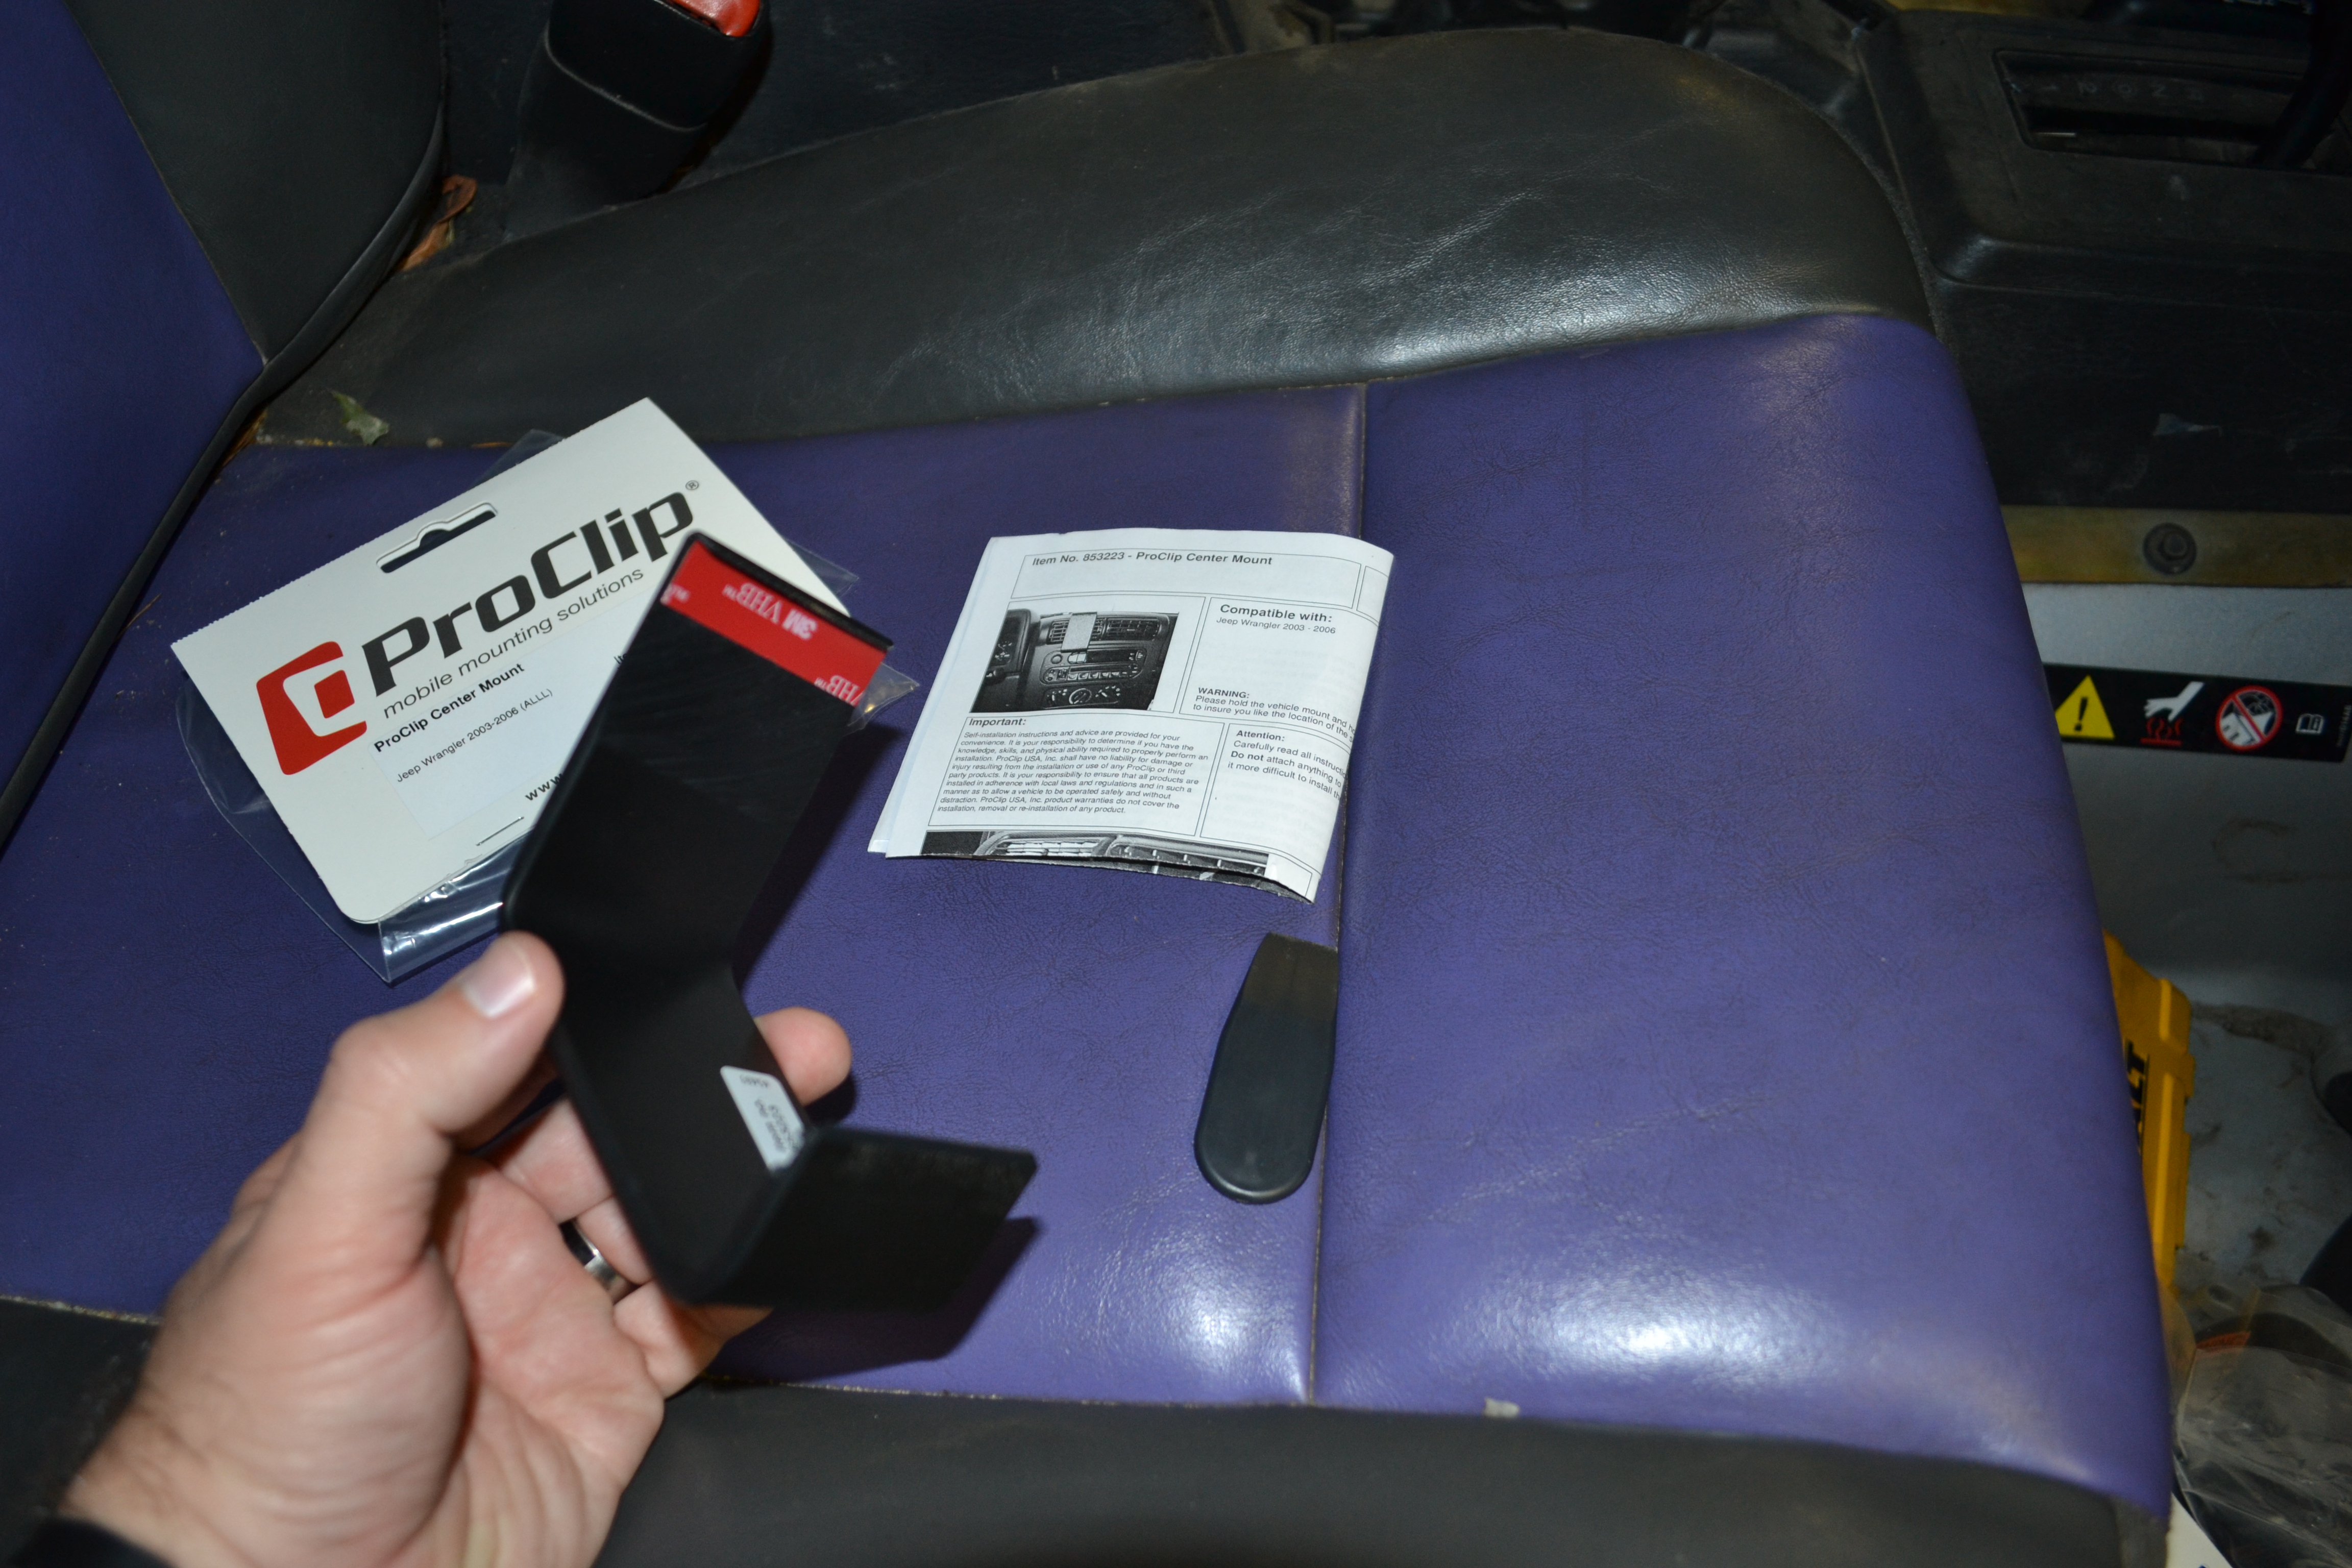 the locations where the adhesive contacts, and don’t use an oily coating like Armor All to do it. Just clean it good with an alcohol pad. Once you have the location all prepped, peel off the backing from the adhesive, clip the mount base into place, and press firmly on the sections that have the adhesive to make sure it bonds well. I had the adhesive break loose on me on my first TJ ProClip mount, and it ended up damaging the mount base through use. I contacted ProClip about this though, and they happily sent me a new mount base! Great customer service.
Once the mount base is in place, you can mount your tablet or phone holder. The holder came with two sets of mounting hardware. Self tapping screws, and machine threaded screws with self locking nuts. The mount base has starter holes in it. The intention is to use the self tapping screws in the starter holes, and attach the holder that way. I always use a nut and bolt when I can, so instead of doing that, i 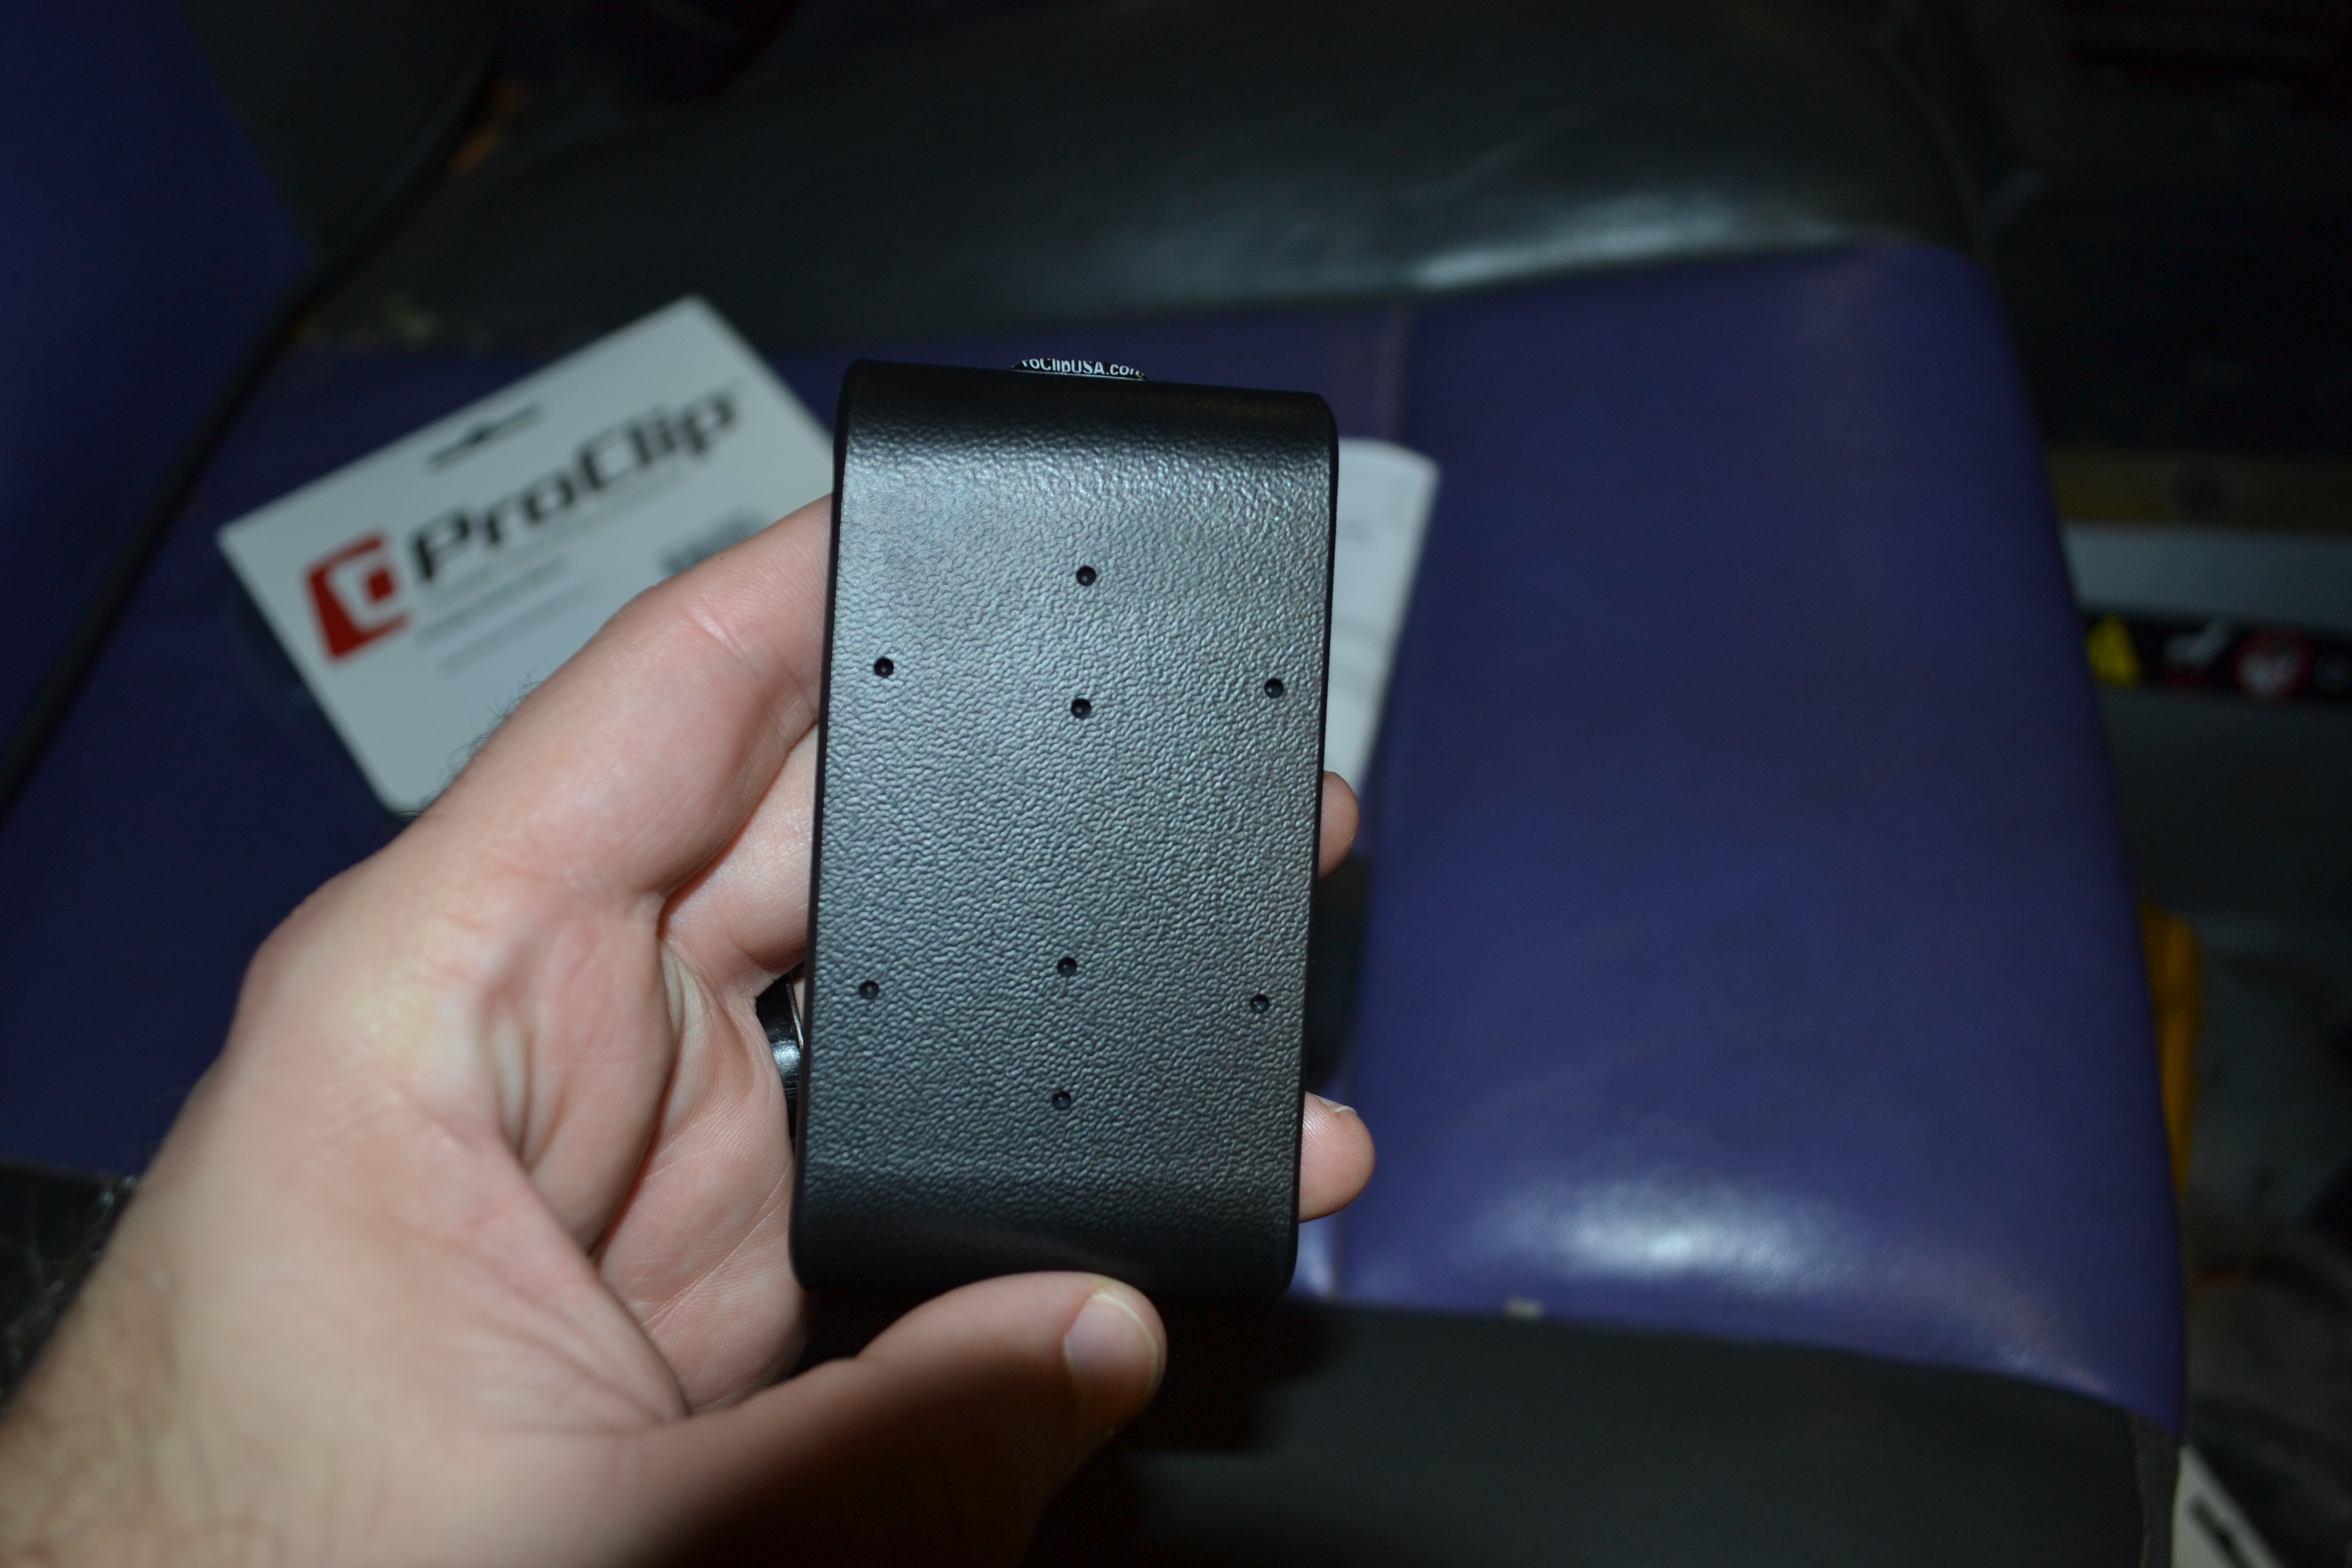 drilled out the starter holes and mounted the tablet holder using the screw/nut combo. I believe this diverges from the installation instructions, but I feel better about the stability of the mount using this hardware.
In my case, I already had the mount base mounted, but if you’re doing this all brand new, you can take this one tip. Before you stick your mount base into place, you should attach the holders swivel base to the mount base. It just makes it easier to get to, and lowers your risk of pulling the mount base that you just stuck to your dash off of the dash. The holder has a nice swivel base on it to give you a little range of motion on the viewing angle for your device. It’s not extremely flexible, but its pretty good. In the center of the holder, you’ll see a phillips screw head. Get your screwdriver in there and loosen that 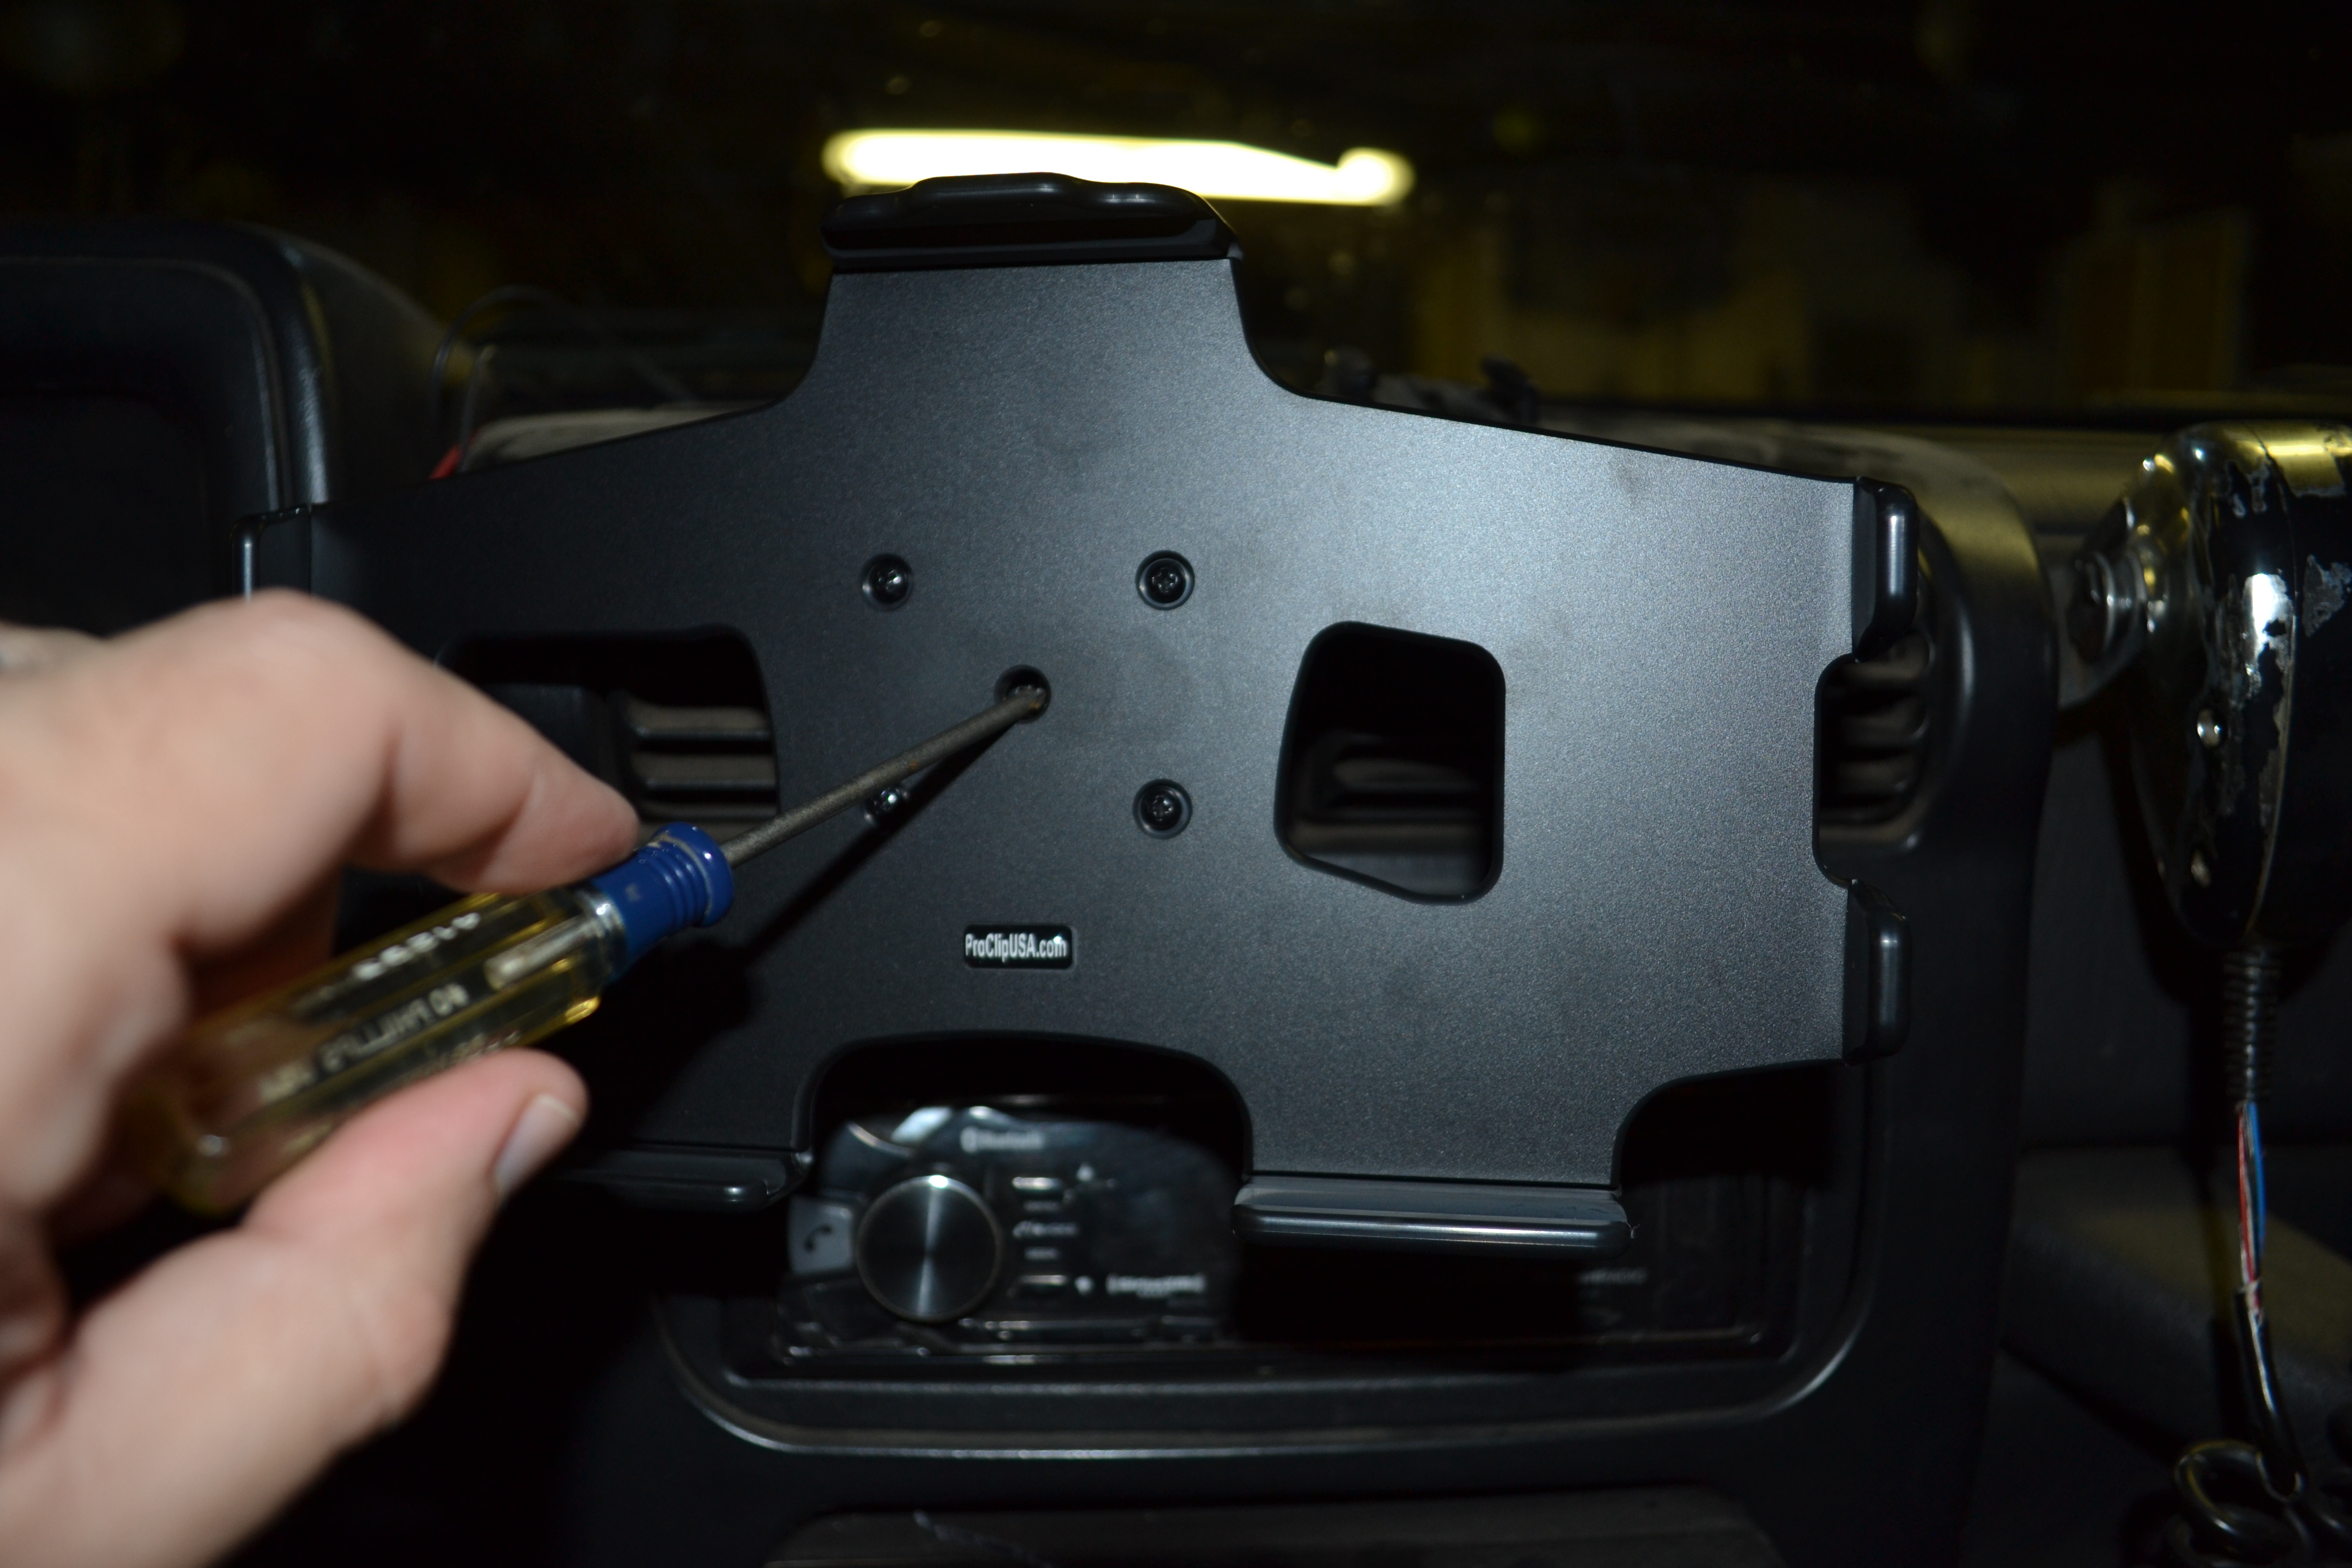 screw up until it’s spinning freely, then you should be able to pull the swivel base and the holder apart. This makes it MUCH easier to mount the swivel base to the mount base. Like I said, I drilled out the starter holes, and used the machine threaded screws, you may want to use the self tapping screws for your install, completely up to you. Once you get the swivel base attached to the mount base, you can line the holder back up with the swivel base and thread the screw back in. Be careful to line the square mounting surface inside of the swivel base back up with the square receptacle on the holder before tightening up that screw. Then tighten up the screw and you should have your install about complete! I’ve found
 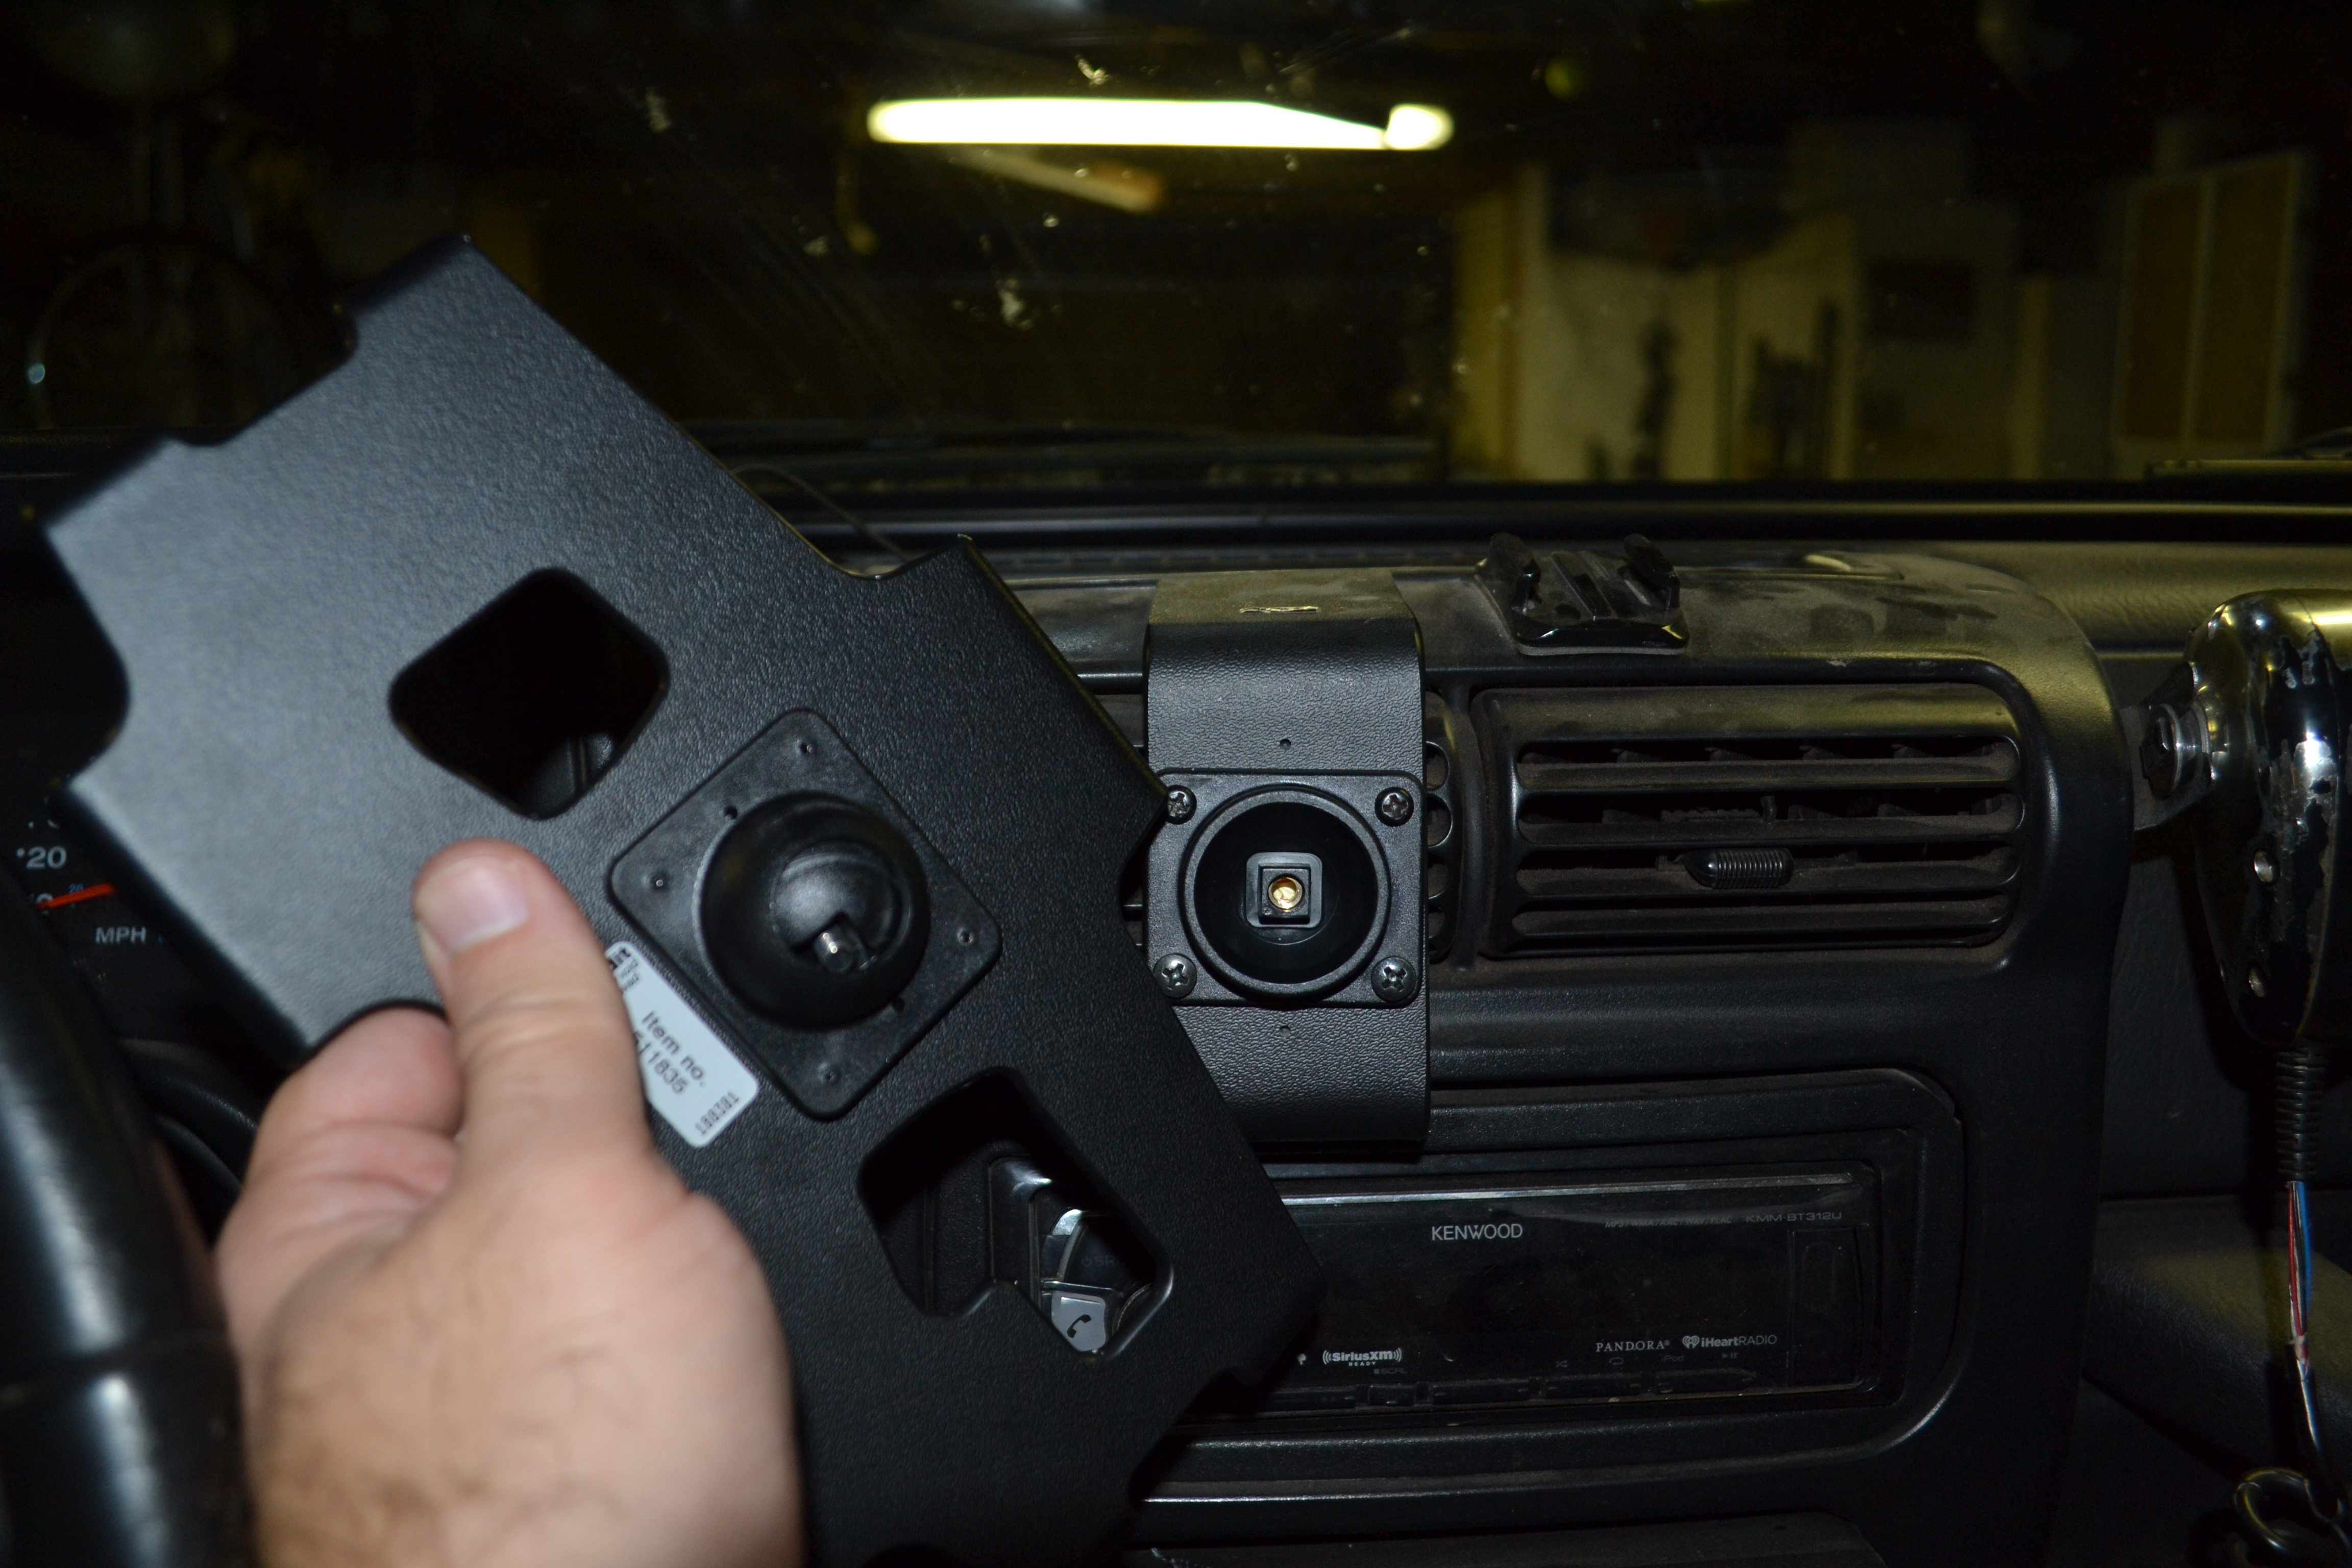 that you’ll want to make that screw pretty tight in order to avoid any wiggle in your device off-road, but make it too tight and you won’t be able to move the device around for a better angle. It’s going to take a little trial and error.
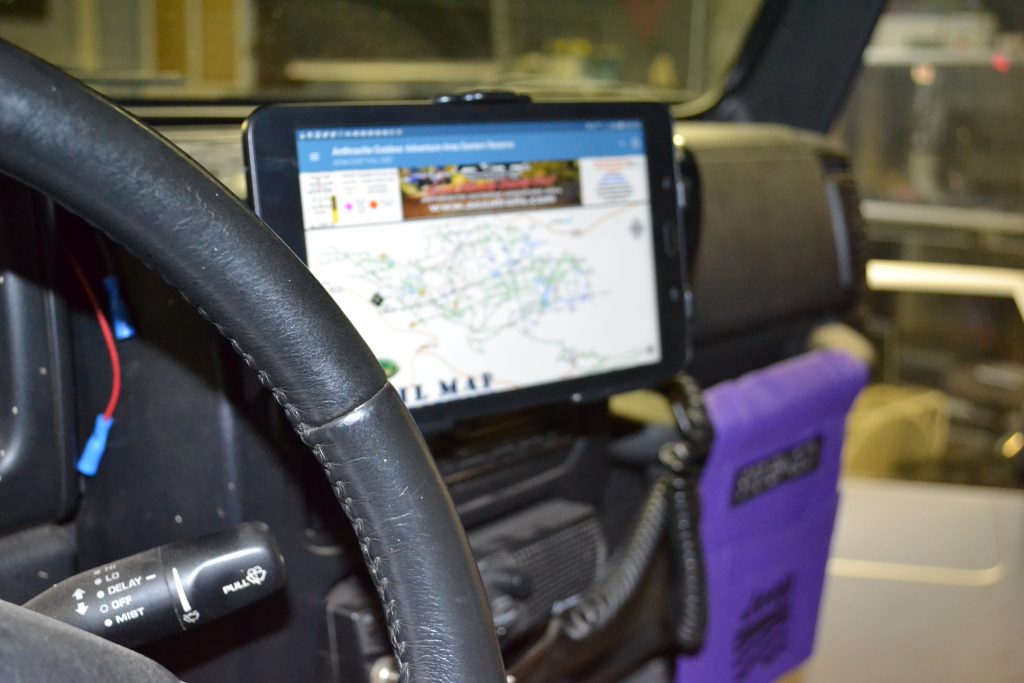
Once the holder is secured, you can adjust the angle, and place your device! In all this install probably took an hour, but that included removing my old mount, shooting video, pictures, and taking notes to write this article! You could probably have this done in 15 minutes if you’re getting right to it.
The mount is very sturdy! I put my tablet in there and used it for a few minutes just to get maprika opened up for some pictures, 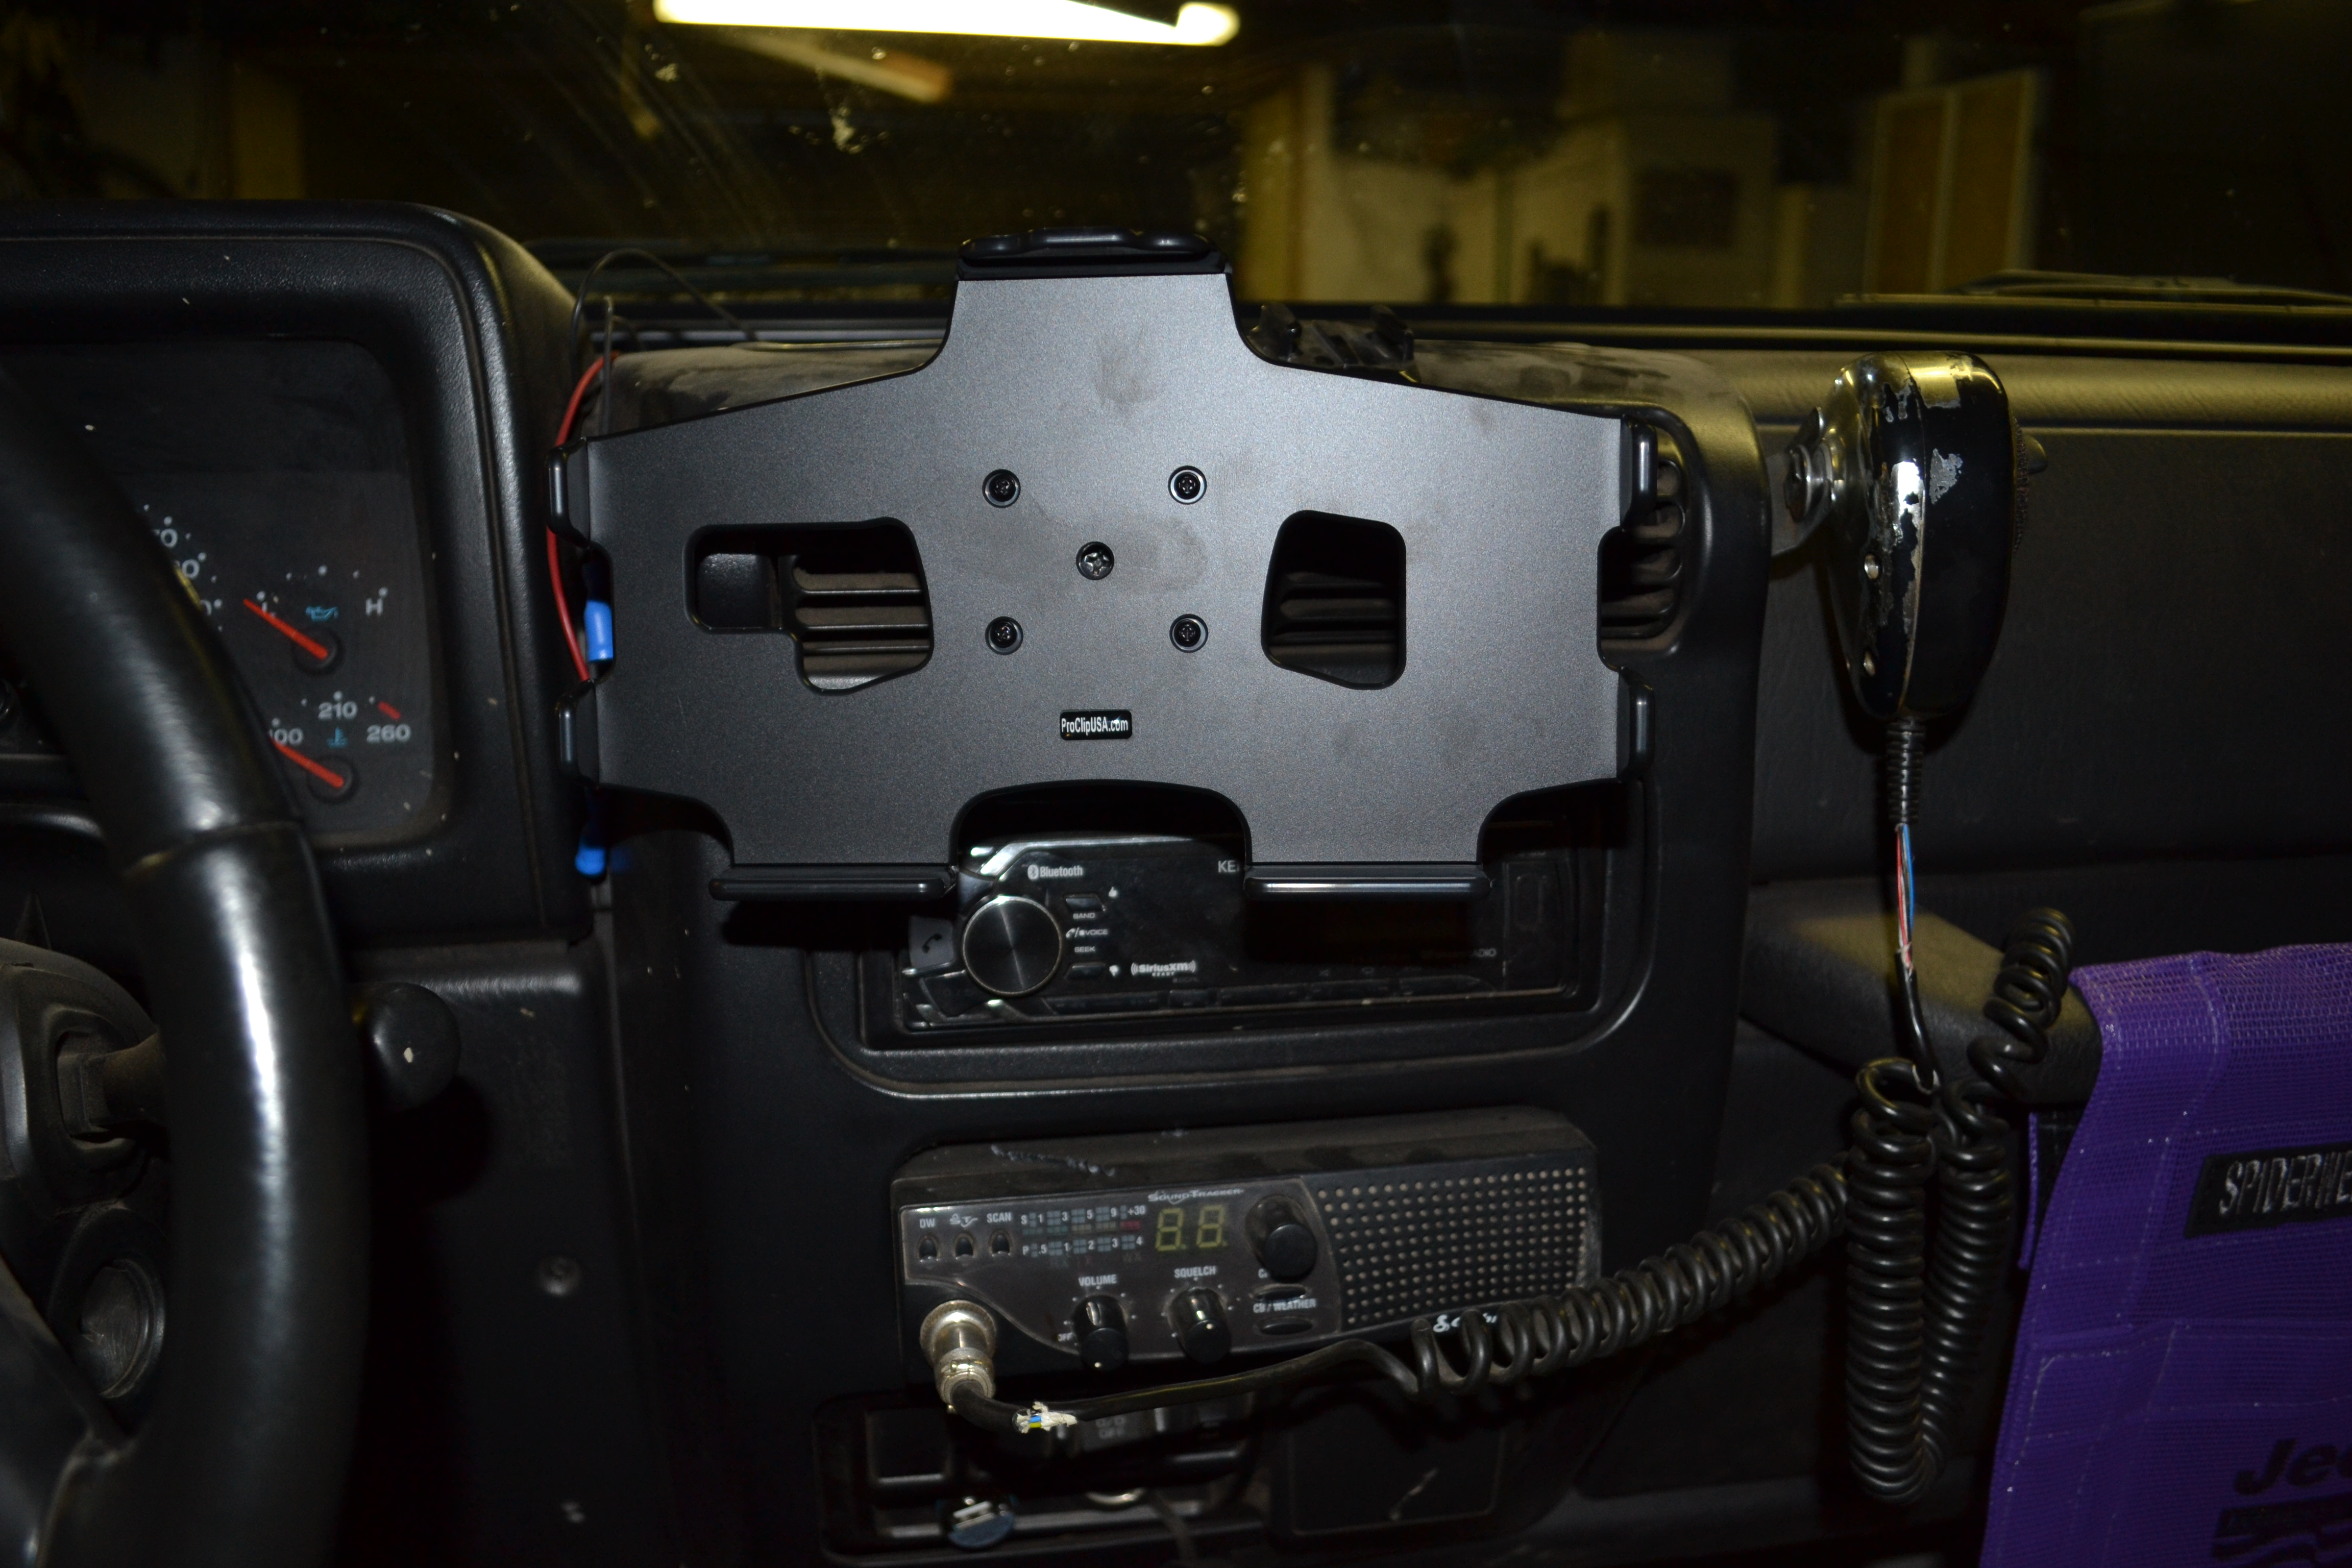 and it felt very solid, no give as a tapped on things on the screen. I didn’t feel any real give to the mount as I navigated my way around. Is this the be-all-end-all of tablet mounts? Maybe, I’d think that an in-dash android head unit would be better, but for what I have, and the cost involved, this is a GREAT solution. So far I like it much more than my between-the-seats tablet mount. All I have left to do is run my USB cable back up here for power. It’s worth noting that ProClip also offers powered holders for many devices. I believe they even have one for this tablet, but I decided to go with the non-powered version for a few reasons. Mainly for mounting space, and cost.
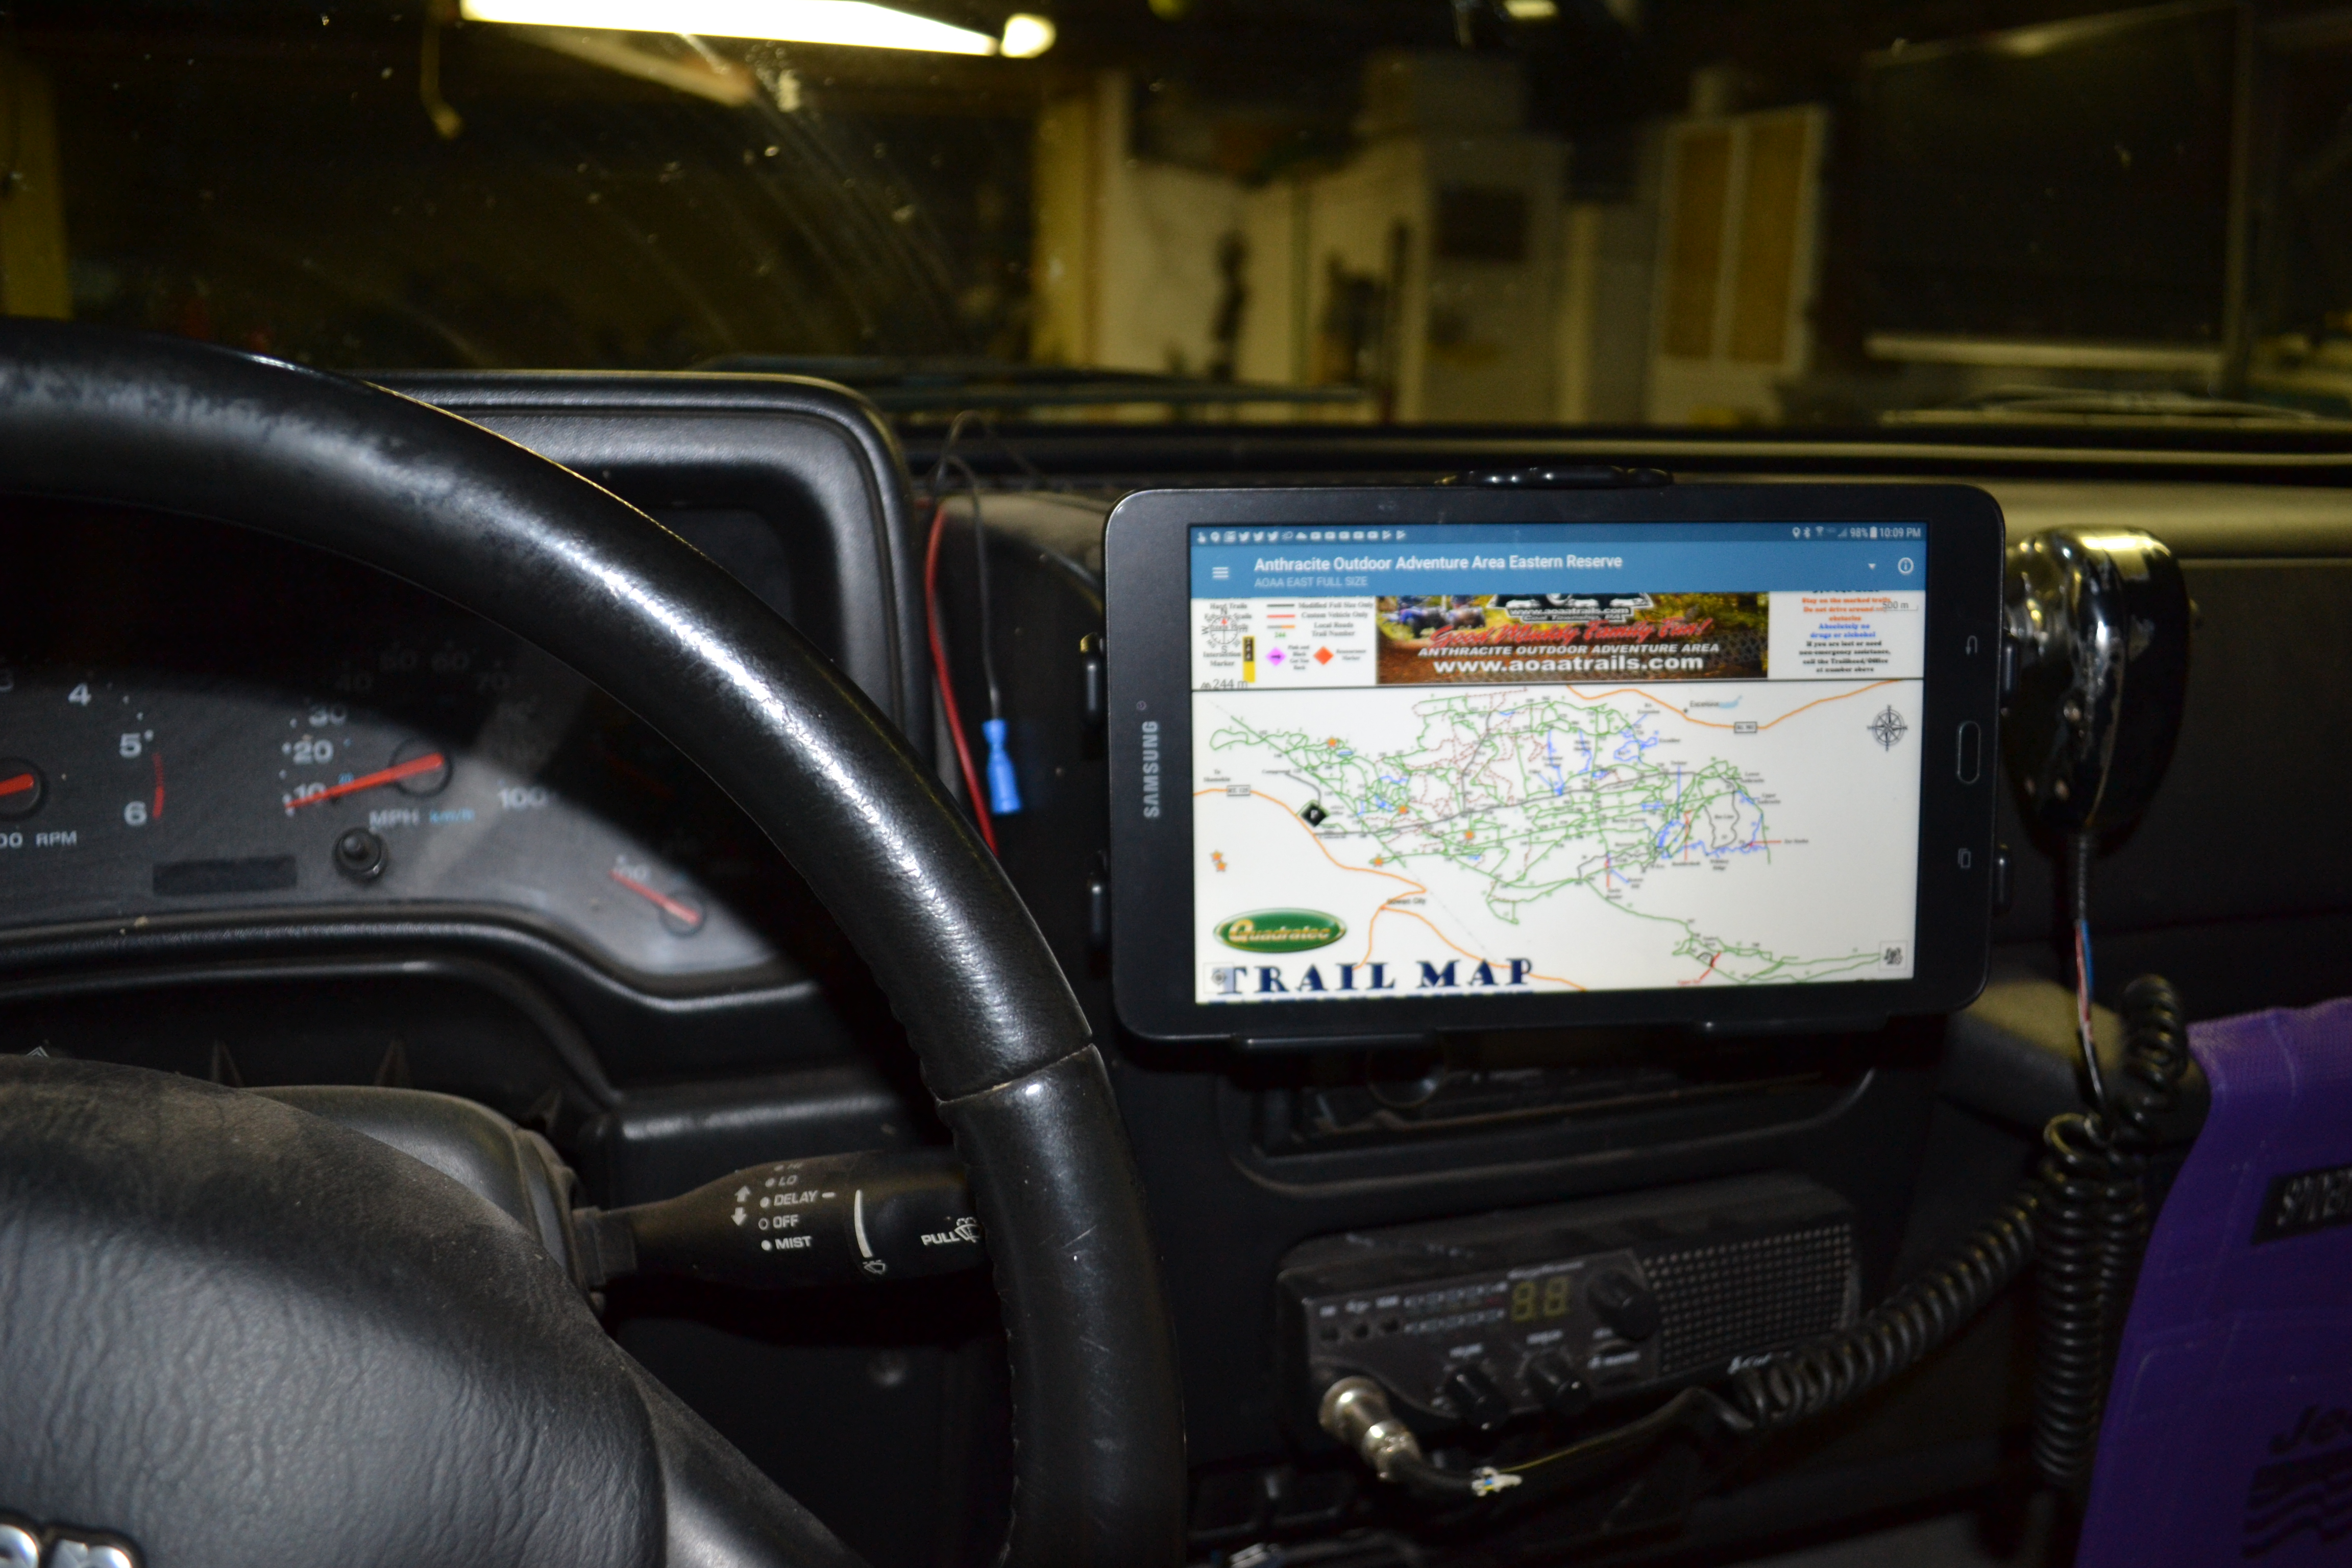 I only have two minor gripes with this setup. First, it blocks a vent, but with how I use the Jeep, I think I’m ok with that. I don’t depend on the center vents, and having my map up where it’s at eye level is more important to me. The passenger side vent is accessible, but only to the passenger. When my phone was mounted there this was less of a problem, but with the tablet the center vents are almost useless to the driver. Second the tablet partially blocks my stereo. I think I could mitigate that by moving the holder up higher on the mount base, above where the pre-drilled starter holes place it. I may do that, but first I’m going to see if it’s actually a problem. I don’t interact with the stereo much, it’s mostly a bluetooth receiver for my devices. I do listen to satellite radio on the trail though, so that may prove to be a problem. If it is, I’ll move the tabled up. As with the vents, this was not a problem when I had the phone mounted here, it’s mainly due to the size of the tablet, not a problem with the mount base or holder.
Now… where to mount my phone…