Never underestimate the value of good rocker protection! At the end of August (less than 2 weeks from now) we’re taking the JK up to the NCAOAAA off-road park in Northumberland County. DIYJ is nowhere near ready, it’d be impossible to get it ready for the trip, maybe with unlimited funds.. But doubtful. So we’re taking my 2-door JK. Me, My wife, and our older daughter. My JK is a stock 2-soor sport. It’s really not trail ready, so i’ve been putting some time into getting it ready. Installing a CB, sway bar disconnects, fabbing up a mount for my hi-lift, and finally, rocker guards.
The JK has a slightly curved body at the rocker, so it’s really not as simple as slapping some angle steel on to the body, like the old days. So I’ve been forced to think a little more creatively.
I have these old steps that i’d started building for a dodge pickup, and never finished. I put a lot of work into tapering the ends, and they’re made of 2×4 steel. They were 5′ long, the rocker under the door on the 2-door JK is about 50″. I decided to round down to an even 4′.

You can see the nice taper I worked into the ends.


So I started bu shortening them. I took a 7″ metal cutting disc and put it in my circular saw, this made sure that the cuts would be even. Straight was a whole other chore, but I manged ok.


Removed the old attachment arm, and then welded the halves together.

Yea yea, I’m not the best welder in the world… Sue me.
Here’s a mock-up on the JK.


Next was mounting. The JK has holes in the seam at the bottom corner of the body, beneath the door. Theyre there to mount the stock rubicon rails, or the factory steps. There are two sets of two on each side (3 sets of 2 on the 4-door) and then threaded holes on the underside of the body. You end up with 3 connection points per attachment. I decided to take the scrap rectangle tube that I’d cut off of the steps, and make two pieces of angle out of it, then two tabs. The angle ended up 6″ wide, and about 1.5″x1.5″. The tabs are sort of custom fit, the rear ended up at 4.5″ long, with an angle bent into it to meet the underside of the body. The front tab is about 4″ with the same angle in it. After marking and drilling the pieces of angle, I just put them in place, lined up the step where I wanted it, and then clamped it in place. Then welded it on the bench. I made the tabs, and bolted them in place, then tack welded them on to the inner side of the steps.
Angle mounts

Tabs

Clamped in place.

I ended up turning the angle mounts around. I liked the look of them turned as they’re depicted here, but i liked the mounting surface better the other way around. These are more about strength than look. To some extent anyway.
Here are the angle brackets welded in place.


Now we go underneath, and mock up the tabs, and tack them in place.

And here it is, tacked in place and mounted.


And back on the bench, with the welds finished up.


And now, on to the other side.

And then there were 2.

Cleaned up, and painted.

I used rustoleum hammered. I love the finish of this stuff.

Once the paint dried, I mounted them, and made up some nice swbcrawler.com stickers to show them off with. The end result is very nice. I am quite pleased.
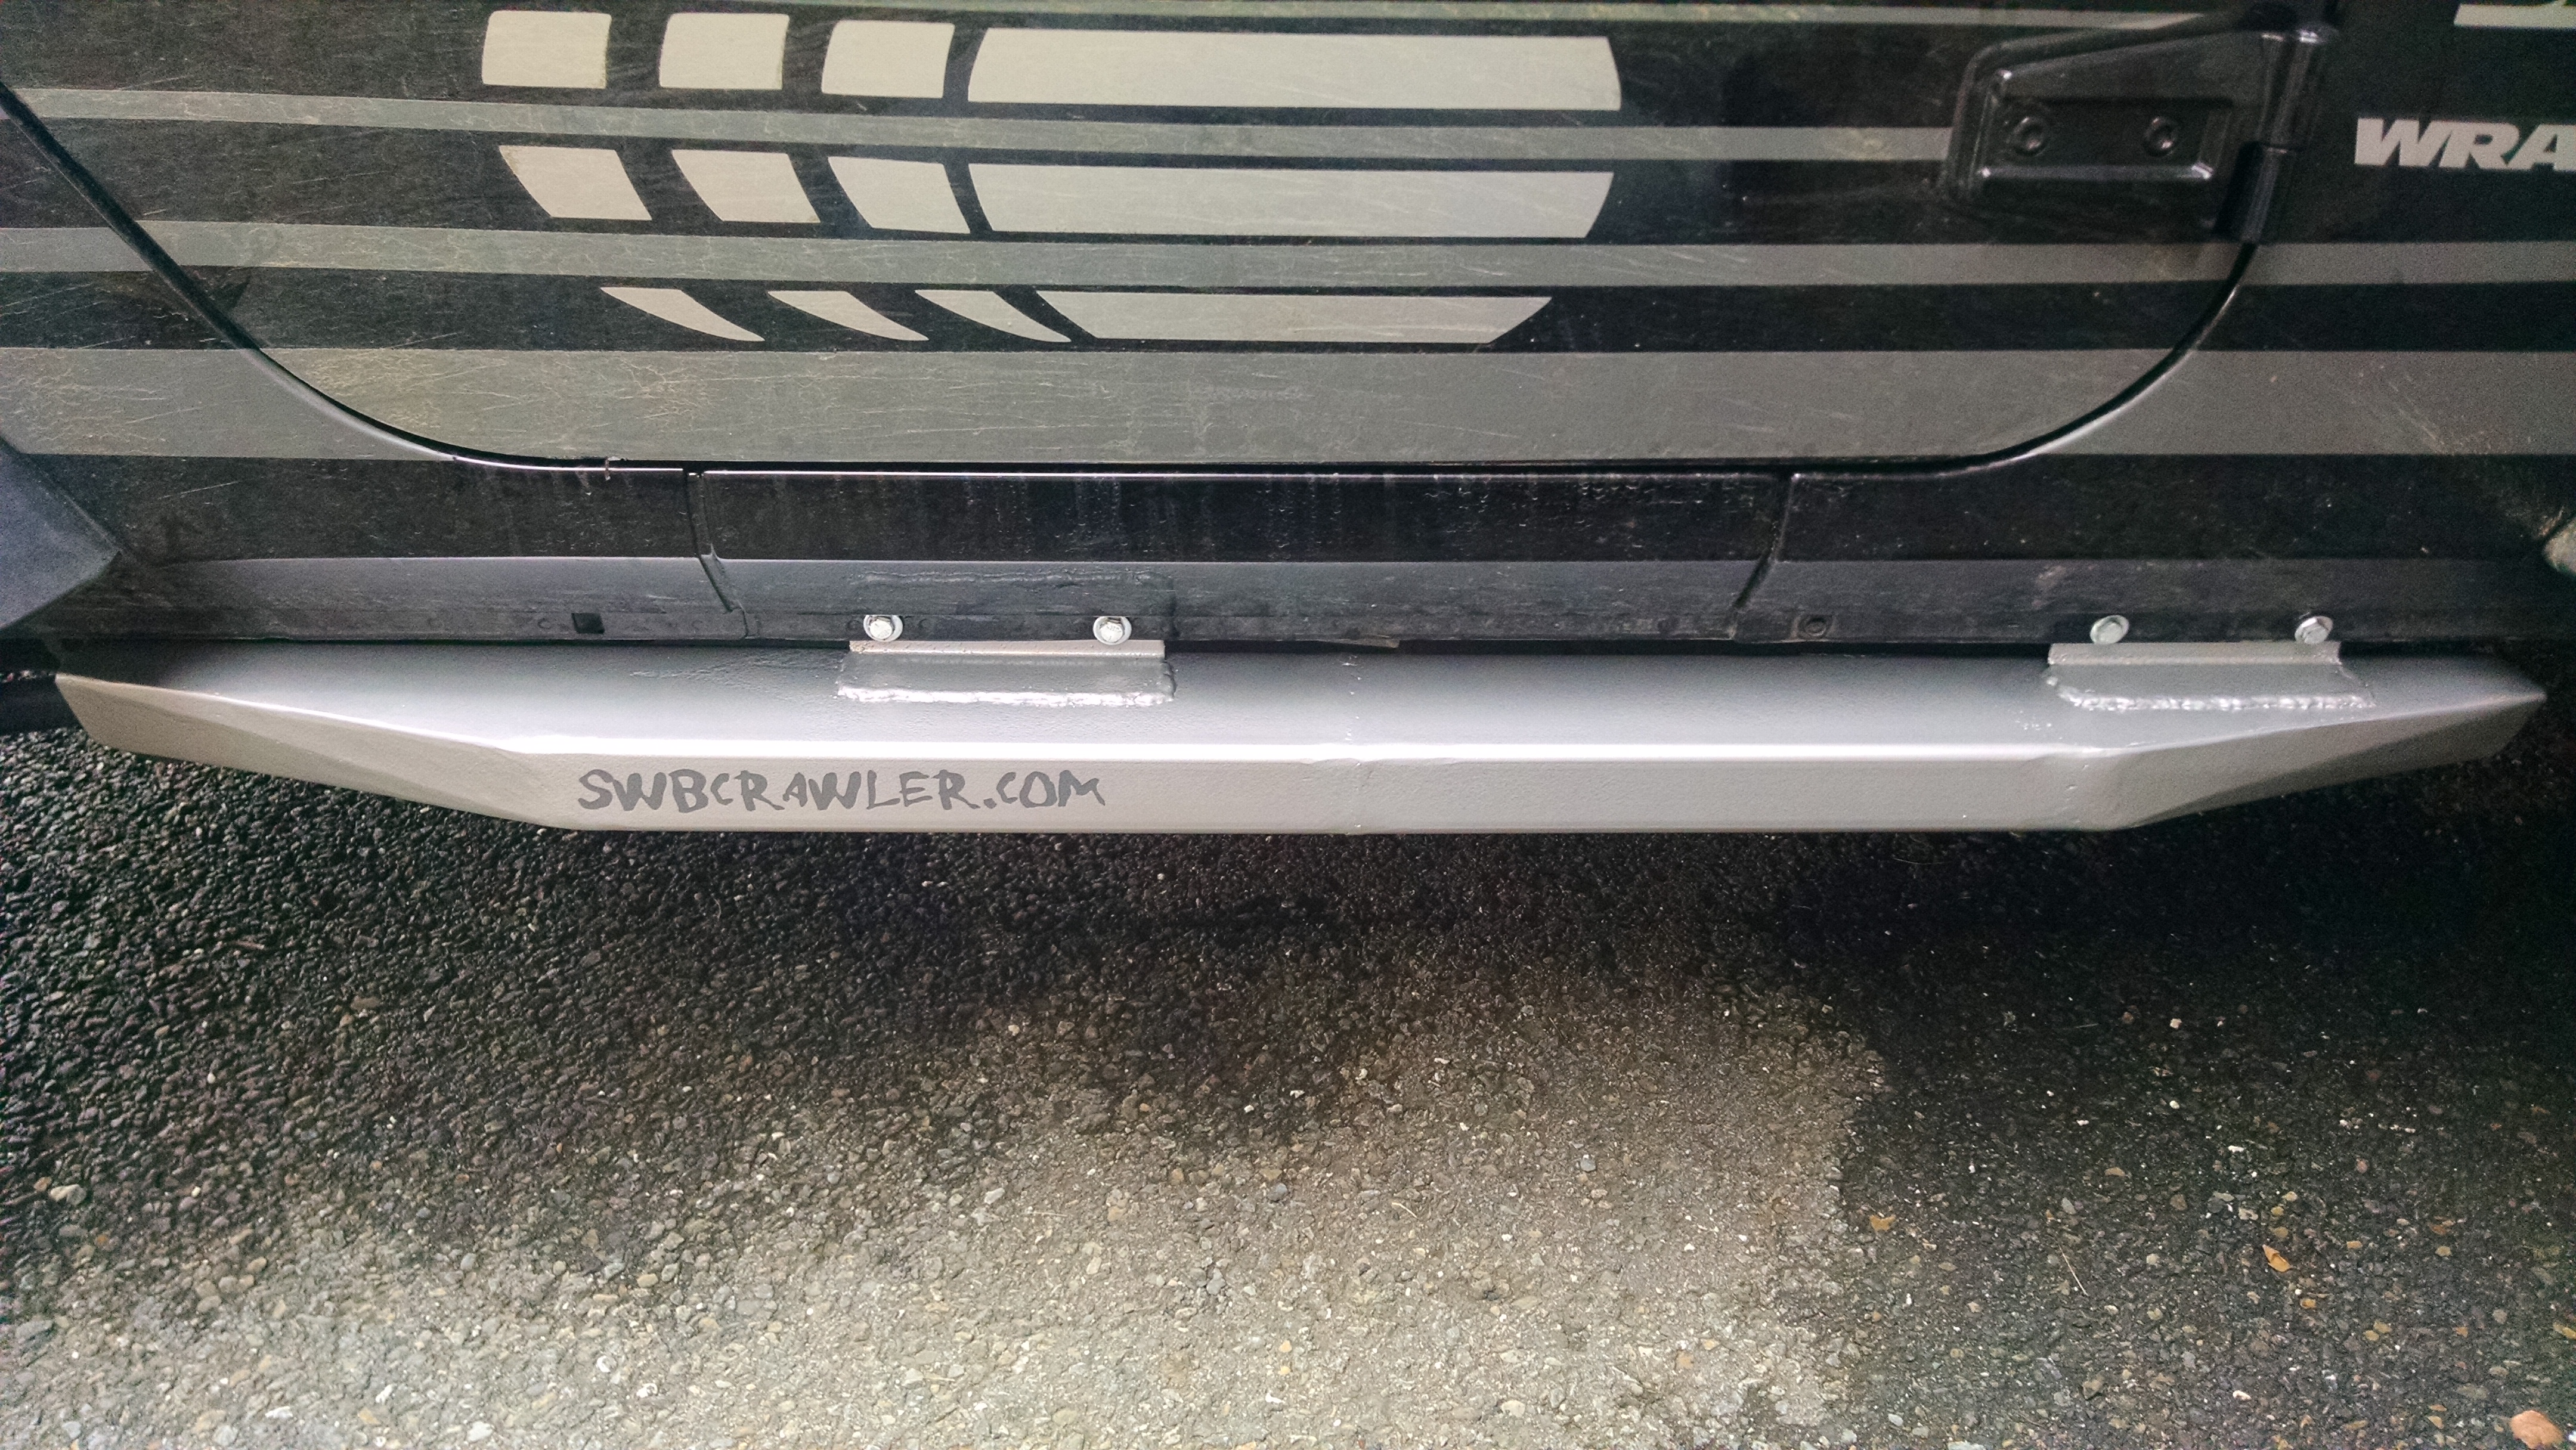
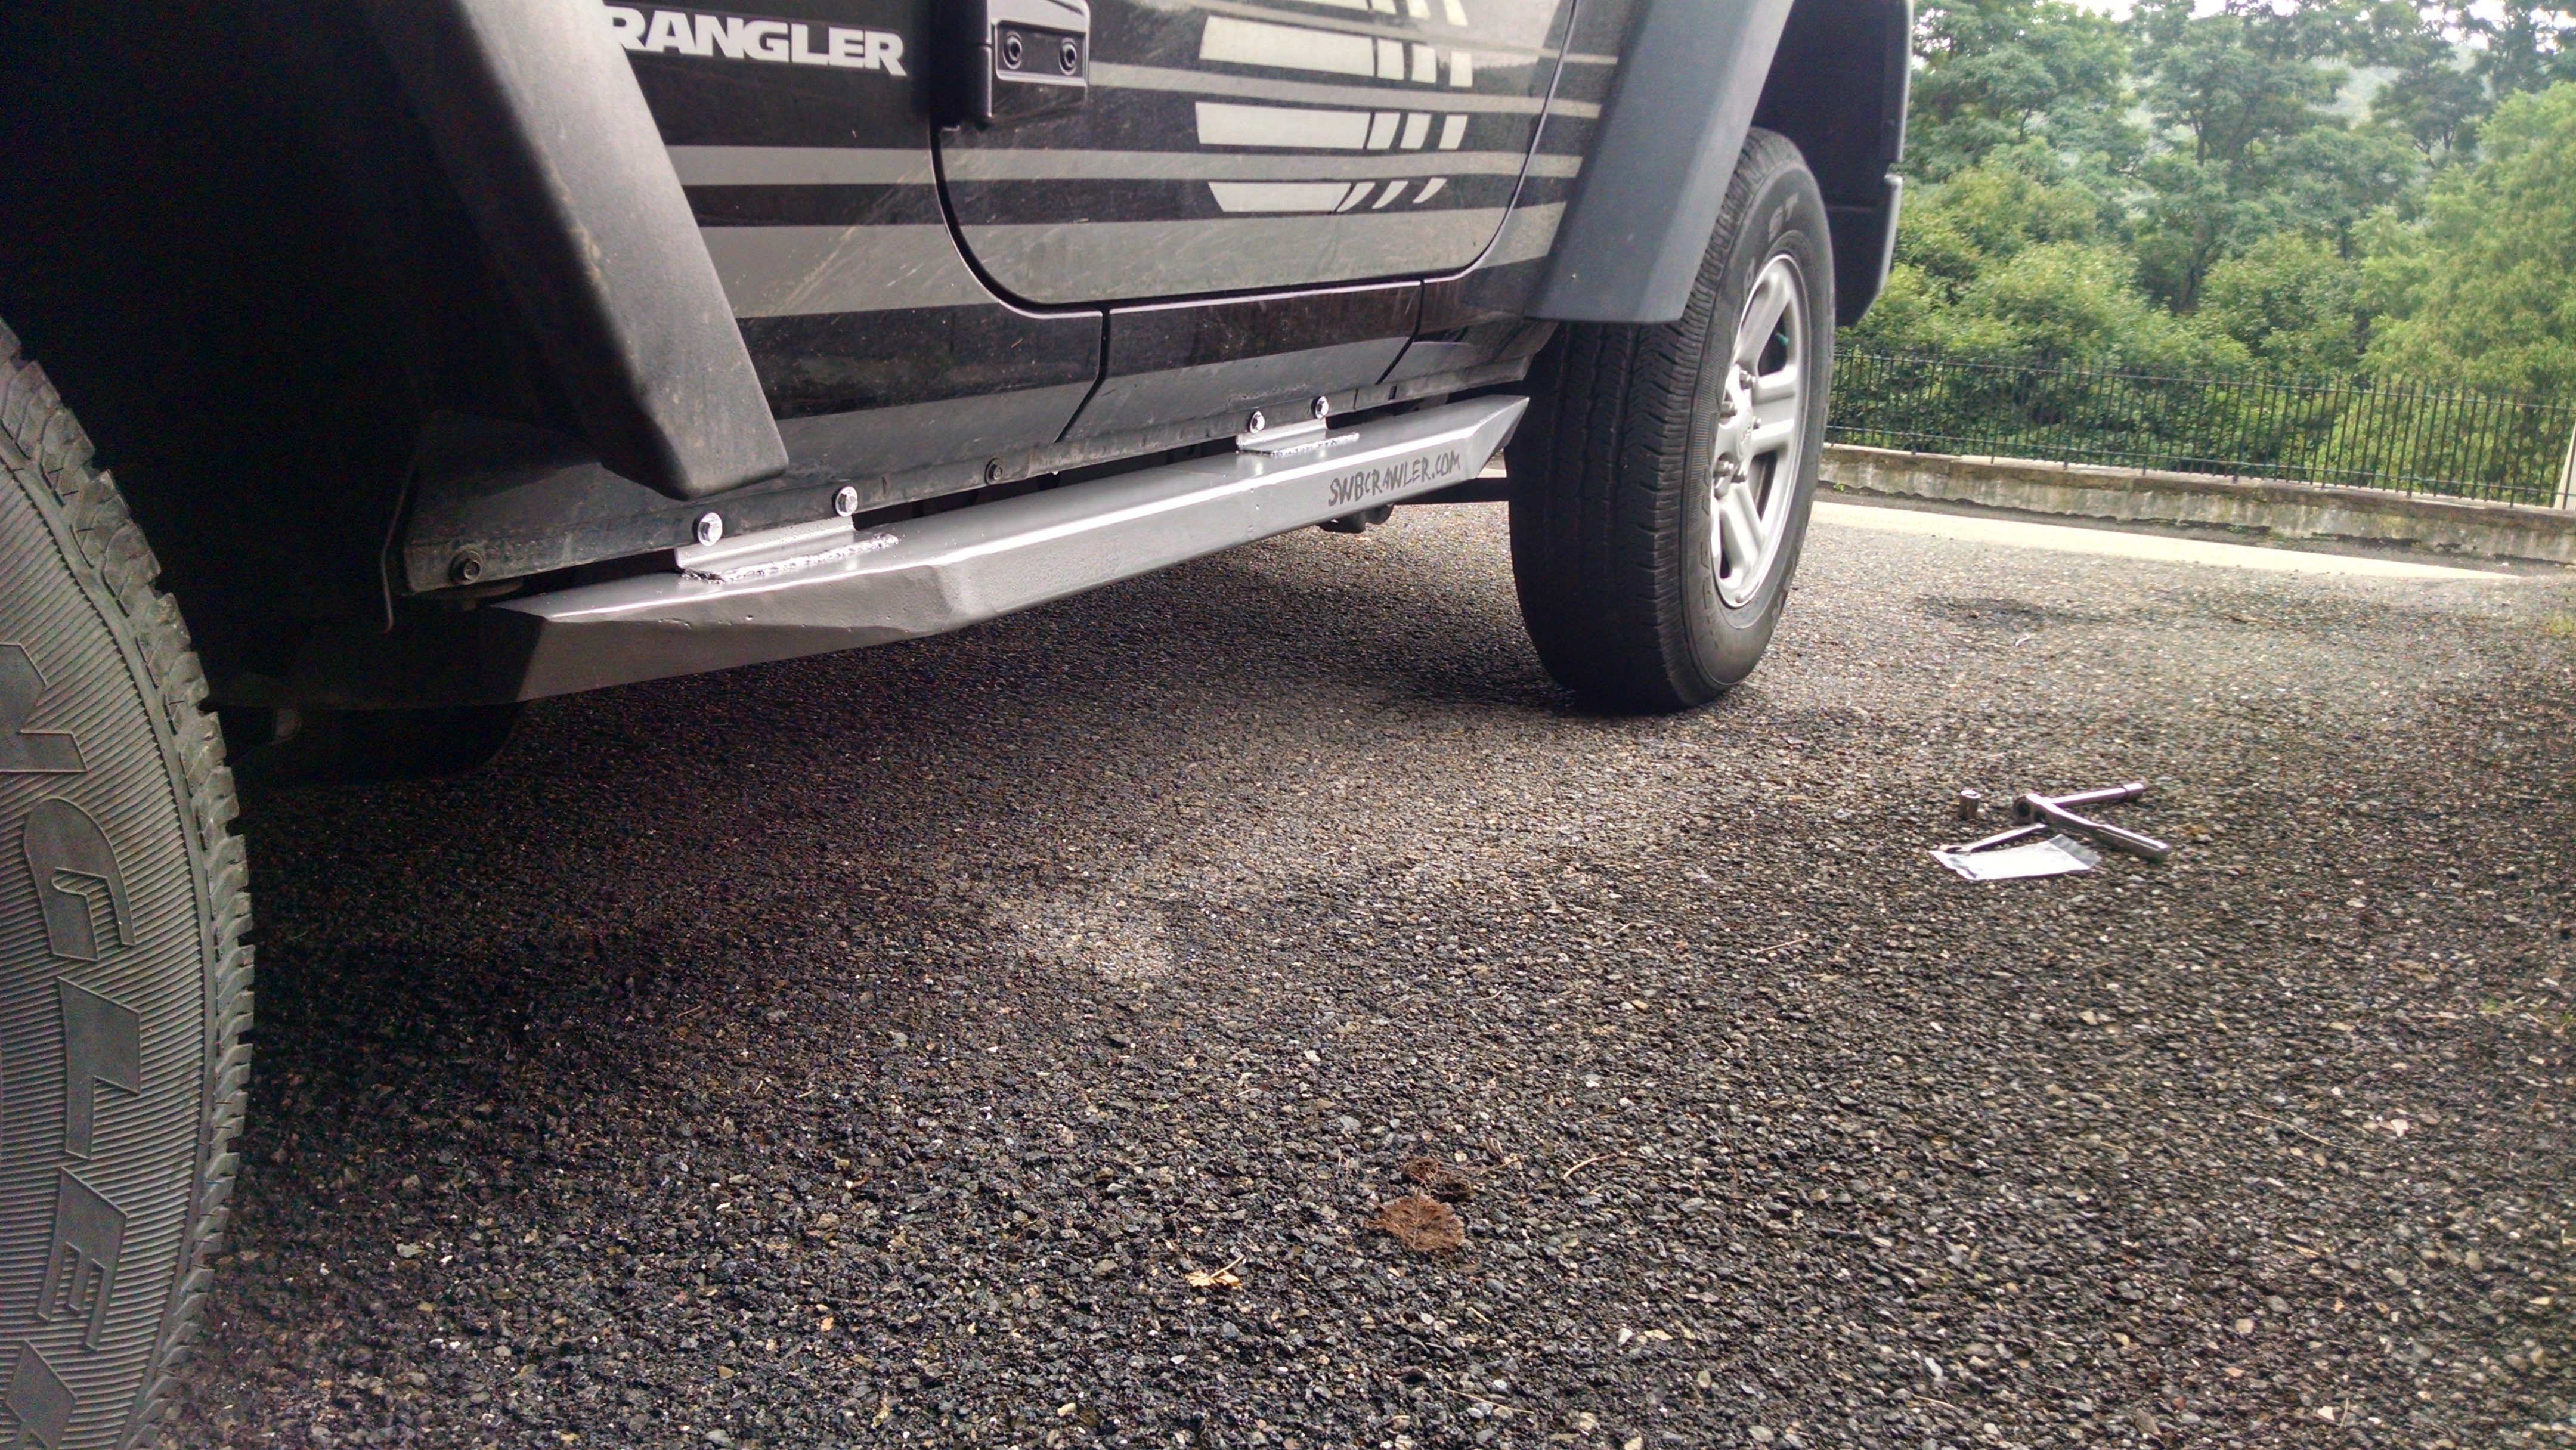
I installed them the morning we were leaving for our trip to the AOAA. After a weekend of dragging my little JK over a number of obstacles, i can say that I am VERY relieved to have installed these before the trip.
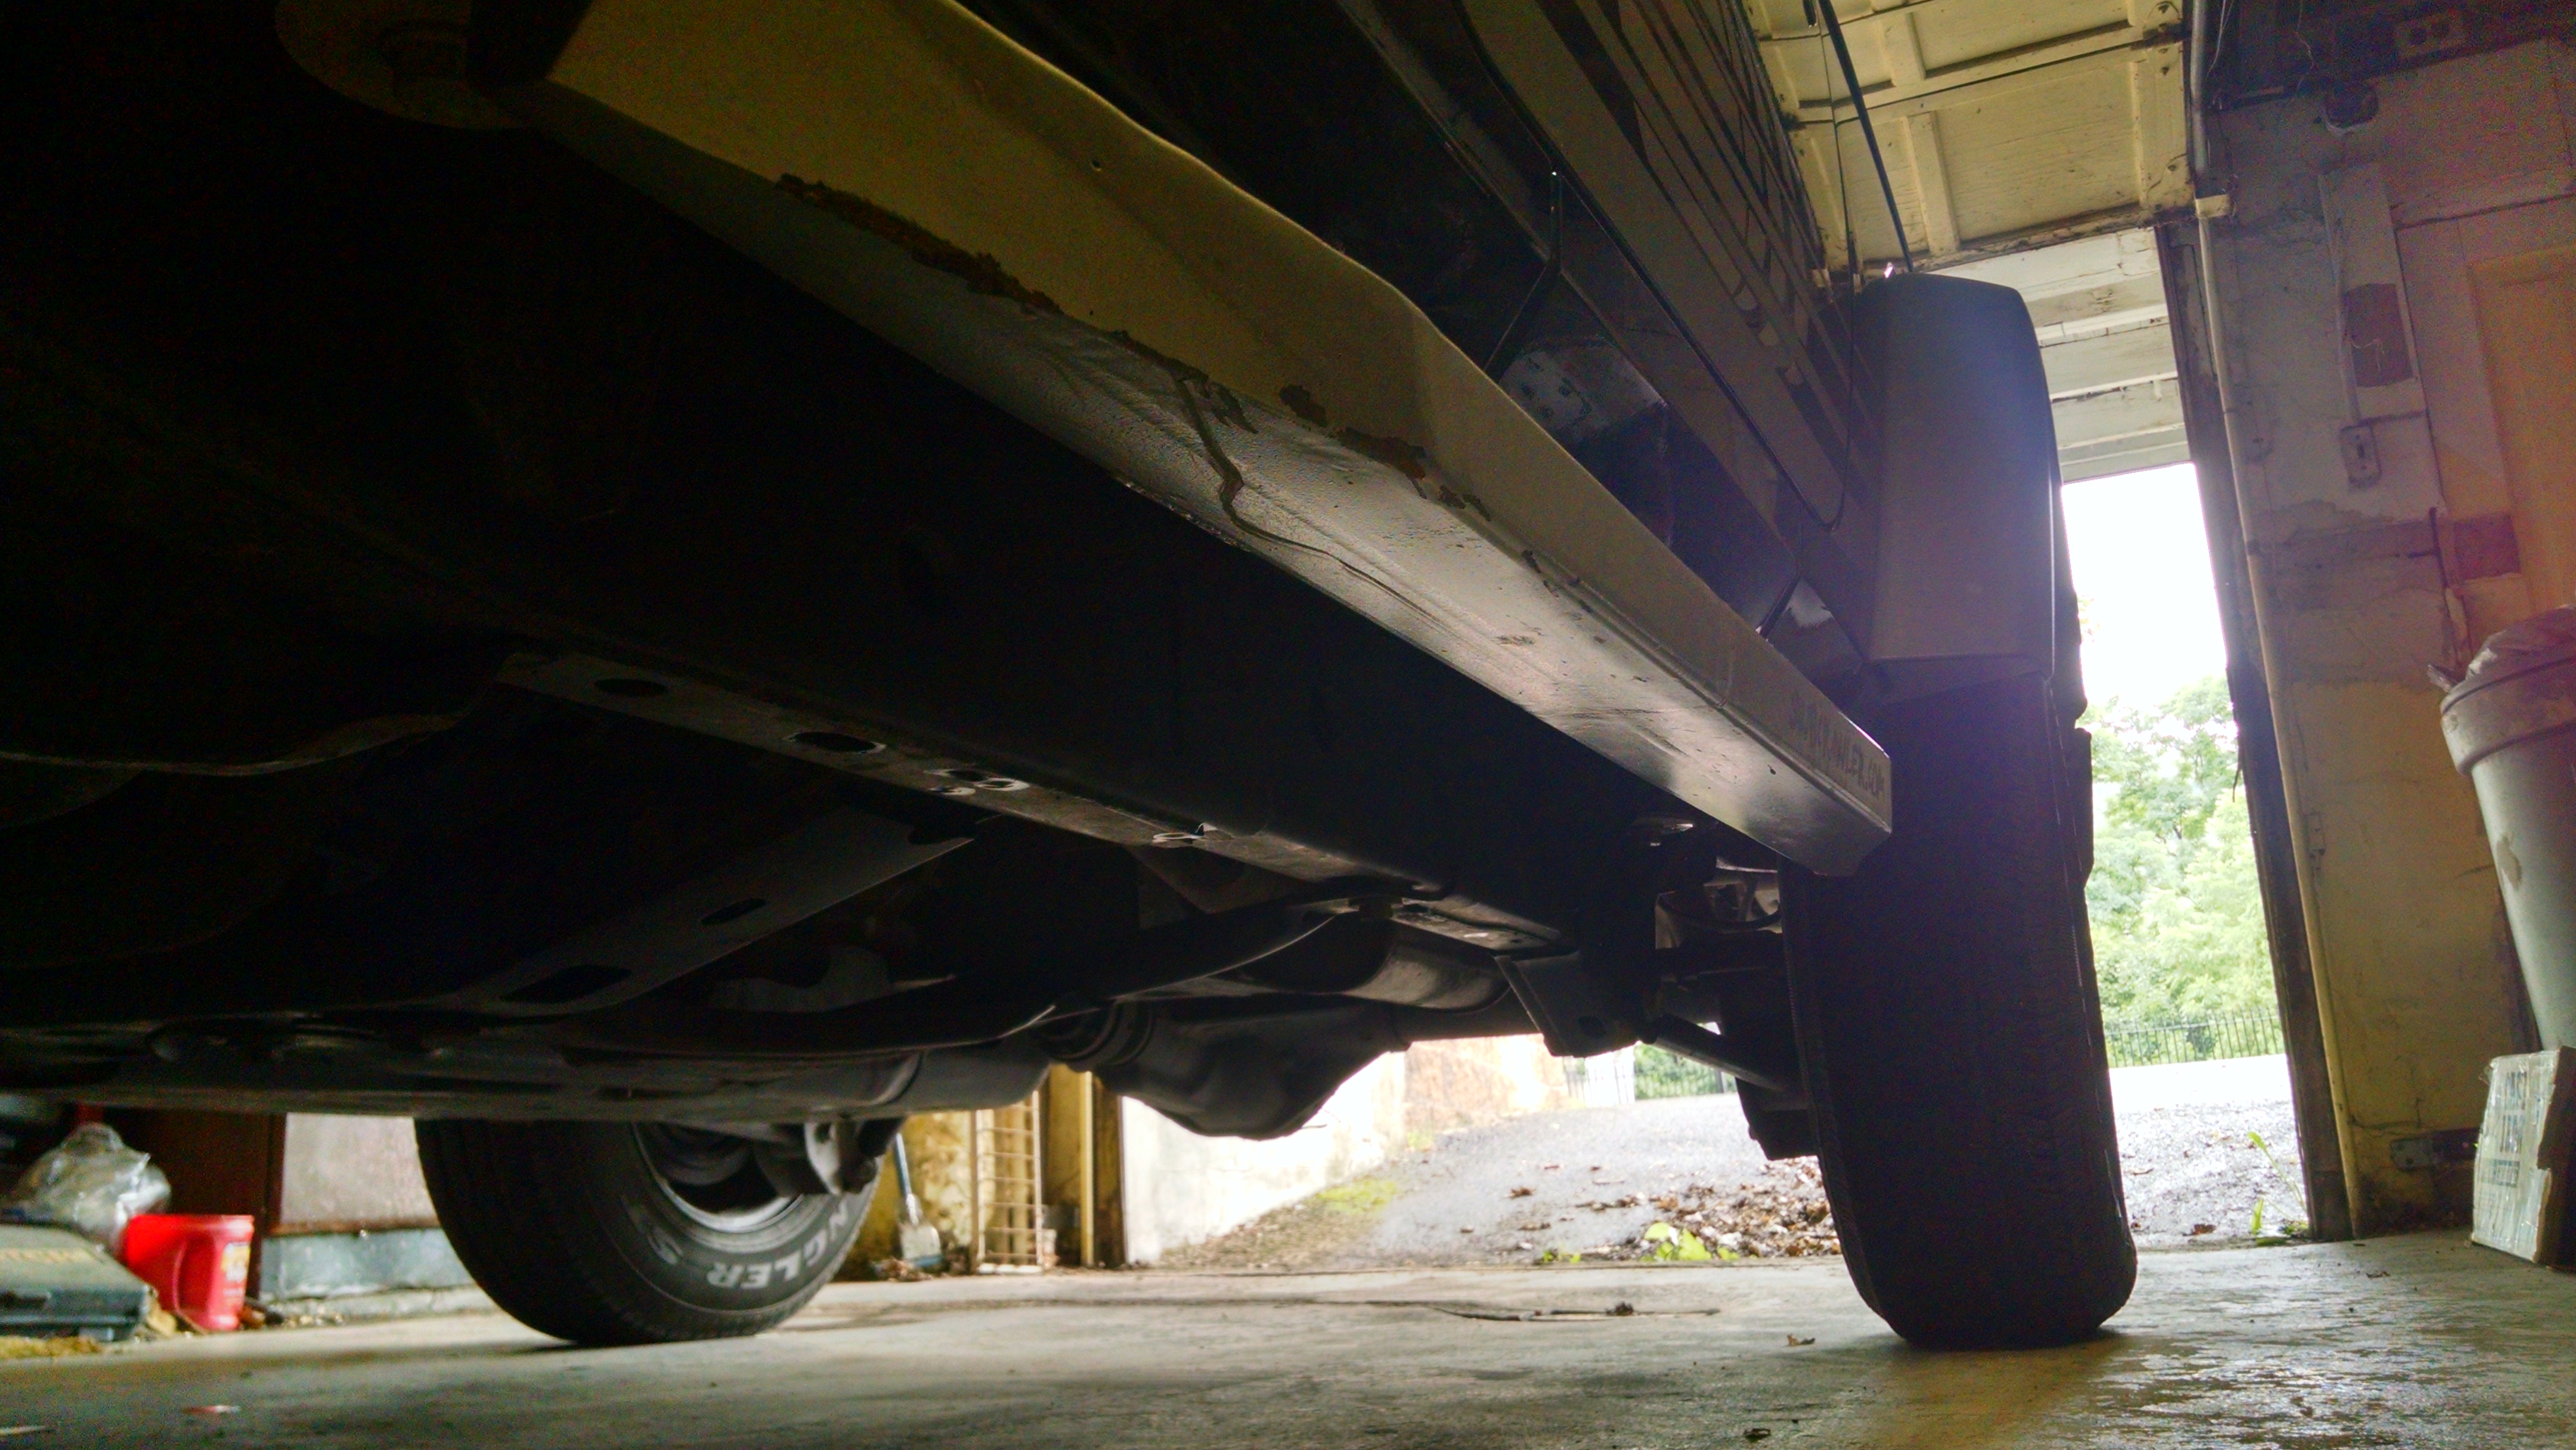
The drivers side rocker took such a hit that it’s bent inward slightly, which probably slightly bent the mounting holes in the body, but it’s largely un-damaged. I am very happy that I build and installed these before the trip, or i’d likely have come up with much more damage than I did.