Note: I did this on two different days, for a few weeks i actually had only the front flares installed, you may notice a gap in the write-up for the front, and rear flares. I did the front first, and the rear later.
Front flares
As anyone who has ever owned a YJ or CJ and tried to install larger tires knows, there isn’t a lot of room under the fenders. Some trail rigs have simply had the flares removed altogether. That isn’t an option for me as this in my Daily Driver and state inspection laws prohibit me from removing my Fender Flares. So, the next option is to find a way to add more clearance and still keep the flares. That’s where the TJ flares come in.
So, my friend Adam (Rave) and I (YJ Nate) set out to accomplish this.

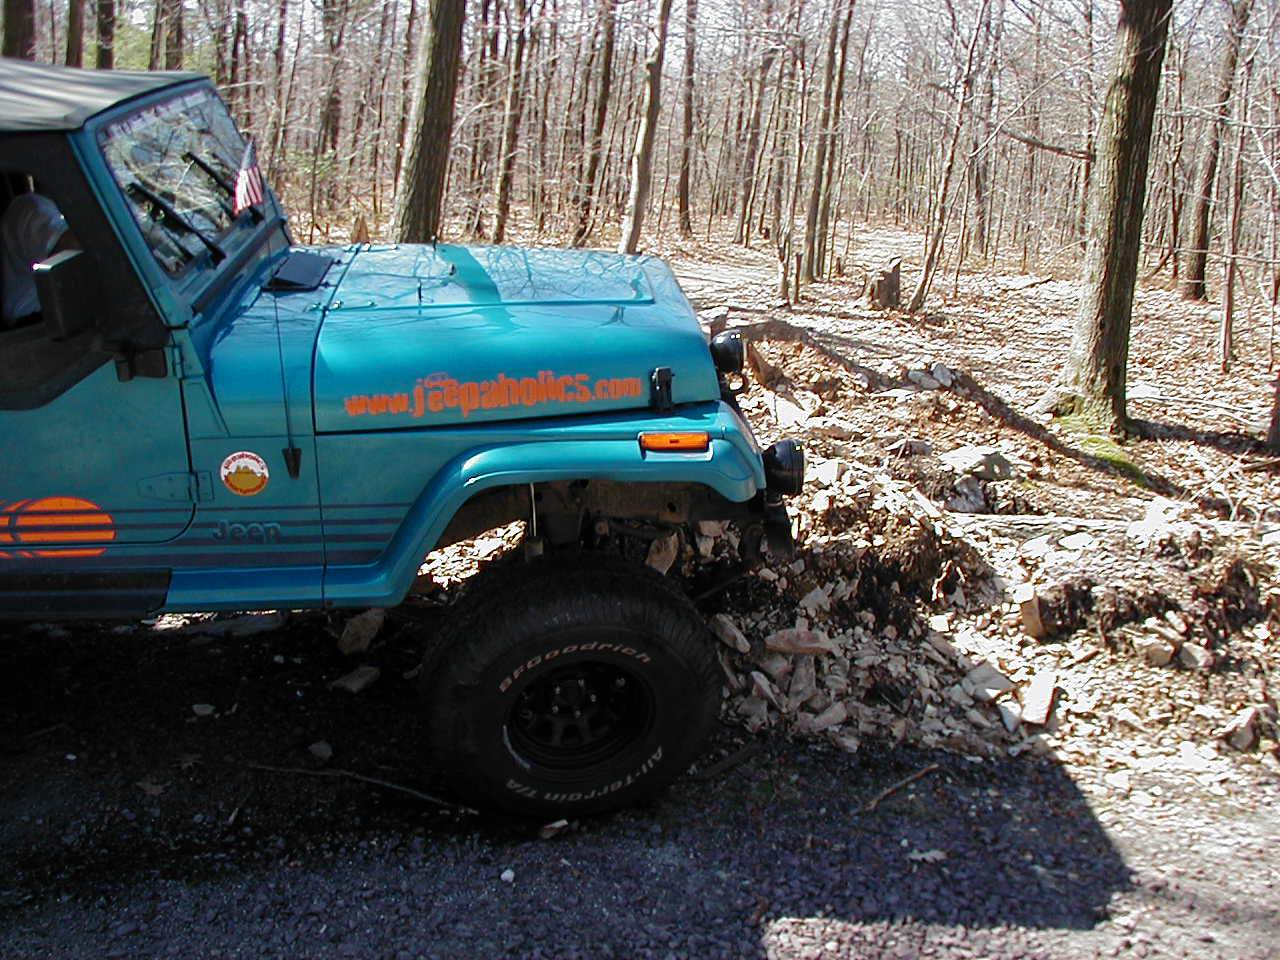
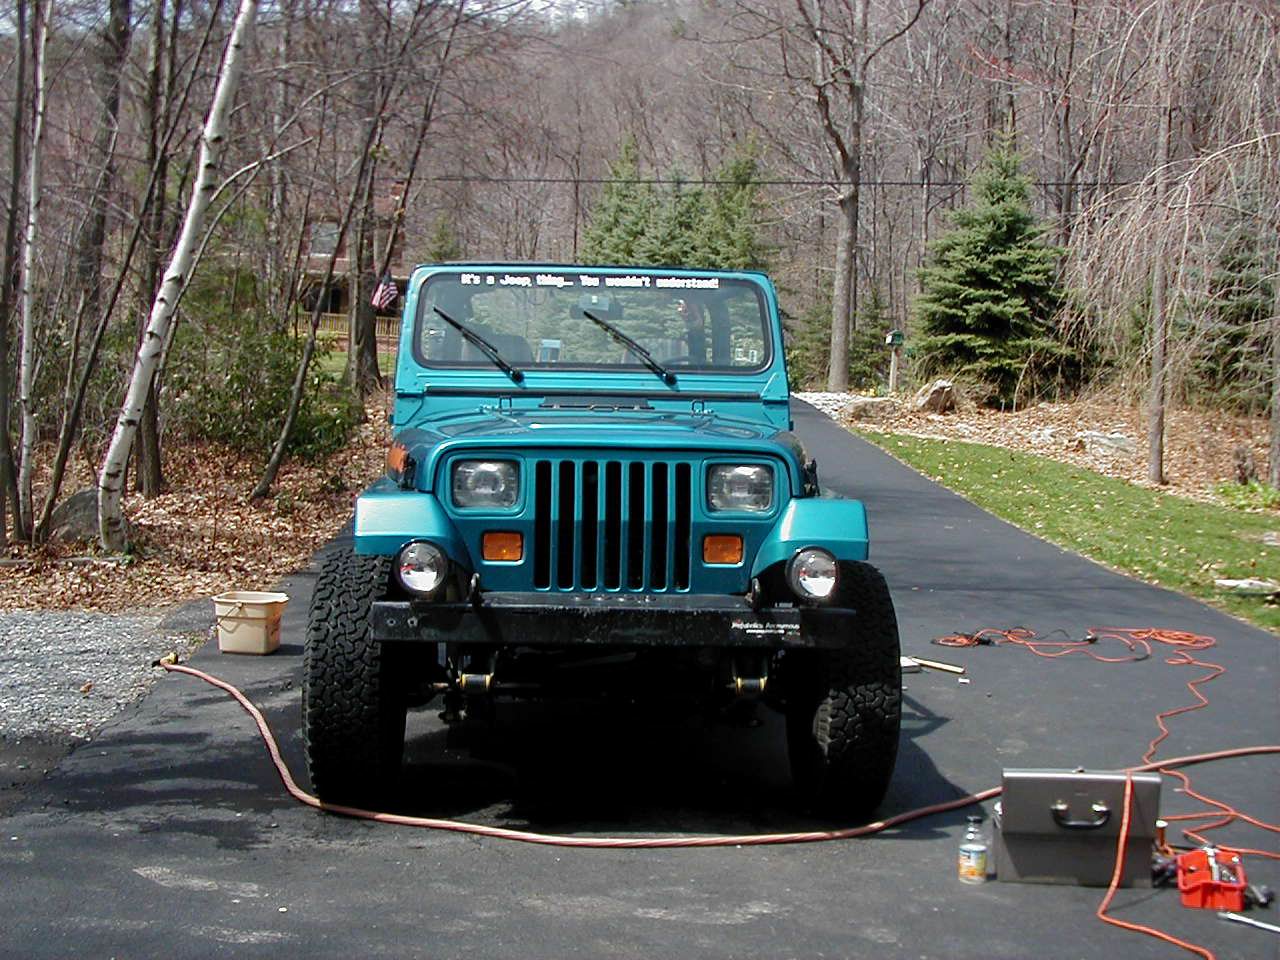
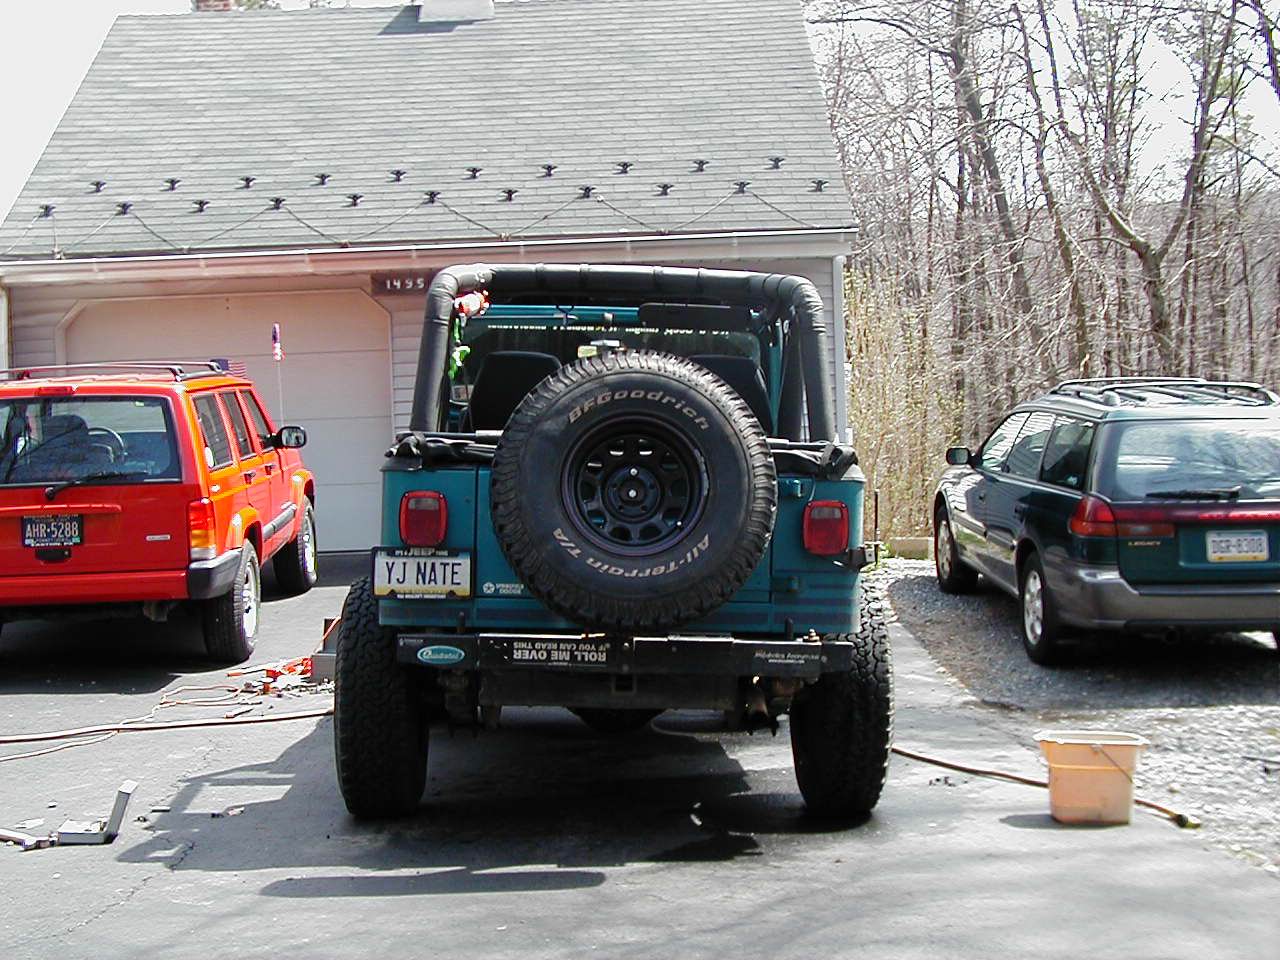
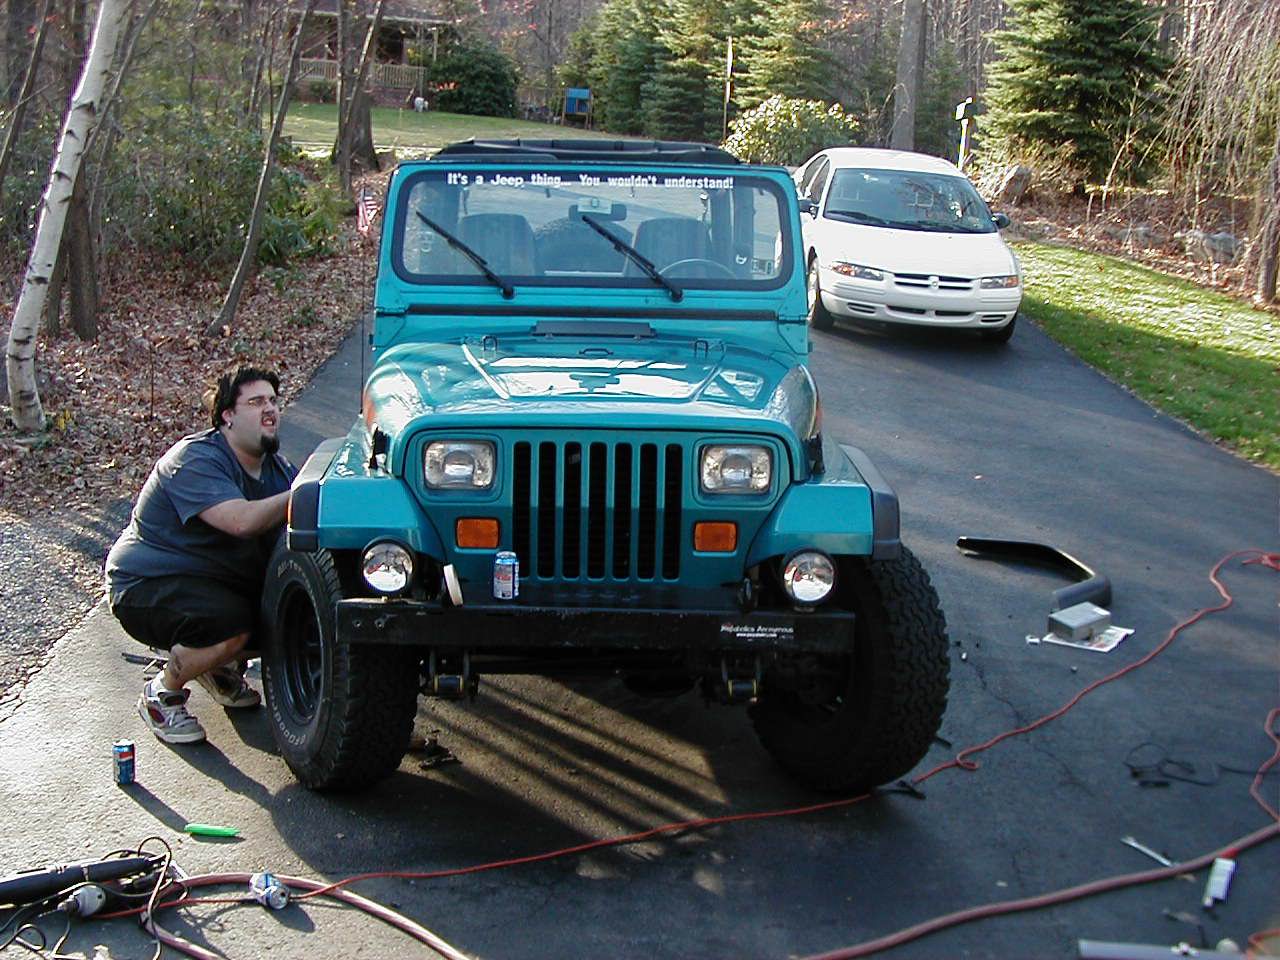
Here is my YJ Islander before we started wrenching and cutting. Pretty, isn’t it?
We decided to go out and take a few flex shots before we got to work.
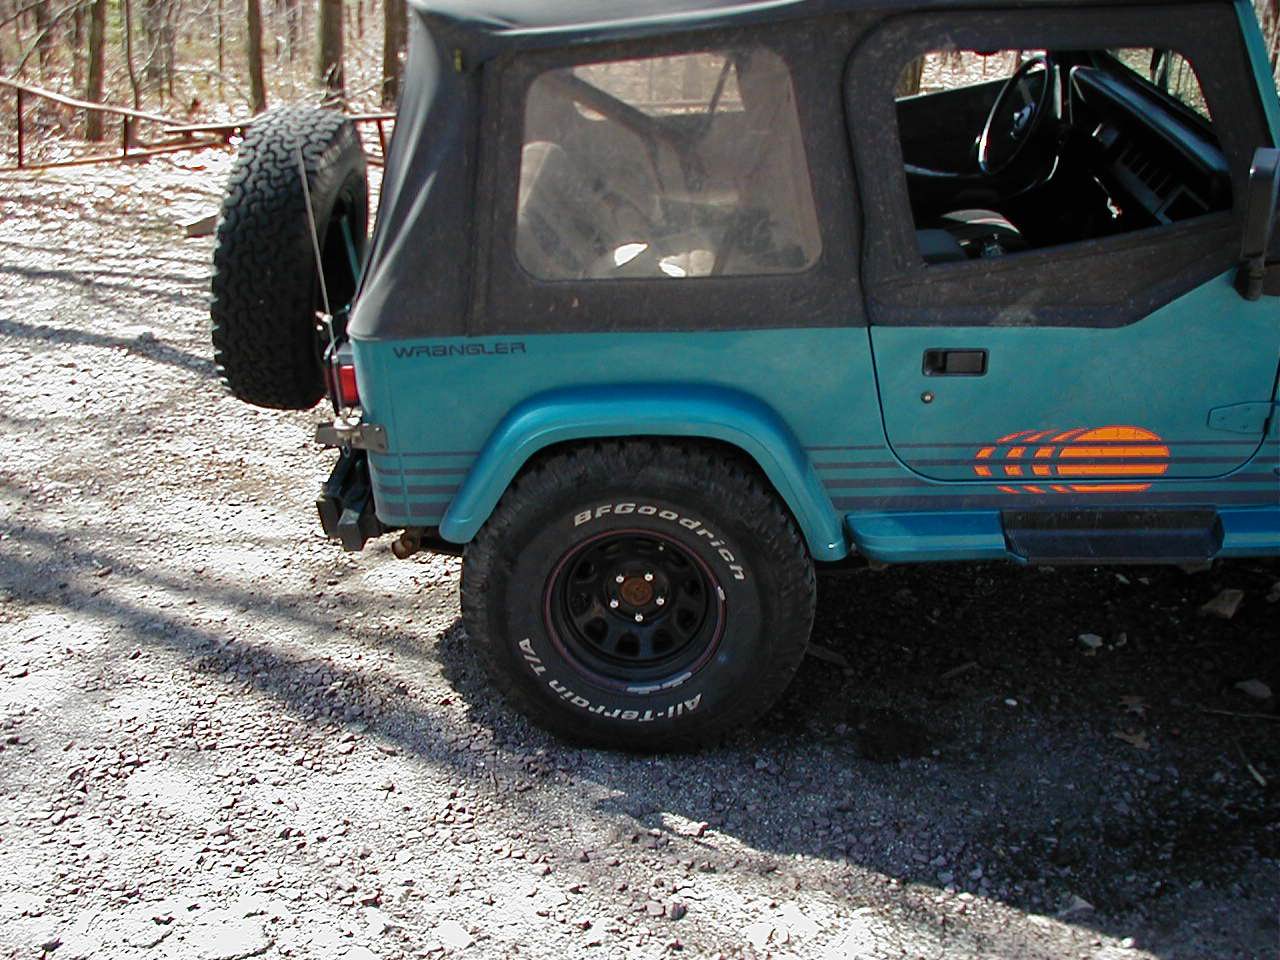
Here is my rear passenger side tire fully stuffed into my fender.
This is my rear tire contacting my rear fender. One thing that I aim to fix!
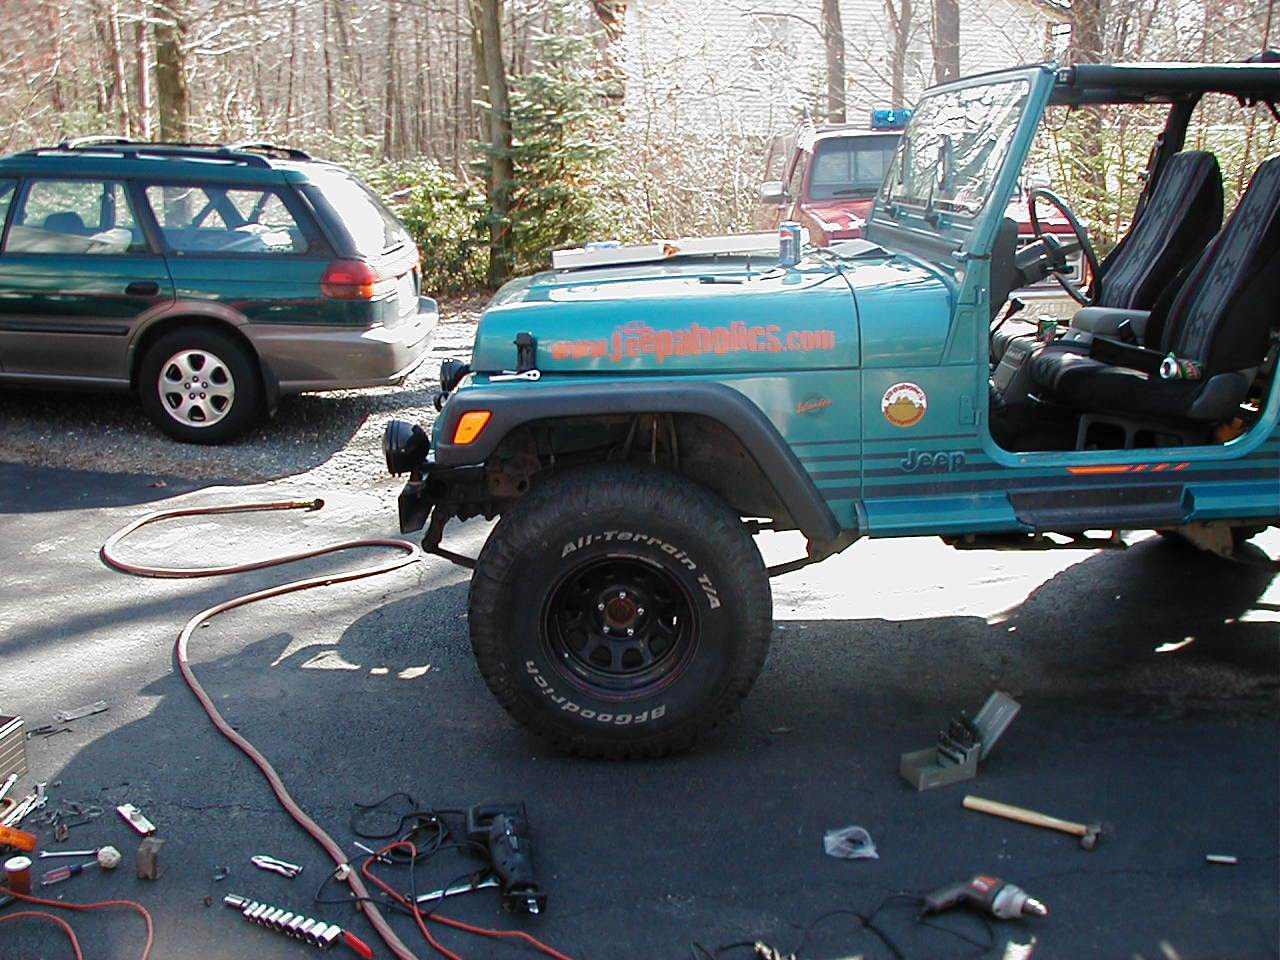
Didn’t get as many pictures of the actual removal as I wanted, but it’s really simple.
In the front it’s as simple as: Remove the marker lenses and remove the lights from the lenses. Then remove all of the screw/fastener assemblies that hold the flare on. Then remove the flare itself. Pretty basic. You’ll end up with this.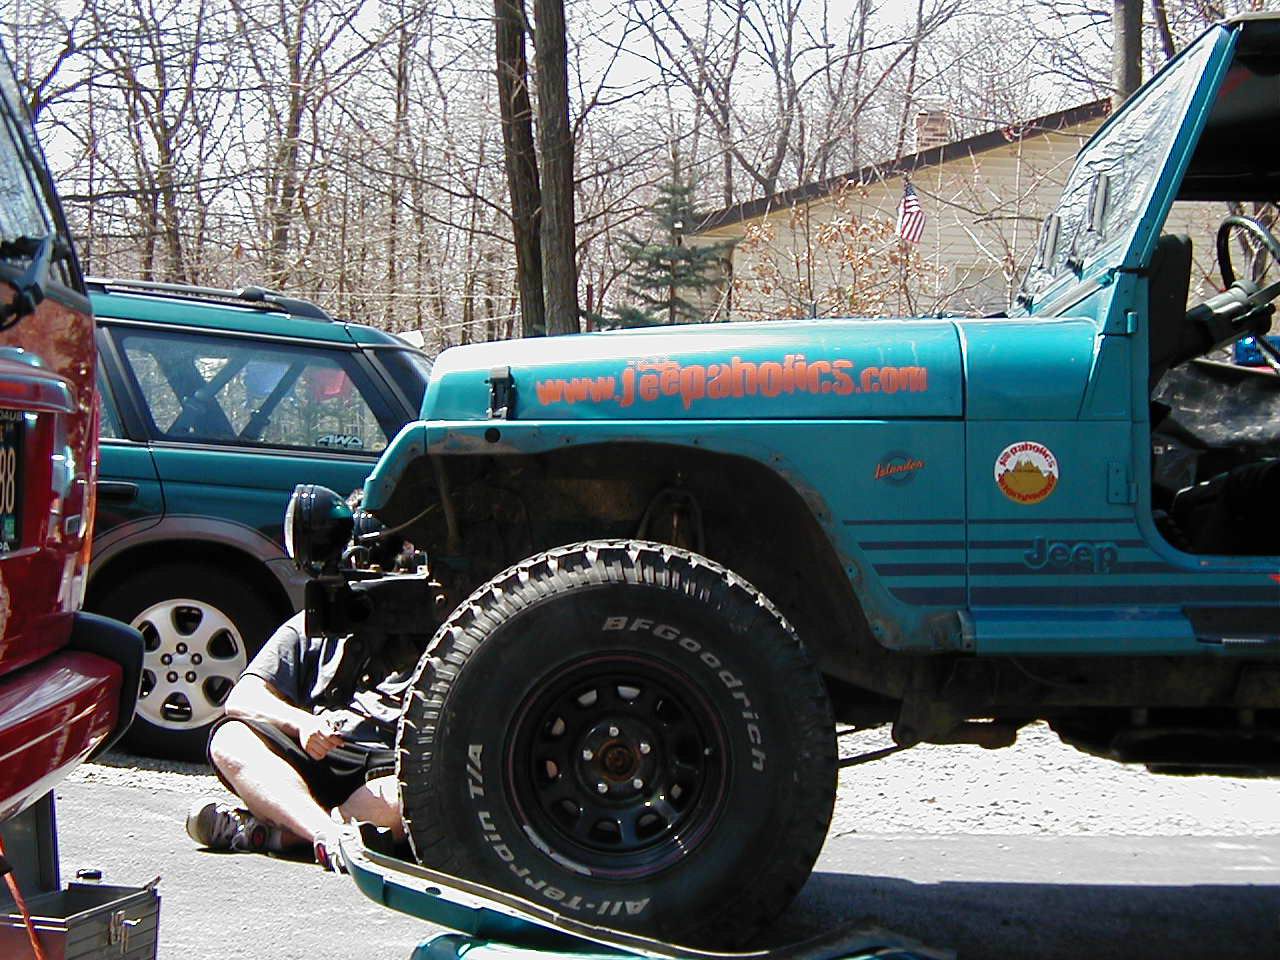
The rear is only slightly more tricky. You have some tight working spaces and a plastic shield on the inside of the fender well to worry about. Still pretty self explanatory. You should end up with something close to this: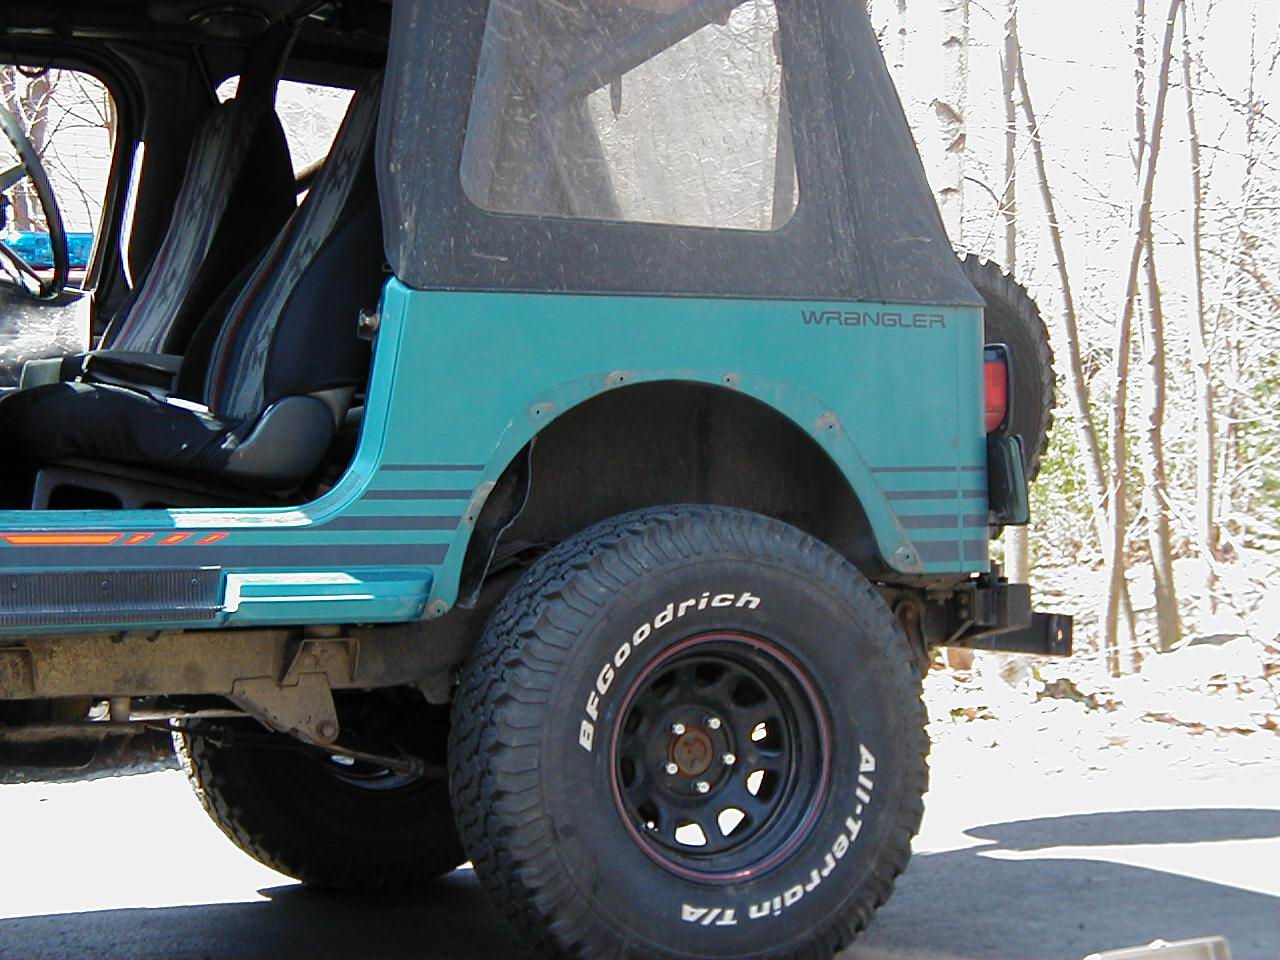
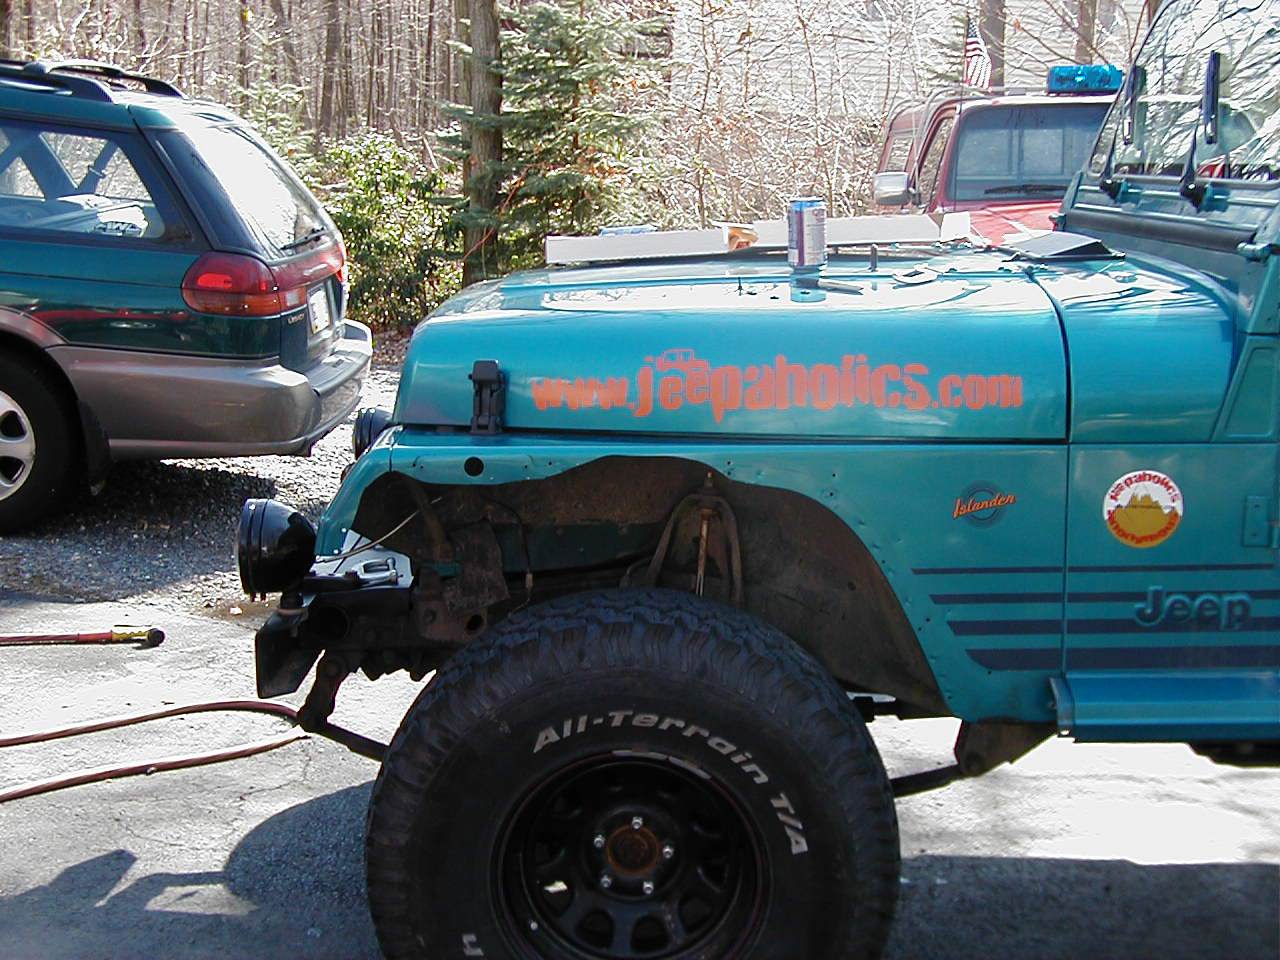
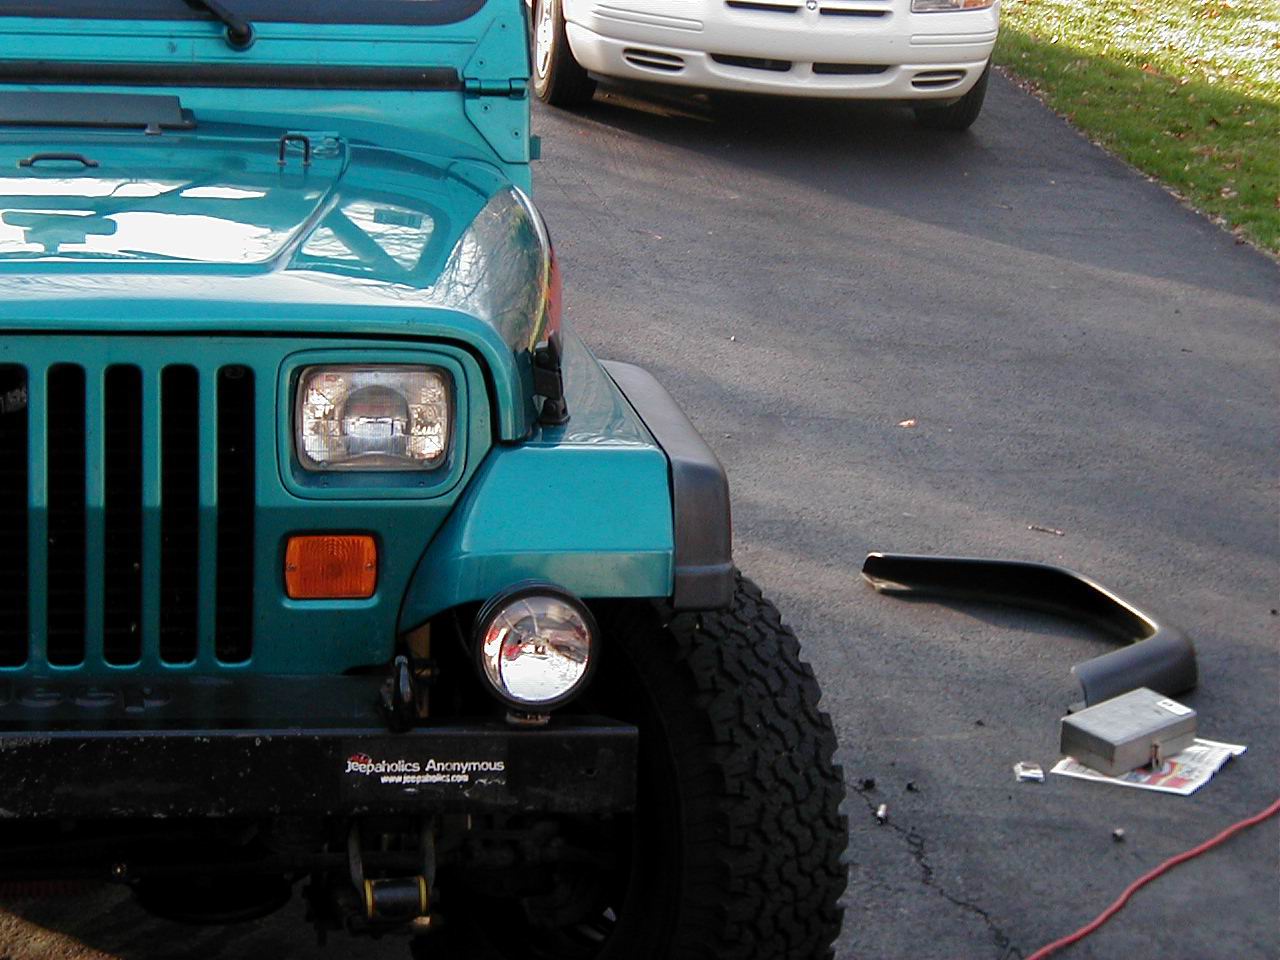
Ok, next we washed off the dirt that had built up under there over the years and made sure it was all nice and clean. Then we decided that it was time for Lunch. The Jeep was blocking just about every other vehicle in the driveway, so we put the front turn signals back on and took it down to the pizza shop. Got a few strange looks, and a nice State Cop told us “Hey, you have to put Fender Flares on that!”, but he didn’t give us a ticket (whew!). Here are some pictures I took after we got back: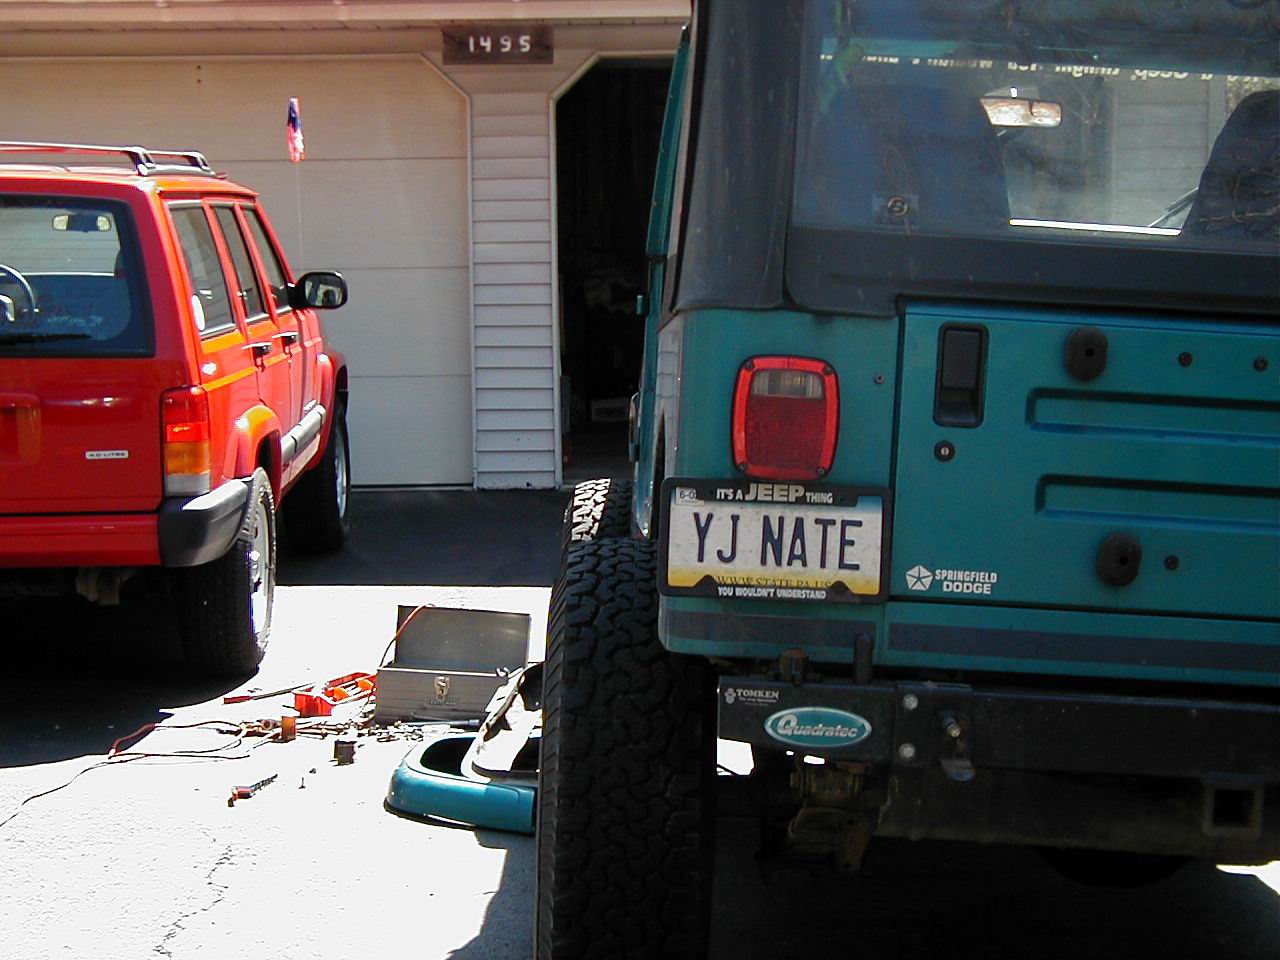
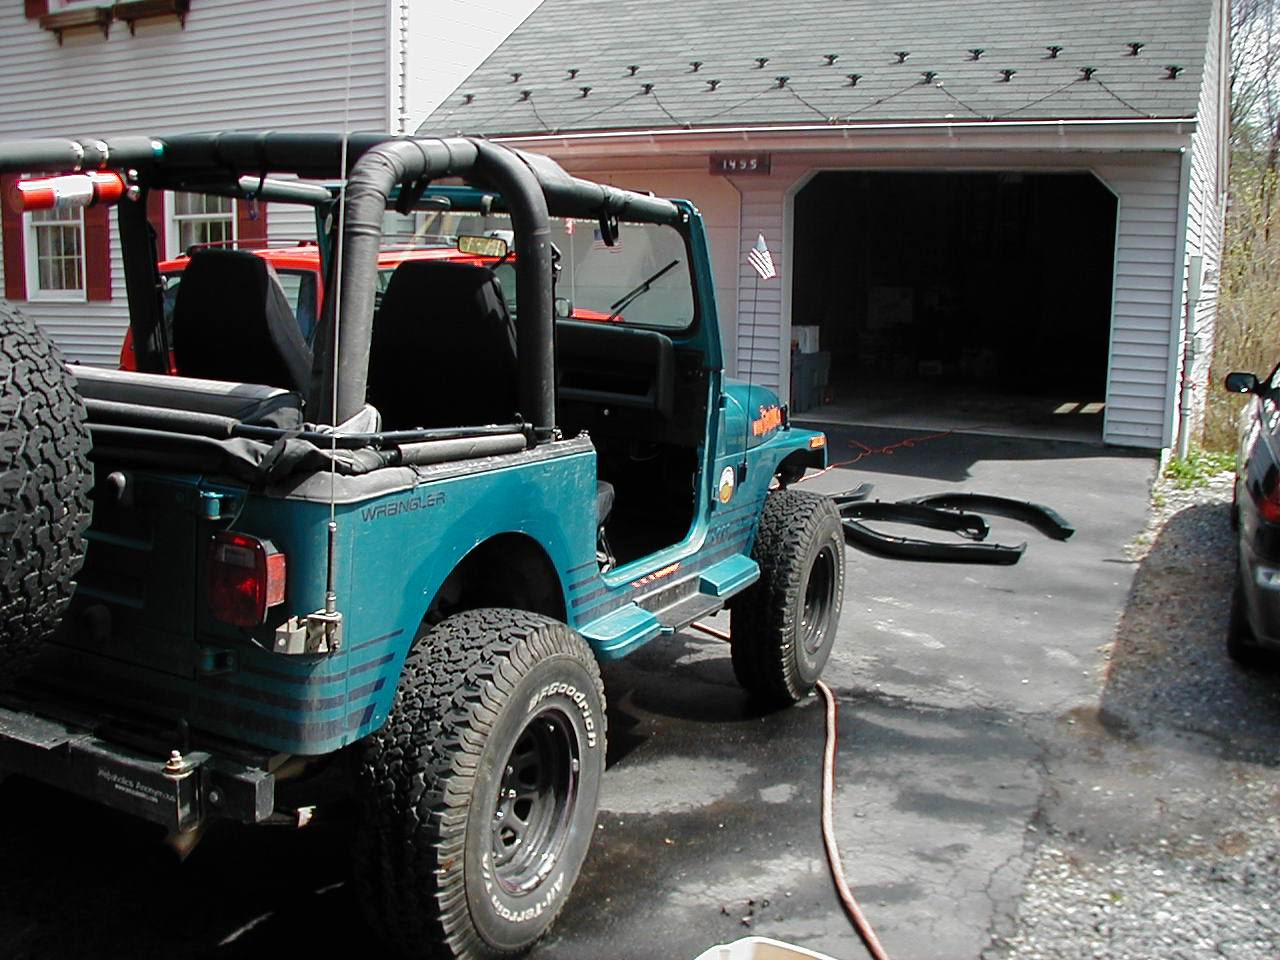
Well, I was just starting to like it like this, but I guess I have to put the flares on. Gotta be legal and all.. My tires stick out about 8″. Well over the allowed distance, which I think technically is that they can’t stick out AT ALL!
After making sure that the surface was nice and clean, I started by taping up the area that I would be cutting on. This helps protect the paint, and also gives you a surface to trace the outline of the flare on.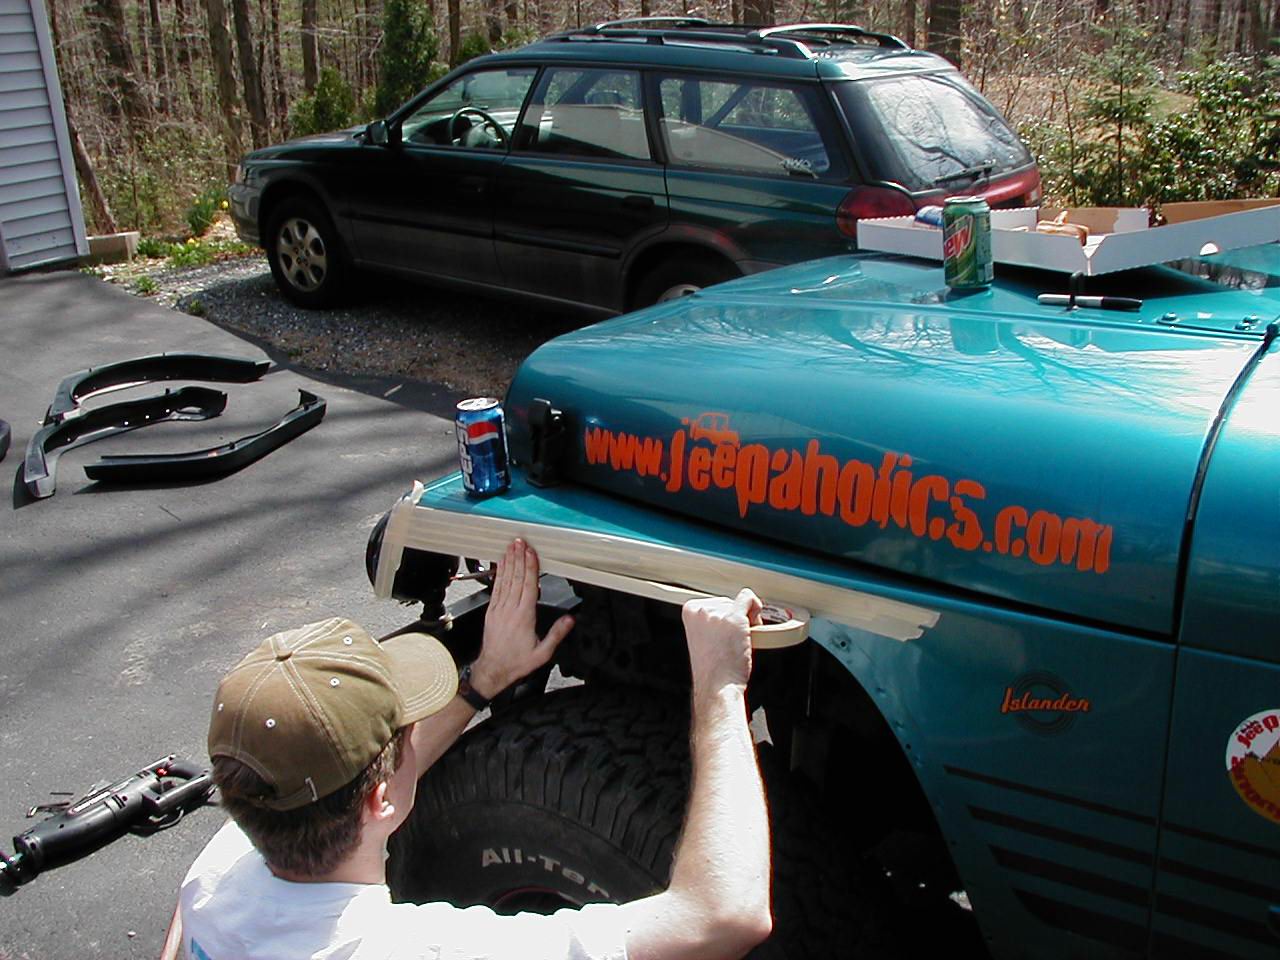
Here it is all taped up.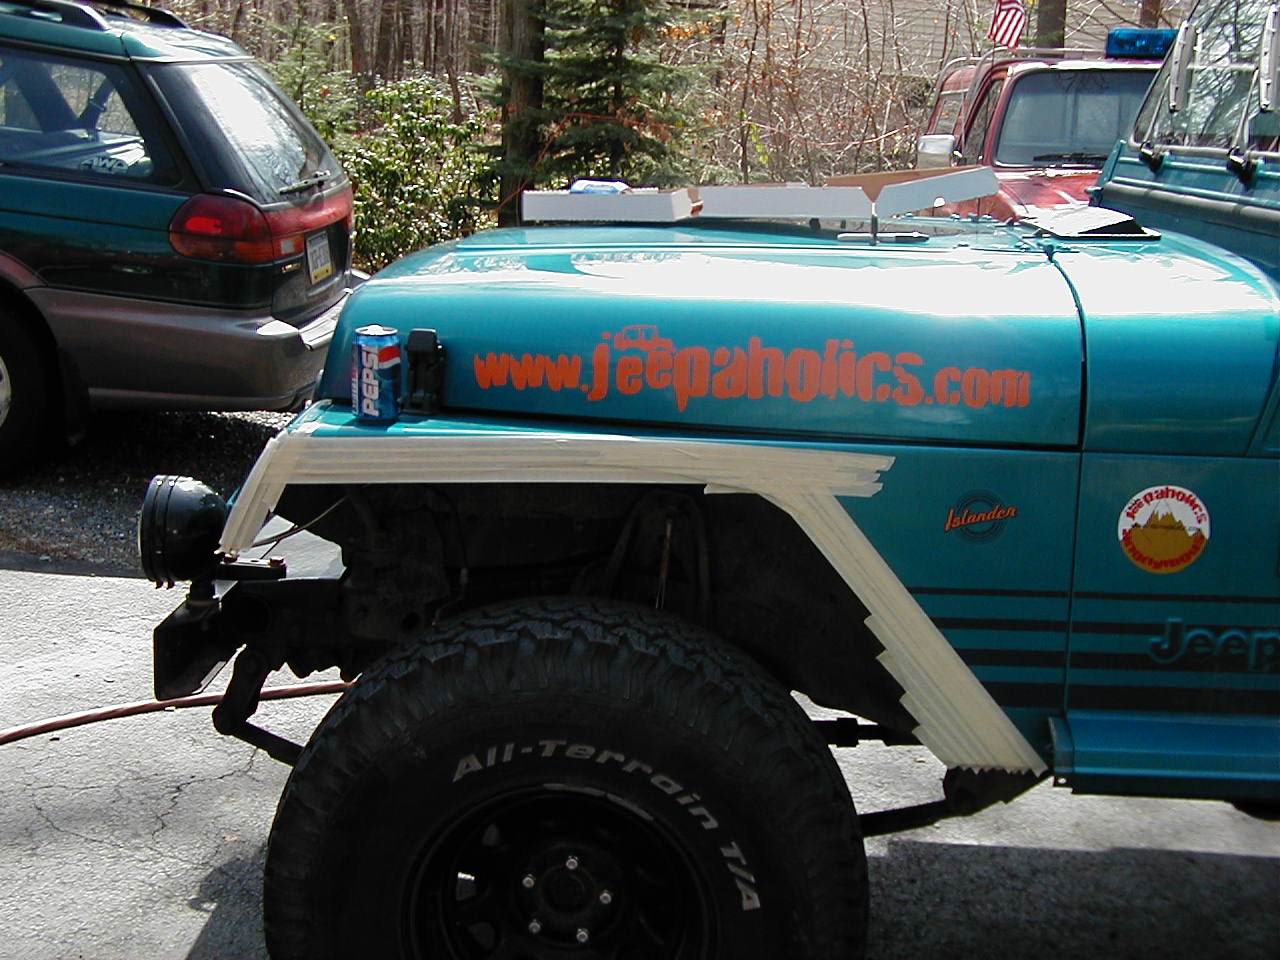
Basically what we did was take the new flare, and line it up with the top of the fender using something relatively straight to do so (thats why there is a 3/4″ wrench on the fender in the below picture). Then use a marker to trace the inside of the flare on the tape. Worked pretty well. Essentially the YJ’s fenders are the same shape as the TJ flare. Only 2 spots are different. Right above the tire, and right behind the front face of the fender. The only cut that is really necessary (as far as I can tell) is the one above the tire. This will allow for about another inch of tire clearance.
Here is my beautiful line!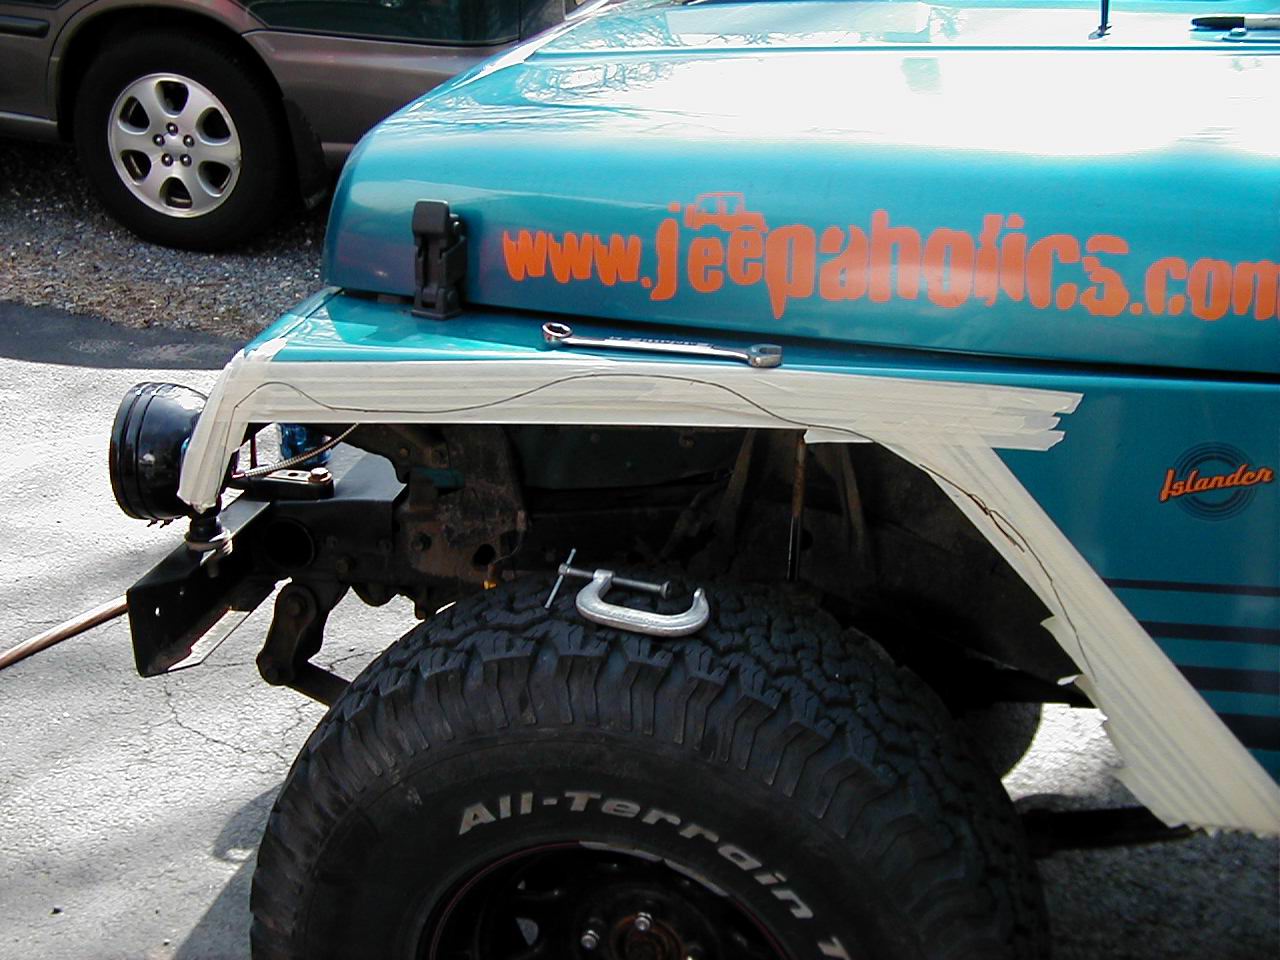
Now, fire up that Saw! Time to do some trimmin!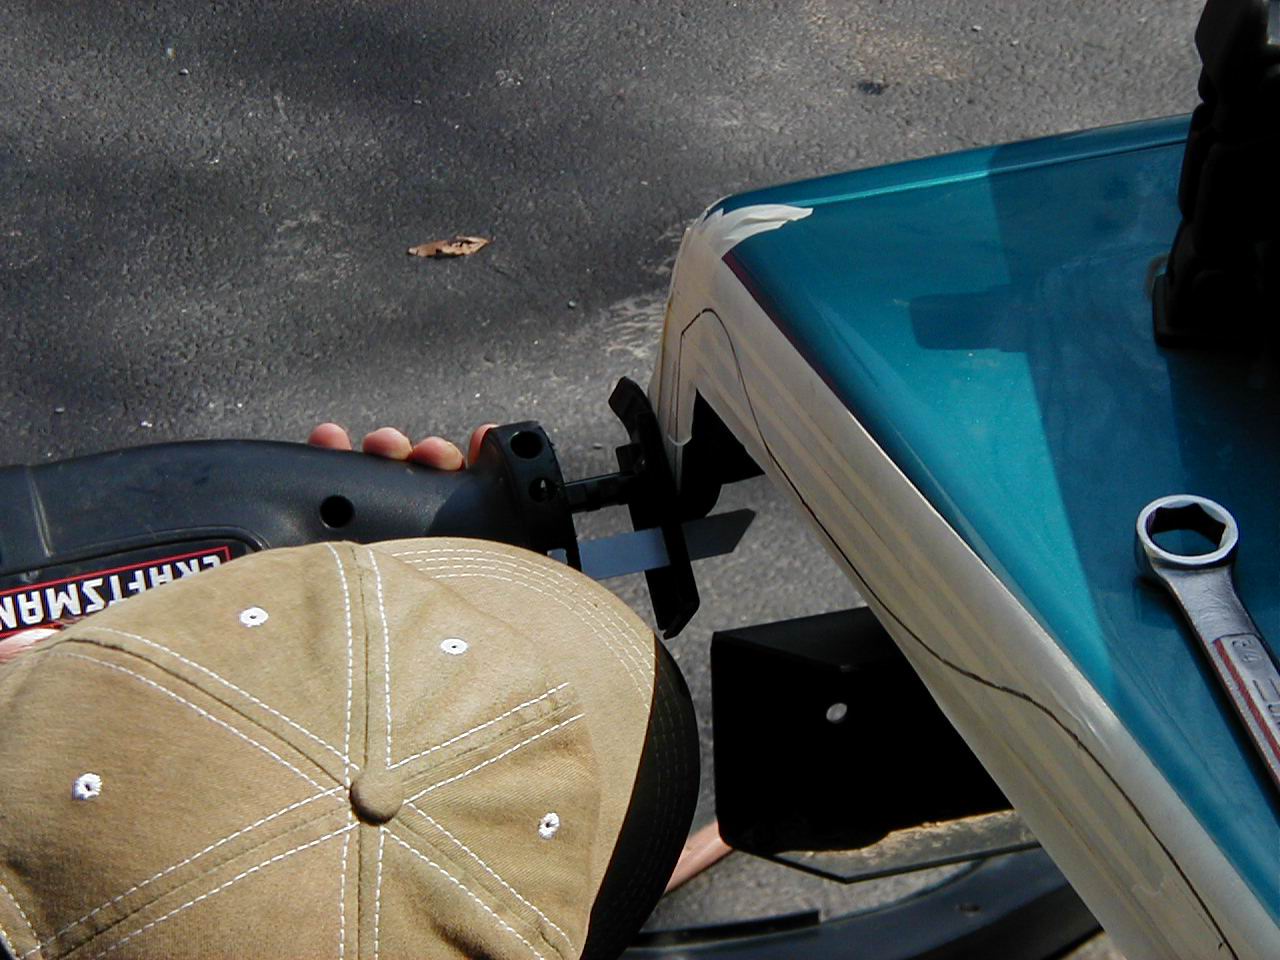
On this fender, I did my best to cut everything that the line said to. On the other fender (not pictured because I screwed it up) I didn’t cut the section right behind the front face of the fender as it didnt seem necessary. (Note: the 3/4″ wrench is still on the fender so the vibration of the Saw will cause it to fall on me and the most inopportune time)
Ok, so we moved the wrench before it fell on me. I think Adam noticed it before it fell (thanks Adam!). So here I am pulling the pieces out of the fender after cutting them up. This went pretty well actually. I was all worried about nothing I guess. We mounted the flare back up again to mark the holes for drilling and then I drilled the holes. Now its time to remove the tape.
Here it is, with the tape removed and the fender trimmed. I think I did a pretty decent Job. This is the first time I’ve ever touched one of these saws, and I didn’t even lose a finger!
Ok, now all that’s left is to mount the new flares right? Well, youre close. There is a little prep work that needs to be done on the new flares.
First there are some Alignment studs that you can either remove or drill holes in the fender for. I opted to remove them. So I cut them off with a Utility knife. There is also a lip on the inside of the flare which isn’t really needed. So, I removed it completely. Now that I look back at it, I think i would rather have had the patience to get all of the cuts I made just right and mount the flare with the lip intact. But.. it’s too late now. Here I am prepping the flares.
Now, the moment of truth, mounting the flares to the body. This is pretty simple, just line up the holes, and put the mounting hardware back in. A member of Jeepaholics Anonymous was kind enough to send me brand-new hardware. Guess I owe him now. Anyway, I used that hardware, but the stock hardware “Should” work. I don’t see why it wouldn’t.
Here are some pictures of the newly mounted flares!
Side view of the new flare
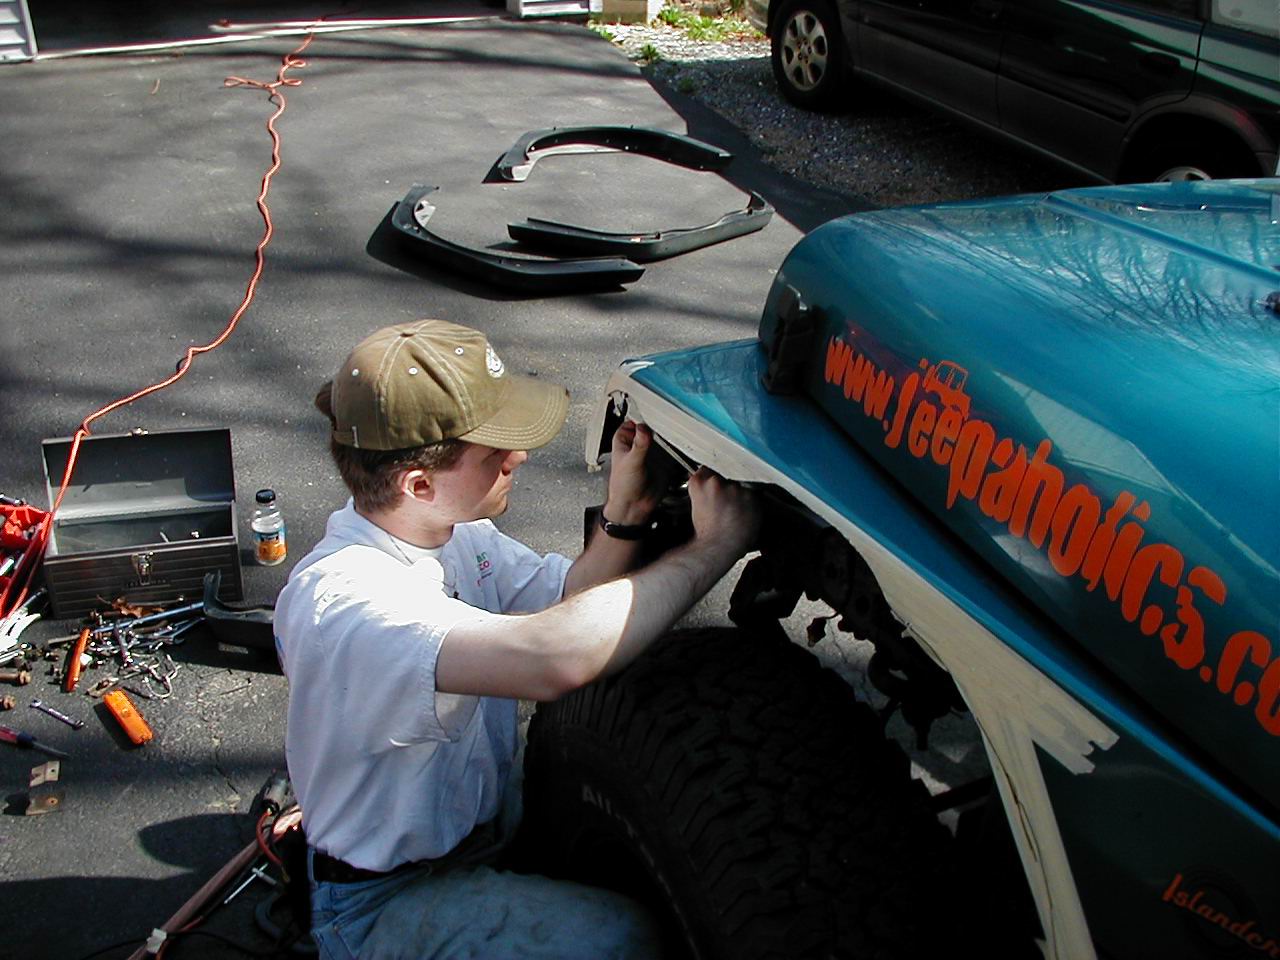
Adam installing the pass. side flare
A close-up of the driver’s side flare.

You can see that the flare extends past the fender. I will someday trim that and get it level with the bottom of the fender.
Now, all that’s left is the marker lights, I didn’t get any pictures of the installation of those. I had to buy some new marker lights as the flares didn’t come with any. Got them at a dealer for $12 a piece. To install them, they sort of clip in, but you need to put something on the post on the back to keep them in place. So we took a small nut and forced it on the plastic stud, making threads as we went. It worked well on the driver’s side, but the pass. side gave us a little problem. We got it on there though.
The next thing to tackle is getting the lights into the new marker lenses. The factory YJ lights fit with a little modification. There are 4 tabs on the YJ lights and 2 tabs on the TJ lights. So, cut off 2 of the tabs. 2 of them have the little “Ramps” on them, and the others don’t. I cut the ones that did not have the little ramps.
Rear flares
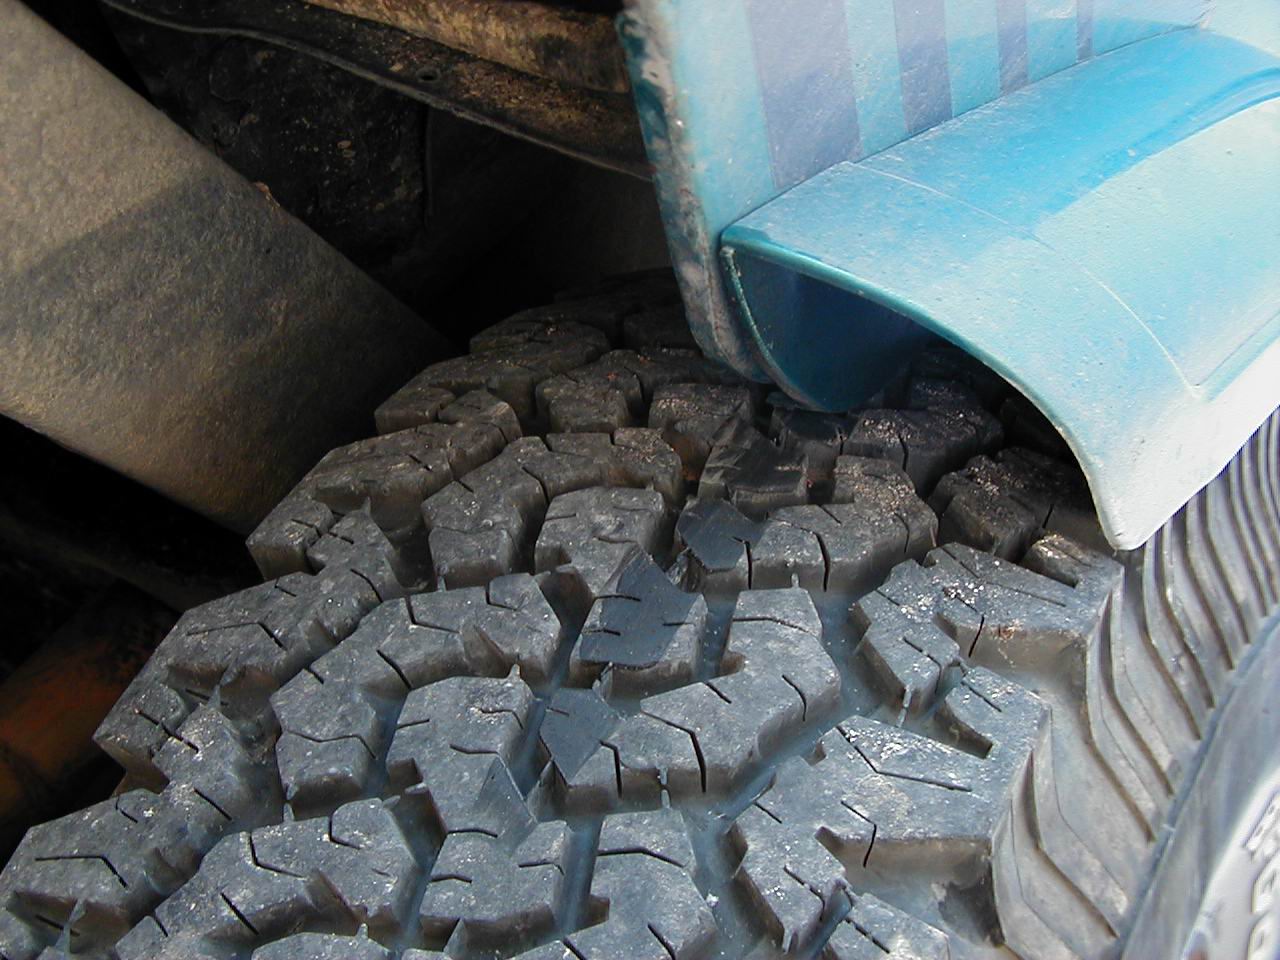
Here is a picture that we took before even beginning the project. Here you see my rear passenger tire contacting the body at full flex. Keep this in mind, I’ll have a comparison later! 🙂
So, the first thing to do was to remove the rear flares and figure out something to do with those stock sidesteps. They’re too long to allow for the TJ flares.
So, for those sidesteps. They’ve got a plastic-like (urethane?) flare extension that connects to the front flare, and runs the whole length of the vehicle, well, back to the rear flare anyway, at that point it just about contacts the stock rear flare and is rounded off. This has a plastic step right under the door, which is supported by a metal bracket that is attached to the bottom of the tub and extends out to the edge of the flare extension. The plastic step is bolted to the side of the tub, and through the flare extension, into this metal bracket. Clear yet?
Here’s what I did. Remove all of it, except the metal bracket, this leaves some holes in the side of the tub, but you can reinstall the bolts to cover the holes. Then mount the plastic step right to the metal bracket. It ends up something like this:
After getting all of that taken care of, I washed the area that will be taped and cut.

Then I taped up the area that the flare will be mounted to, clamped the flare in place, and traced my line. This picture is to give you an idea of the difference between the TJ and YJ wheel openings.
I was working alone today, so I could not get any pictures of me cutting, but it’s very similar to the front, but a little easier, not as many tight corners or complicated things. The only somewhat tricky part is yet to come.
There is a wall at the back of the wheel opening, which separates the wheel opening from the area where the gas filler and tail light electronics are. This wall is a slight problem. I wasn’t about to remove it, and didn’t want to cut through it, but it was in the way of where I was cutting. So here’s what I did.
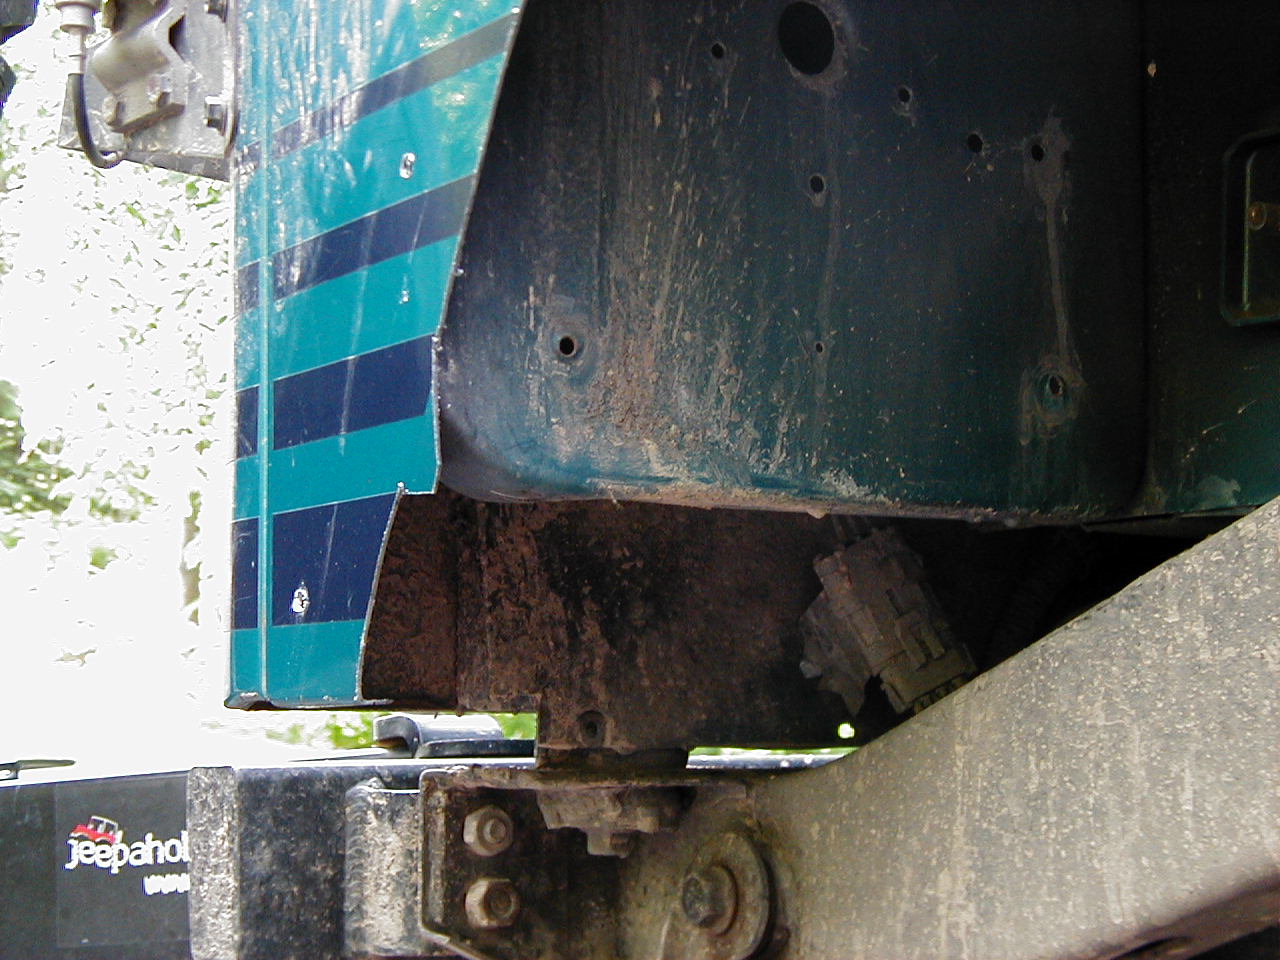
I cut a little notch out while cutting the scrap out. Made sure it was just about as big as the “Wall” in the back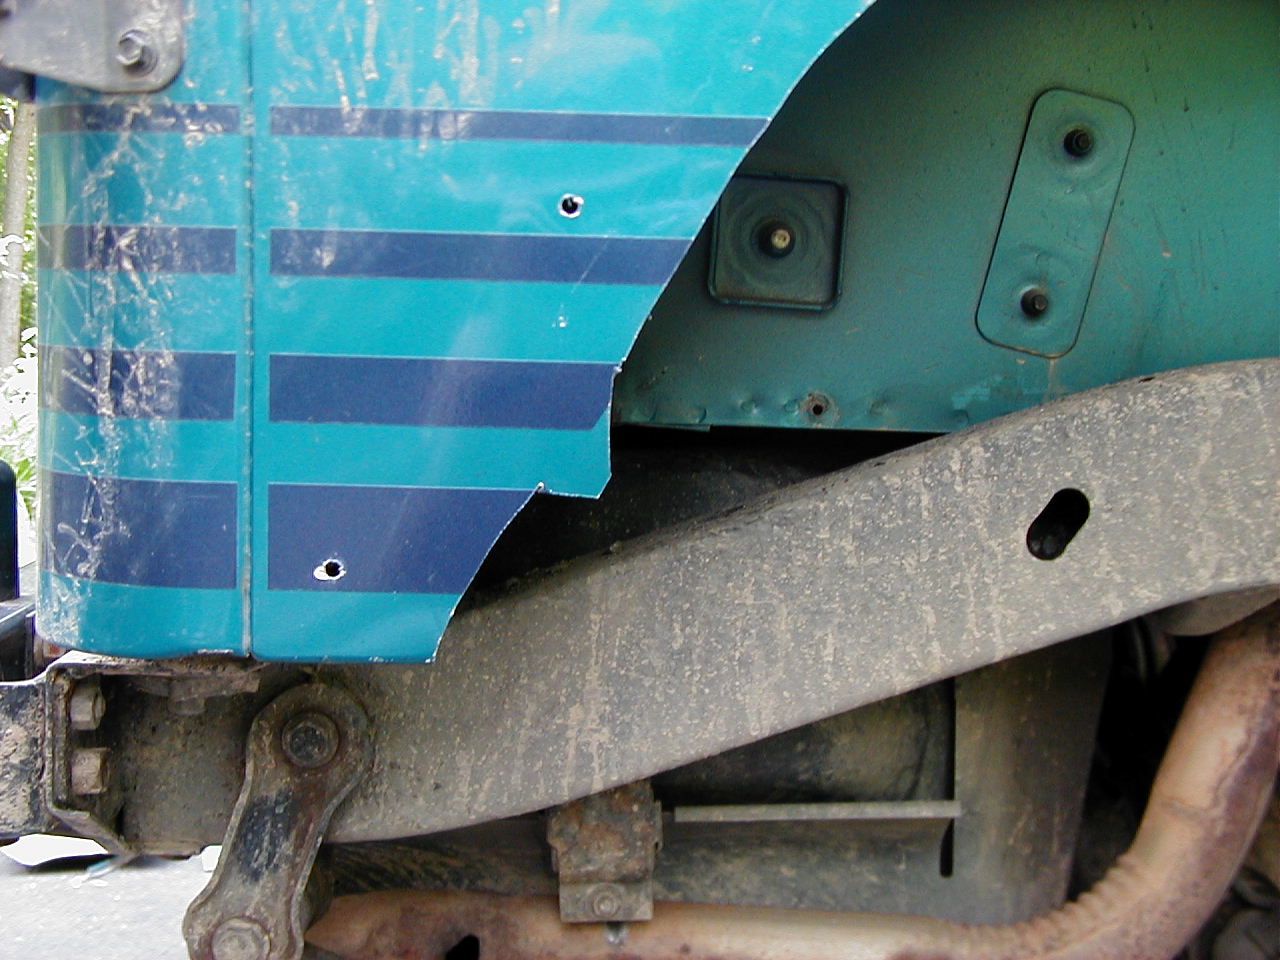
Then I pounded that notch inward, toward the wall, with a hammer.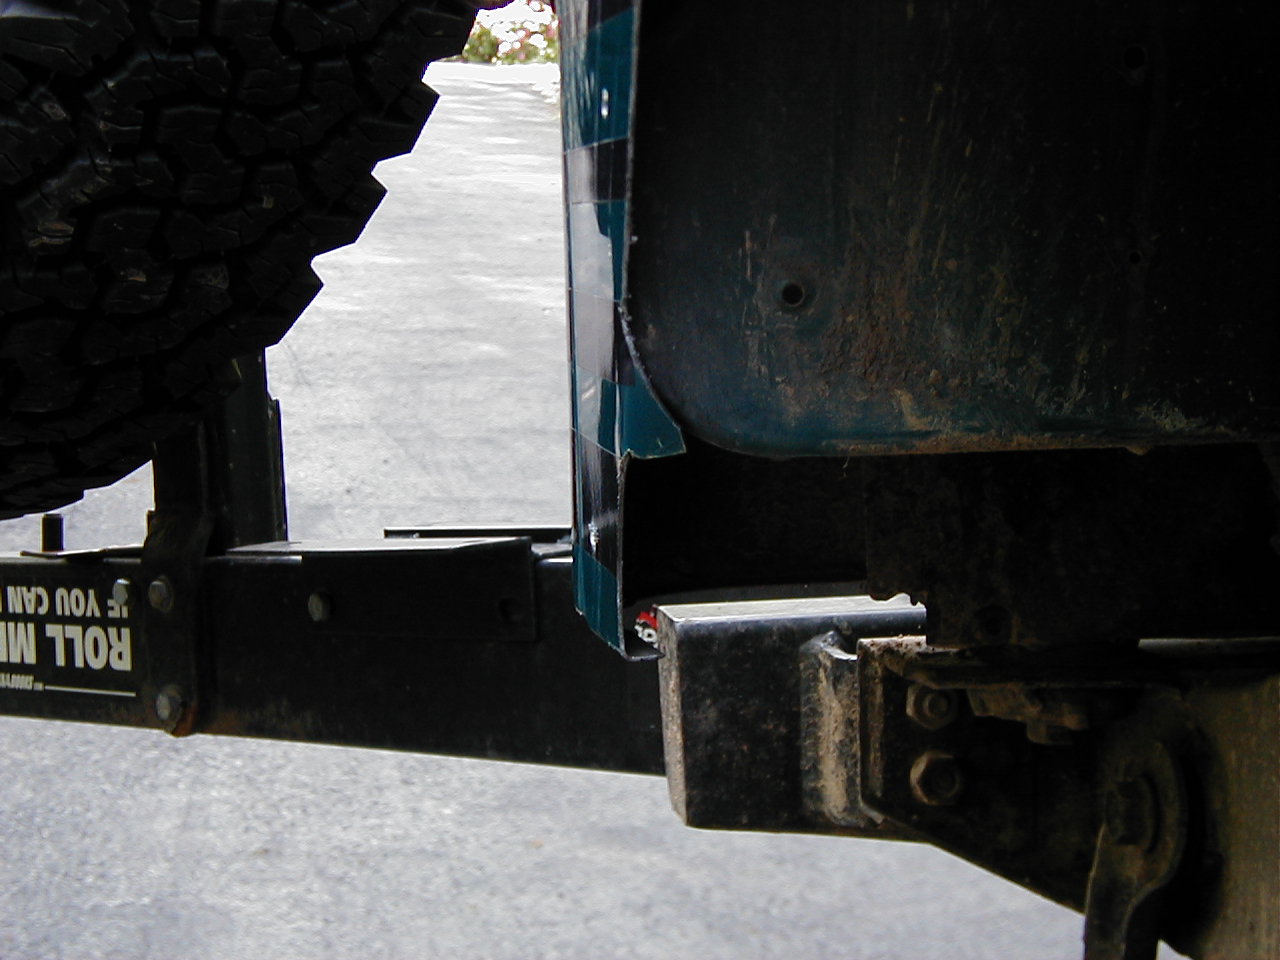
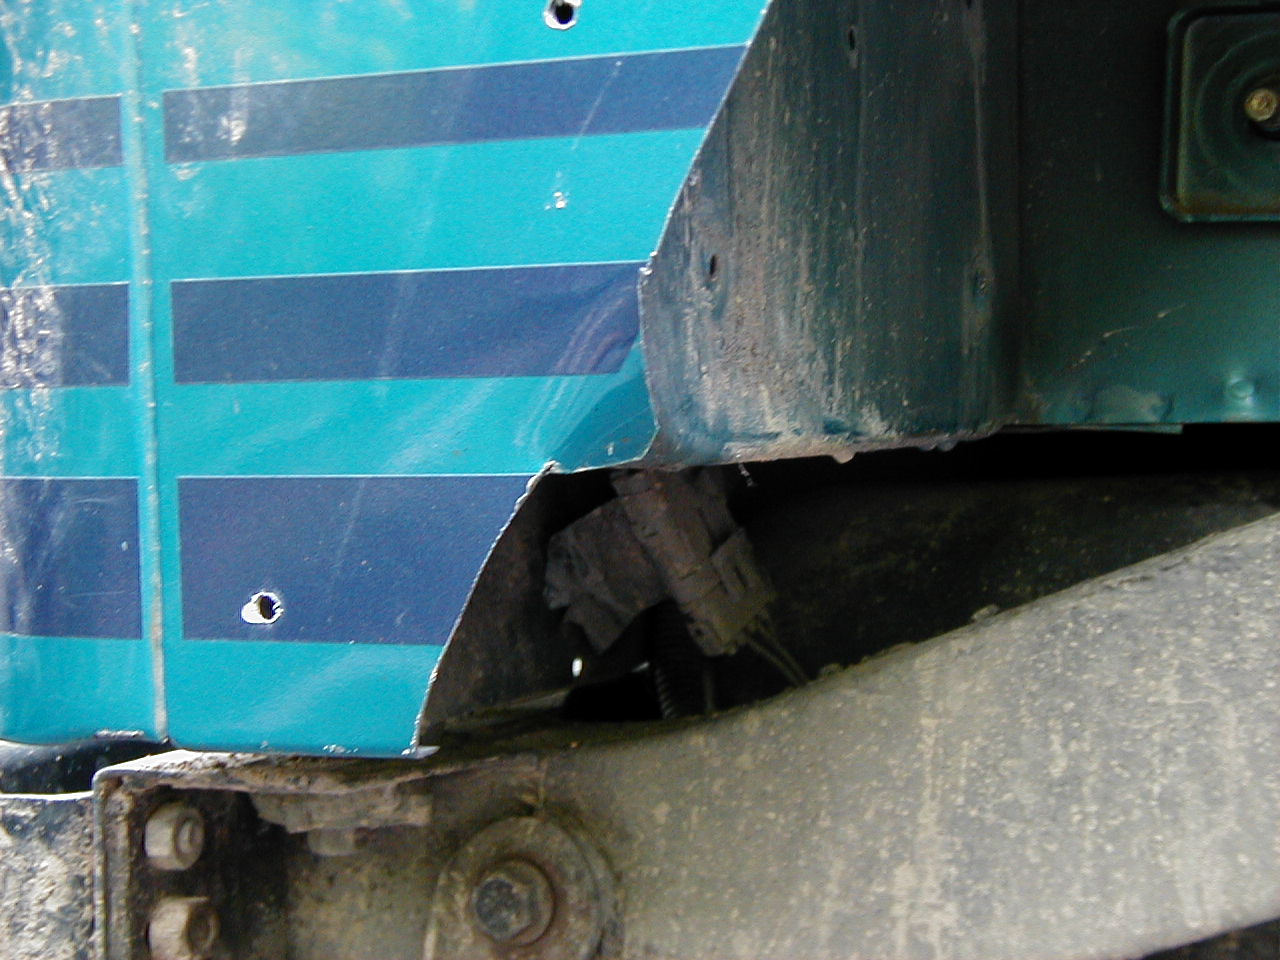
Once it was pounded out of the way, I cut a notch in the “Lip” on the flare to allow that “Wall” to poke through a little.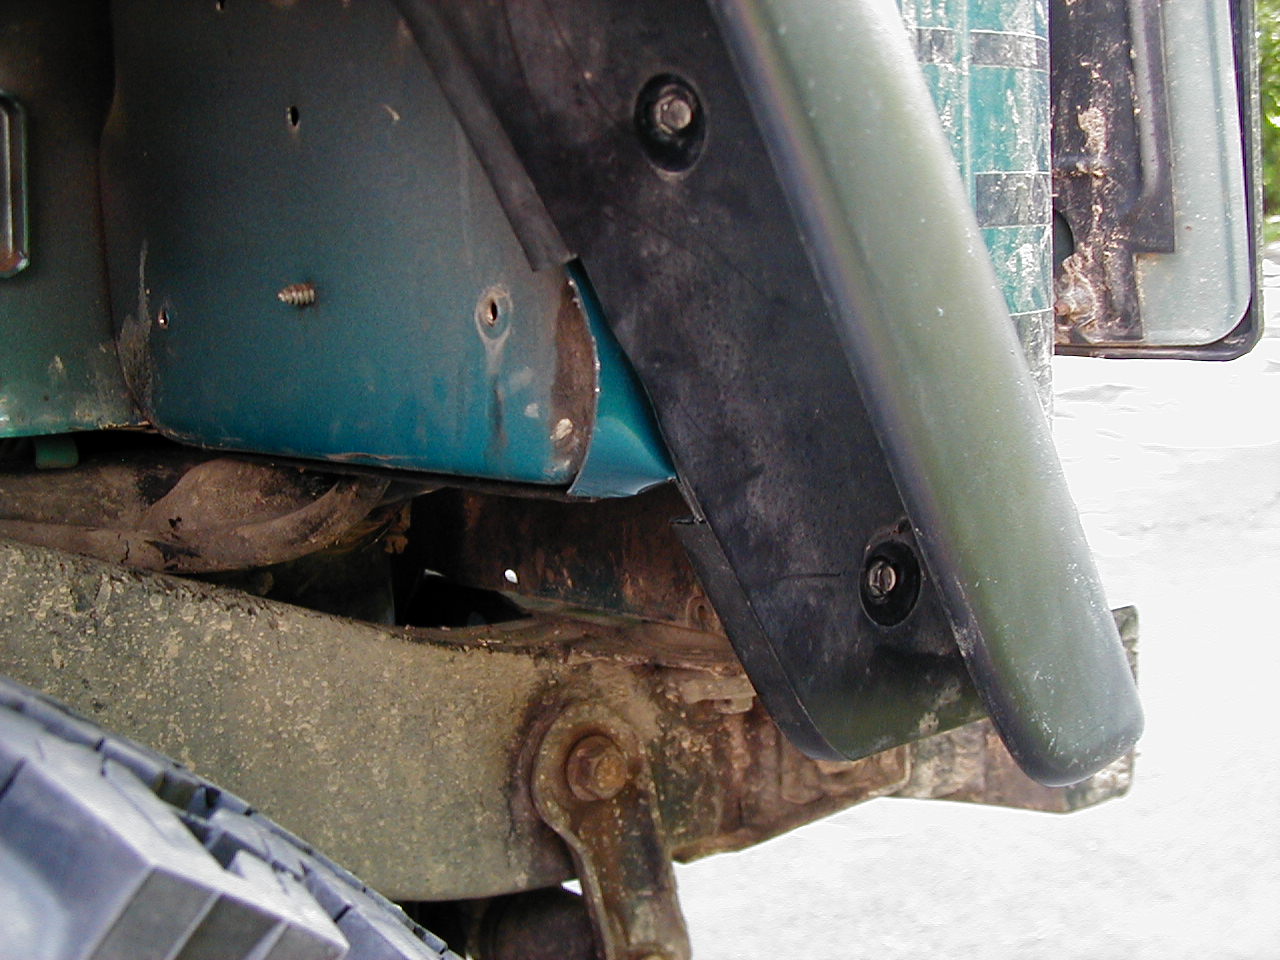
It all seems to work out pretty good if you ask me. Maybe you’ve got a better way to do it, but this is just fine for me! 😛
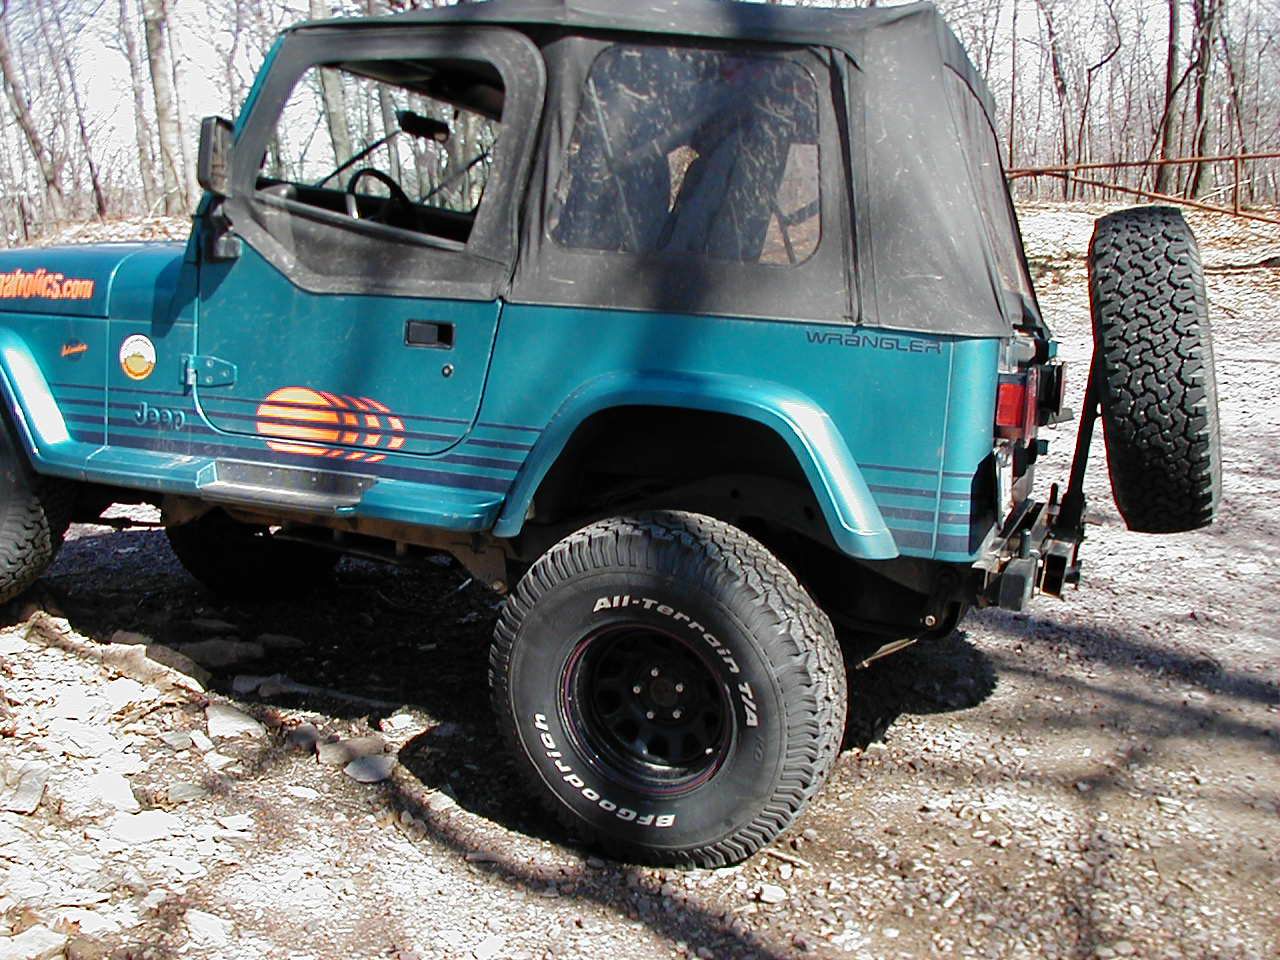
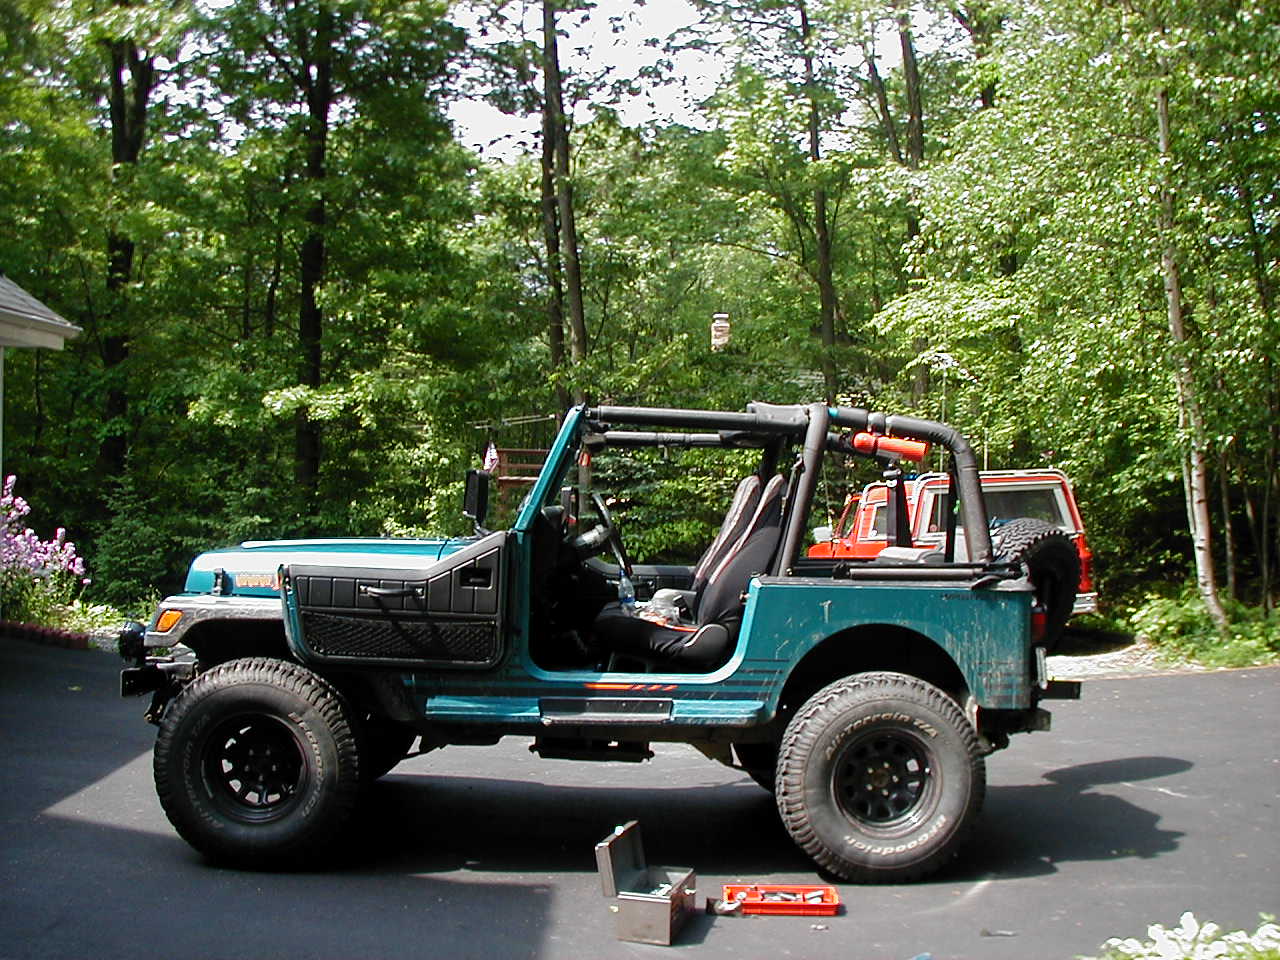
So, Here we have the finished product!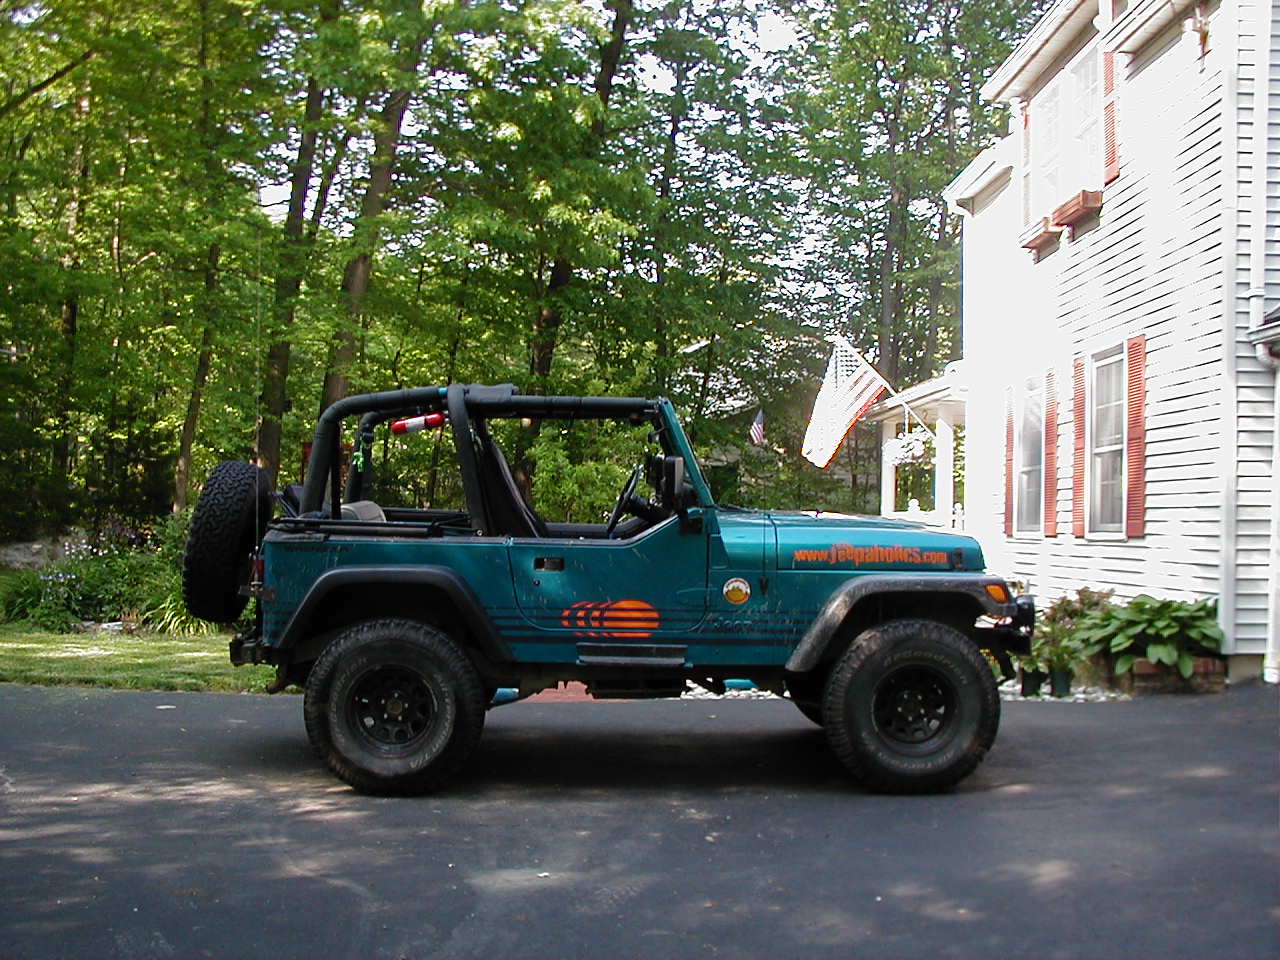
Passenger’s Side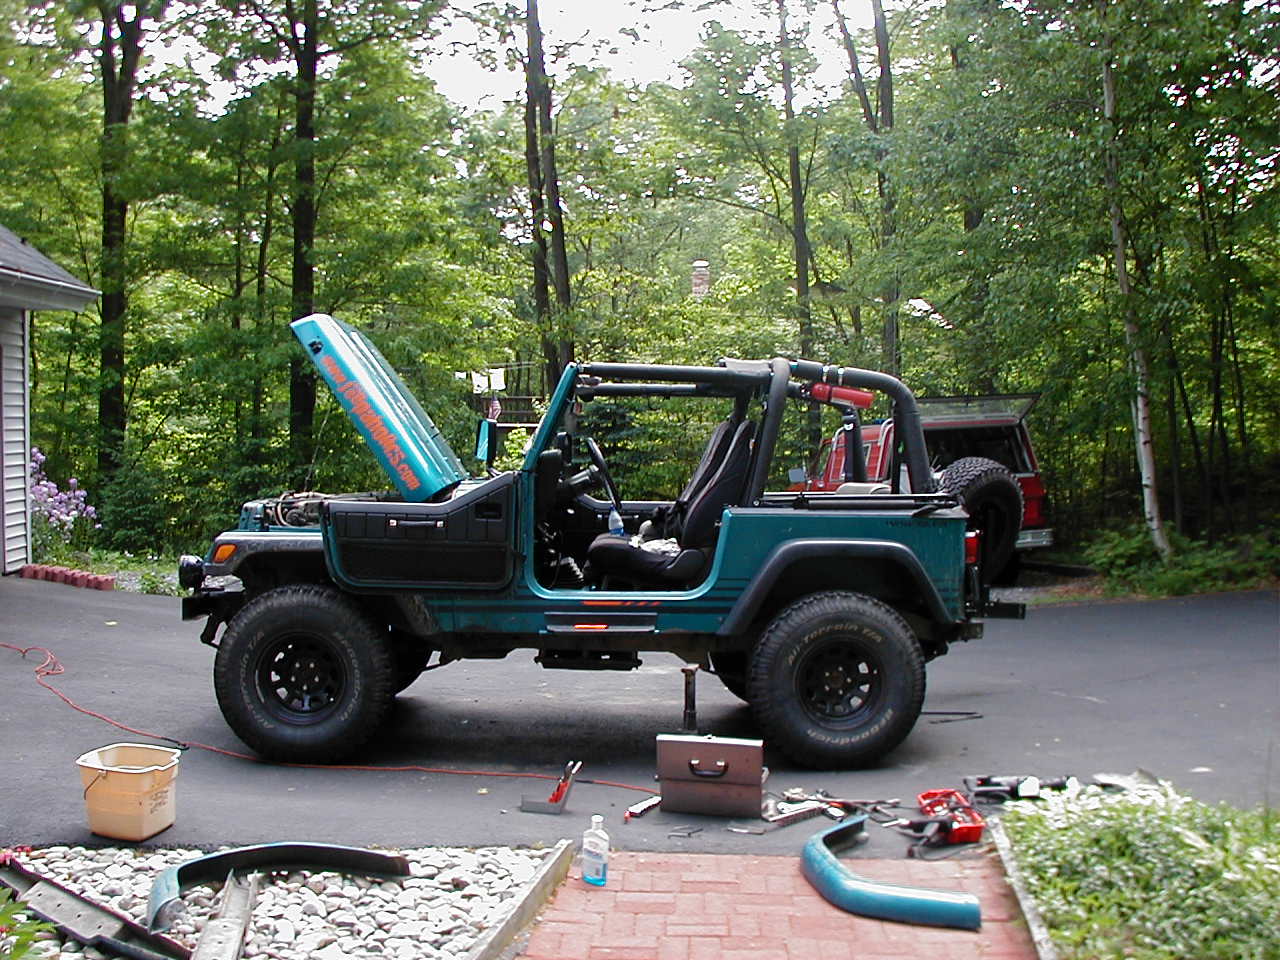
Driver’s side
Slightly cleaner Drivers Side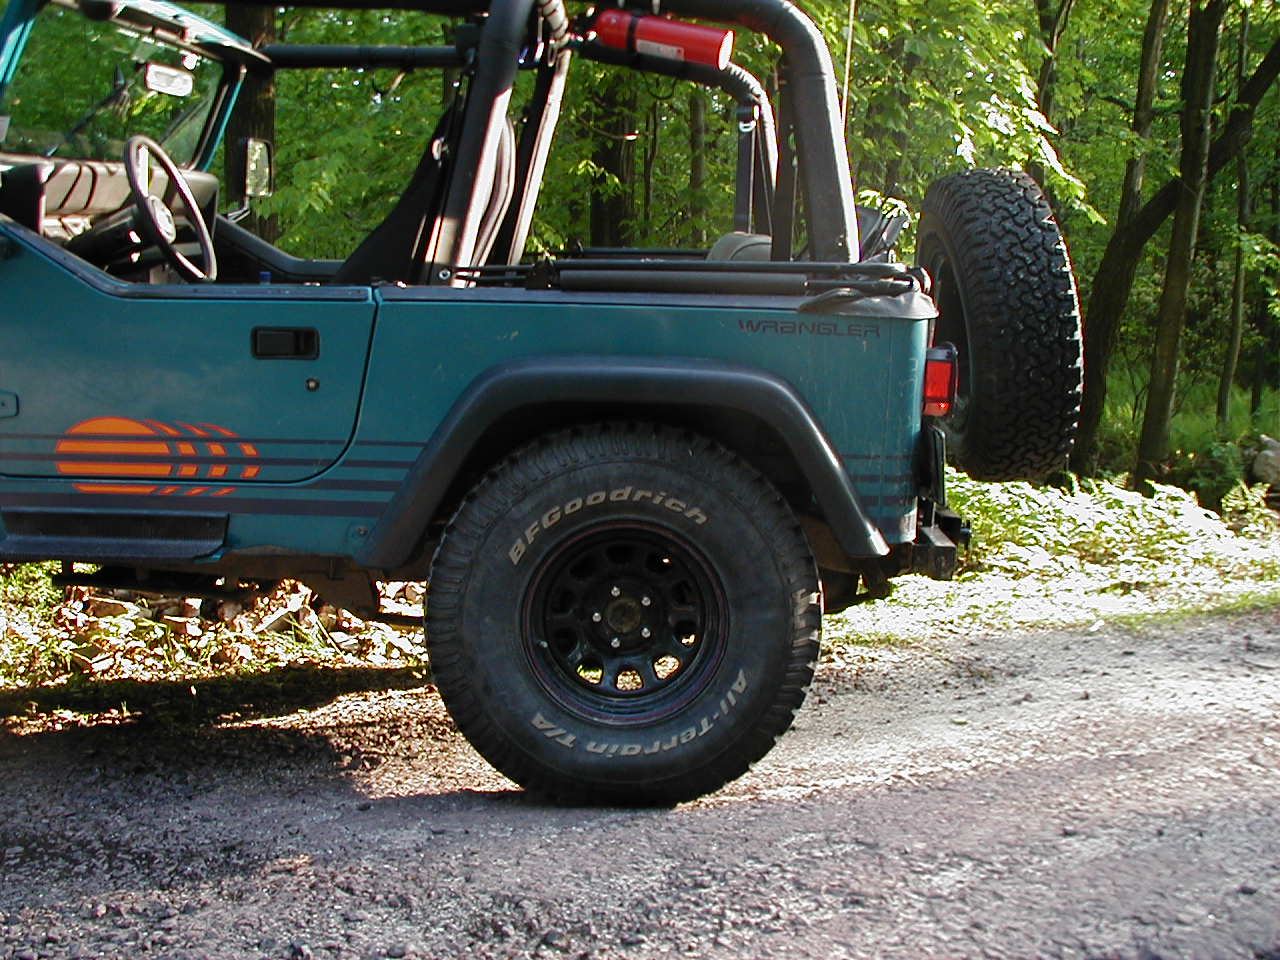
One stuffed Tire (think back to the previous image, a lot more room now!!)
One nicely drooped tire! Plenty of room now!